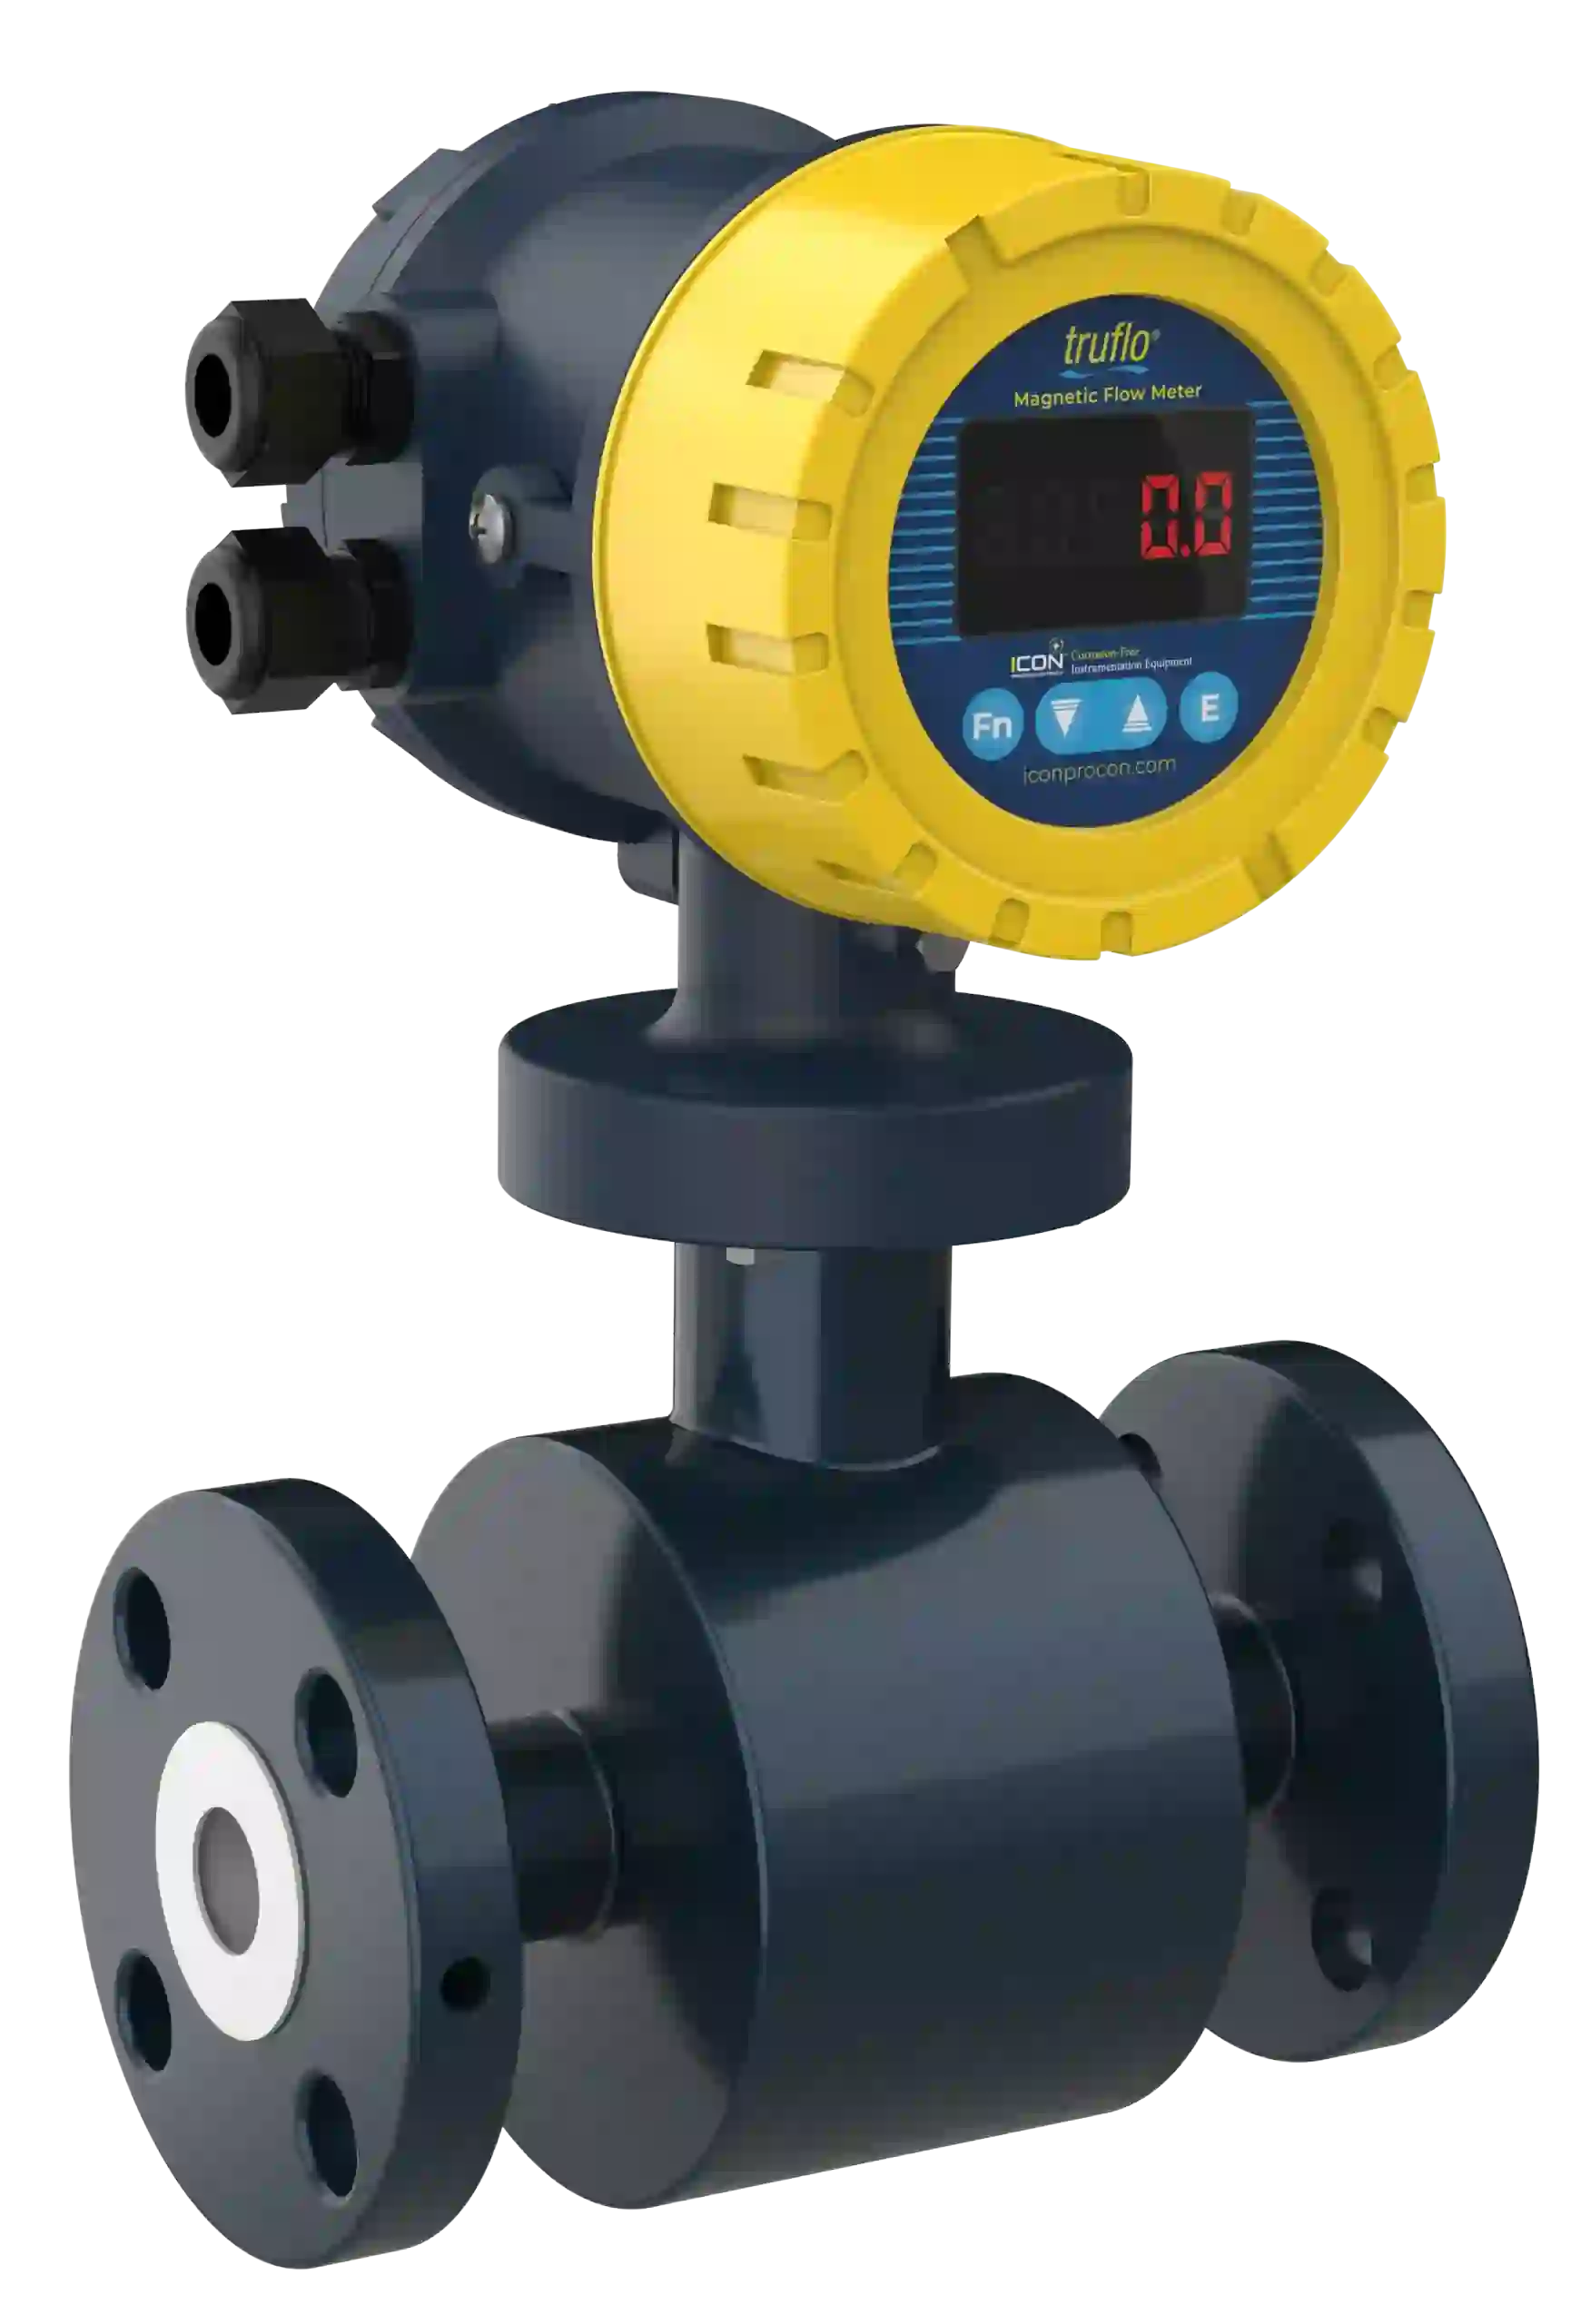
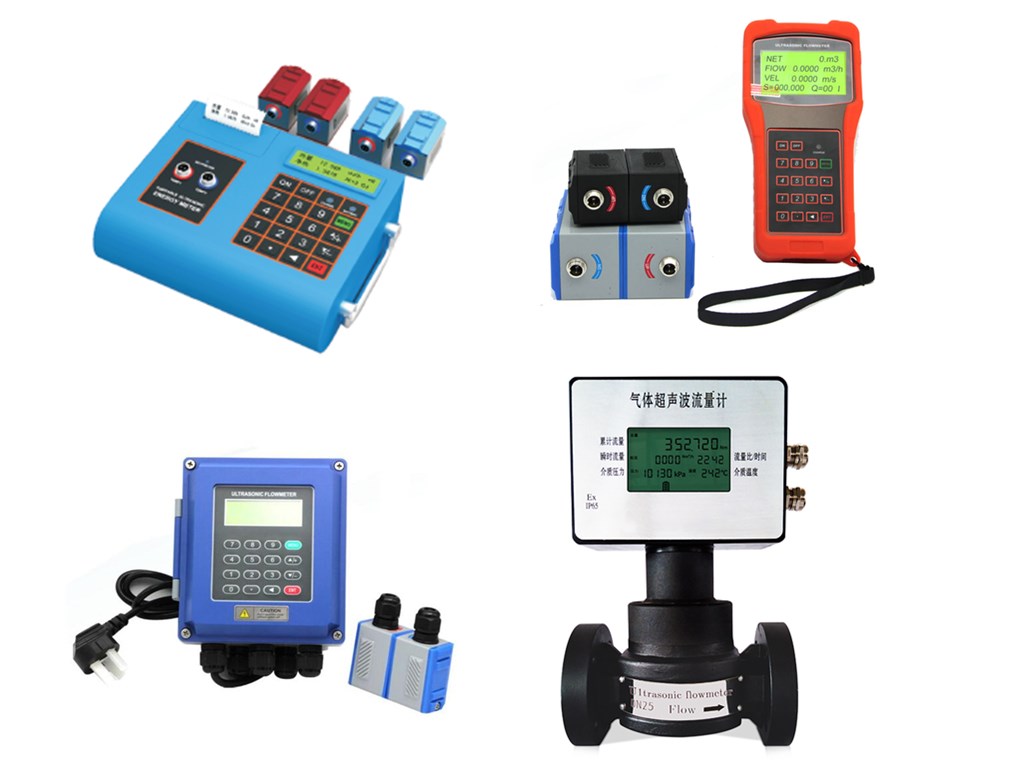
Alright, decided it was time I got a better handle on how much fertilizer I’m actually putting down. Eyeballing it just wasn’t cutting it anymore, felt like I was guessing too much. So, I went ahead and got myself one of those simple fertilizer flow meters.
Getting it Done
First thing, I had to figure out where to put this thing. Looked over my setup, the mixing tank, the pump, and the lines going out. Found a spot after the pump, before the lines split to go to different zones. Seemed like the most logical place to measure the total flow.

Next, gathered the stuff I thought I’d need. The flow meter itself, of course. Then some pipe cutters for the poly tubing I use, adjustable wrenches, clamps, and some thread sealant tape just in case the fittings needed it. Always good to have sealant tape handy.
Putting it in Place
Okay, the actual work. Turned off the pump, that’s important. Didn’t want fertilizer solution spraying everywhere. Then I closed the valve coming from the tank. Double-checked it was off.
Picked the exact spot on the poly pipe. Measured the length of the flow meter body, plus a little extra for the fittings on each end. Marked the pipe where I needed to cut.
Took a deep breath and made the first cut with the pipe cutters. Nice and clean. Measured again and made the second cut. Removed that section of pipe.
Now, getting the meter in. My meter had threaded ends. My poly pipe, obviously, doesn’t. So I had already picked up a couple of adapter fittings – the kind that thread onto the meter and have a barbed end to push into the poly pipe. Wrapped a bit of that thread sealant tape around the meter threads first, then screwed on the adapter fittings nice and tight with the wrench.
Then came the slightly tricky part – pushing the barbed ends of the adapters into the poly pipe. It was a snug fit, which is good, means less chance of leaks. Wiggled and pushed until both ends of the pipe were fully seated onto the barbed fittings.

Once the meter was sitting inline, I took the clamps and positioned one over each connection point, where the pipe slipped over the barbed fitting. Tightened those down really well with a screwdriver. You want those tight so the pipe doesn’t slip off under pressure.
Checking the Work
Alright, installation done. Moment of truth. Opened the main valve from the tank slowly. Then I turned the pump back on, keeping an eye on the meter and the connections.
Watched it closely for any drips or sprays. Ran my fingers around the connections. All dry! That was a relief.
The little indicator wheel inside the meter started spinning as the fertilizer solution flowed through it. Looked like it was working just as it should.
First Impressions
Ran the system for a bit, watched the meter. It’s pretty basic, just gives me a visual idea of the flow rate and lets me track the total gallons used. It’s not super high-tech, but it does the job I wanted it for – knowing how much stuff is actually going out.
Feels good to have it installed. Took maybe half an hour once I had the parts. Now I can be a bit more precise and hopefully save some money by not overdoing the fertilizer. Simple project, but satisfying to get it done.


