
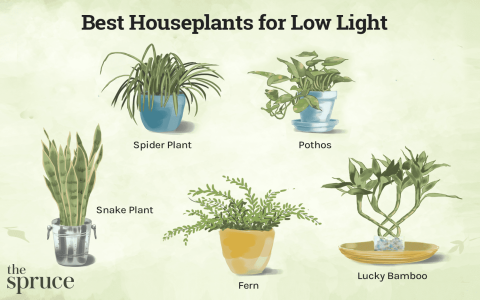
Okay, so my plants inside weren’t looking too happy, especially during the shorter days. They just needed more light, you know? I looked at some grow lights online, but the setups with stands were kinda pricey, or just not quite what I wanted. So, I figured, why not just build one myself?
Getting the Bits Together
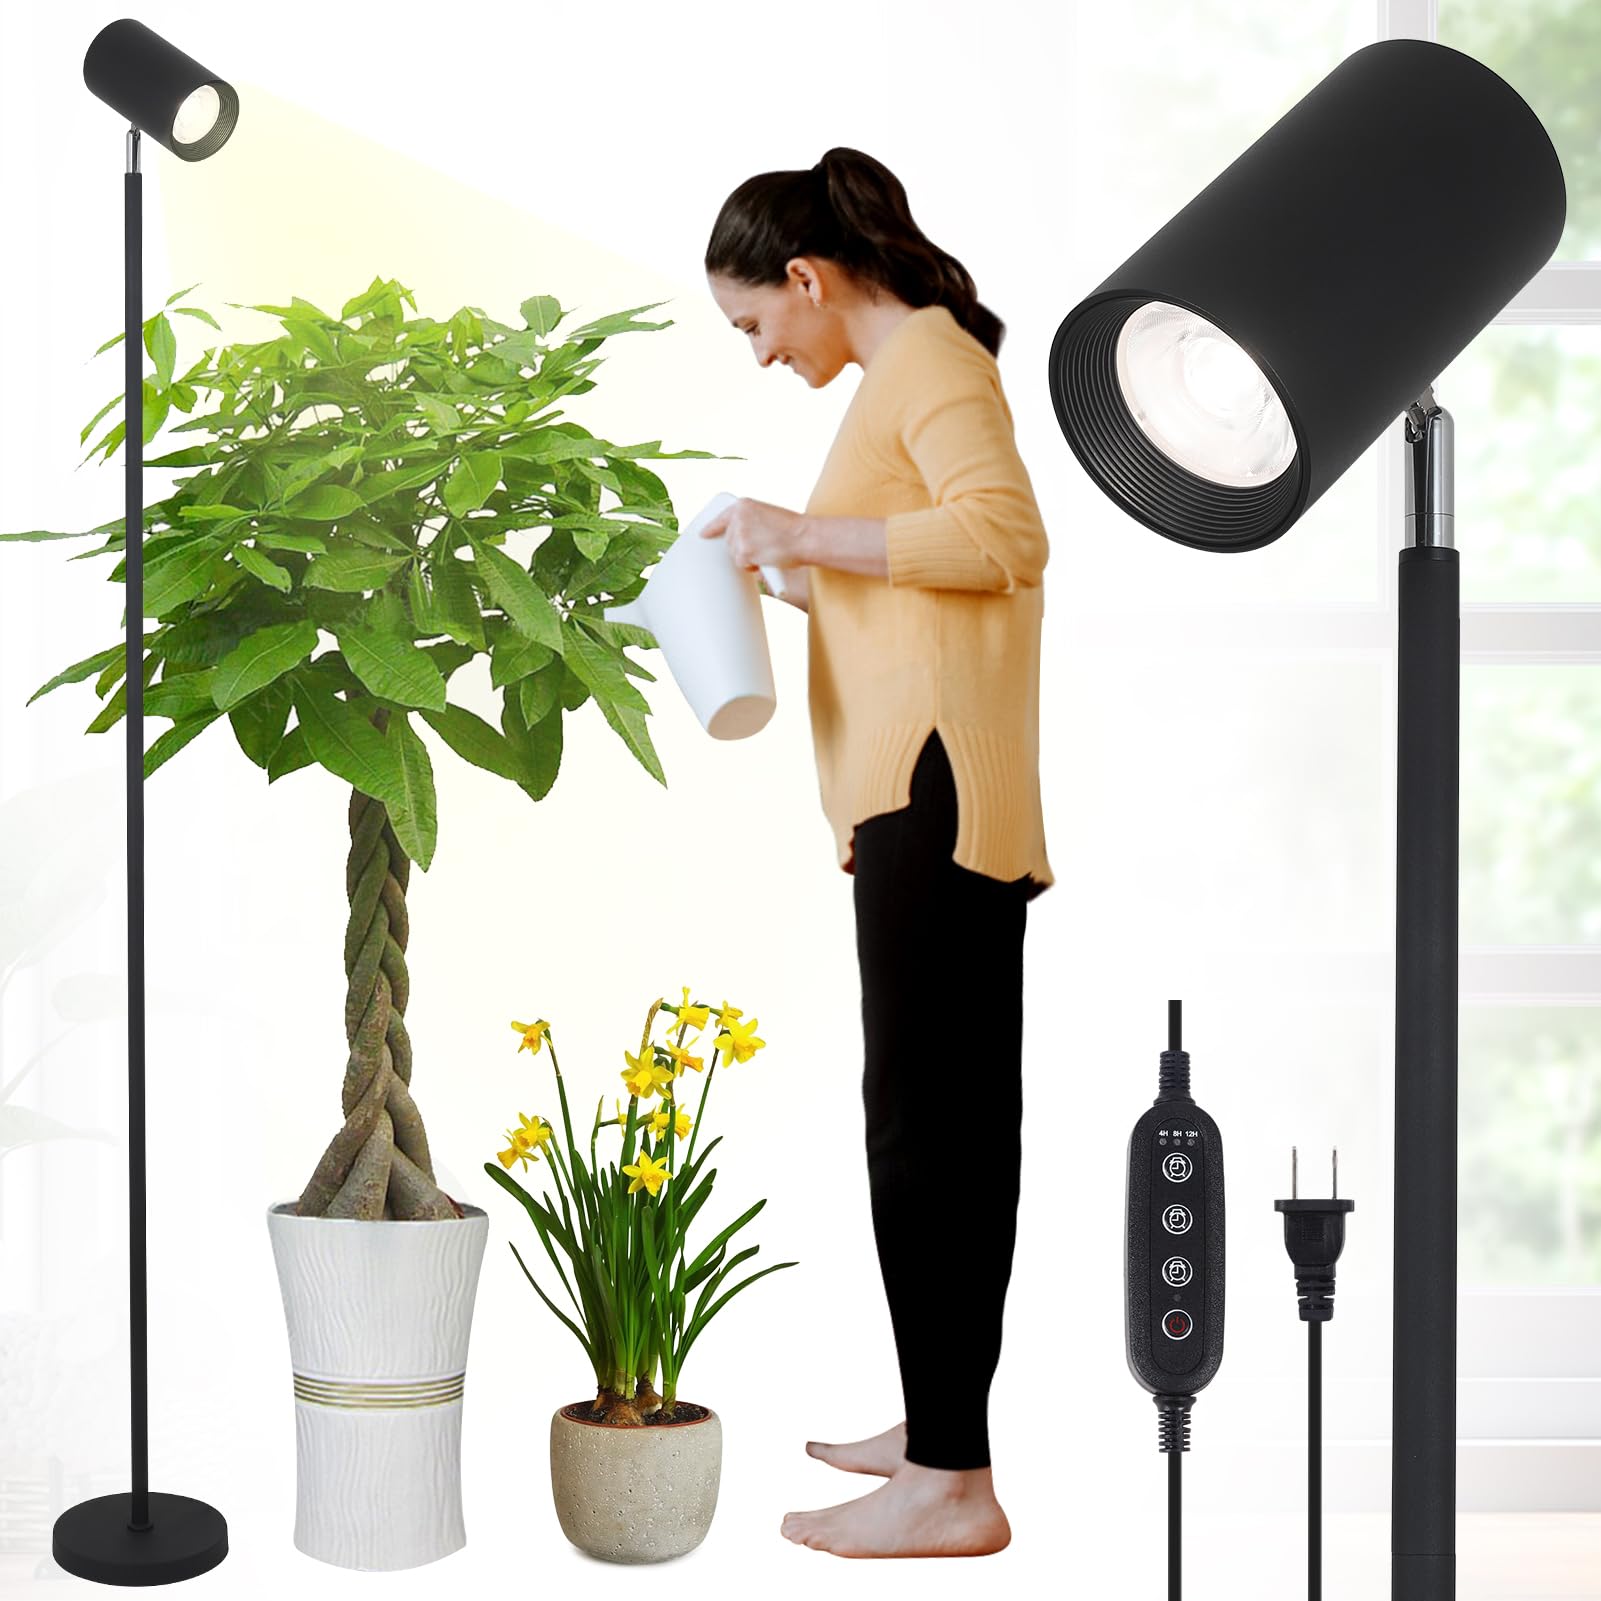
First thing was the light itself. I needed a proper grow light, not just any old lamp. I went for one of those LED strip lights – the ones that give off that purplish-pink glow, supposed to be good for plant growth. Found a decent one online, not too expensive. Make sure you check the length you need for your plants.
Then, the stand. I wanted something simple, lightweight, and easy to put together. I thought about wood, but that meant more cutting and joining. Metal? Nah, too much hassle. I settled on PVC pipes. Cheap, easy to cut, and you just push the pieces together with connectors.
So, I went to the hardware store and grabbed:
- Some lengths of PVC pipe (I think it was 1/2 inch or 3/4 inch, can’t remember exactly, just something sturdy enough)
- PVC connectors: I needed four ‘T’ connectors for the base and two ‘elbow’ connectors for the top corners.
- A pipe cutter (you could use a hacksaw, but the cutter makes it cleaner and easier).
- Zip ties – essential little things!
Putting the Stand Frame Up
Back home, I laid out my plant pots to figure out the size. I needed a base wide enough and tall enough to clear the plants. I measured how long the LED strip was, too, so the top bar would match.
Cutting the pipes was first. I measured out the pieces for the base (two long sides, two short connecting sides), the upright posts (two of these, determining the height), and the top bar where the light would hang. Using the pipe cutter was pretty satisfying, just clamp and twist.
Assembly time! I started with the base. Pushed the short pipes into the side openings of the ‘T’ connectors, then pushed the long pipes into the straight-through parts of the ‘T’s. Made a rectangle shape on the floor. Easy.
Then, I stuck the upright pipes into the top openings of two opposite ‘T’ connectors on the base. Finally, I put the elbow connectors on top of the uprights, facing inwards, and pushed the last pipe piece between them to make the top bar. Didn’t even need glue, the push-fit was tight enough for this.
I stood it up. Looked pretty good! A white PVC frame, standing there ready.

Adding the Grow Light
Now for the main event – attaching the LED strip light. This was where the zip ties came in handy. I just laid the light strip along the top PVC bar.
I used several zip ties, spaced out along the strip, to securely fasten it to the pipe. Pulled them tight and snipped off the ends. Made sure the LEDs were pointing straight down towards where the plants would be.
Ran the power cord down one of the upright pipes, maybe used another zip tie loosely to keep it tidy.
The Final Result
Plugged it in, and bam! Plant-friendly light shining down. I placed my plants under it, adjusted the position a bit. The whole thing was surprisingly stable but light enough to move if needed.
It wasn’t fancy, but it did the job perfectly. Took maybe an hour or so, start to finish? Much cheaper than buying a pre-made one, and I got the exact size I needed. The plants seem to be doing much better now, so I’d call that a successful little project.


