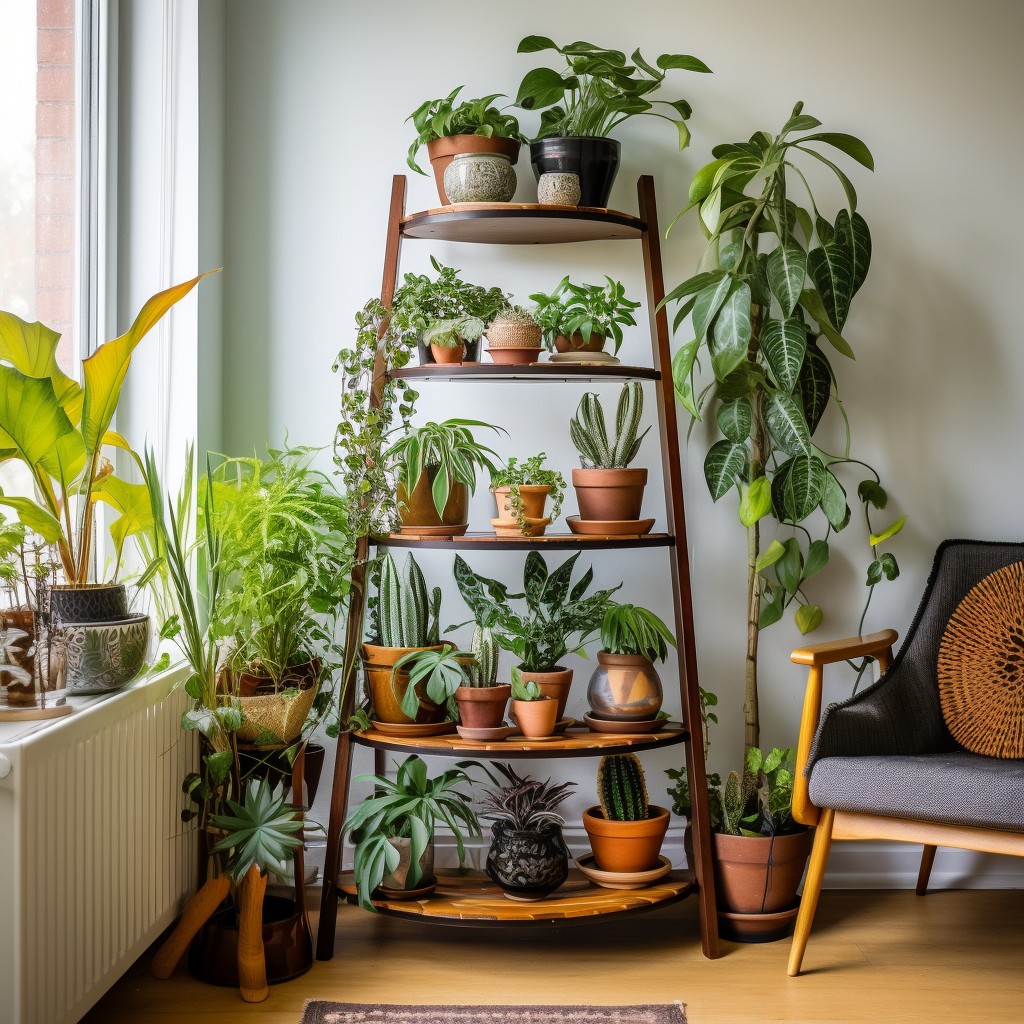
Okay, let’s talk about this round planter stand I put together the other day.
Why I Bothered
Honestly, I just needed something to get my big monstera plant off the floor. It was starting to look a bit sad down there, and the plastic pot wasn’t doing it any favors. Looked around online and in stores, and everything was either flimsy junk or cost way more than I wanted to pay for a few bits of wood. So, figured I’d just make one myself. Had some wood scraps in the garage anyway.

Getting Started – The Bits and Pieces
Didn’t need much, really. Found a decent piece of pine board, about an inch thick, that looked big enough for the top. Also had some square-ish dowel rods, maybe 1.5 inches thick, that seemed sturdy enough for legs.
Stuff I used:
- Pine board (for the top)
- Thicker wood pieces (for the legs, ended up using some 2×2 scraps actually)
- Wood screws
- Wood glue
- Sandpaper (medium and fine grit)
- My trusty jigsaw
- Drill
- Measuring tape and a pencil
- A big round platter from the kitchen (for tracing the circle)
Yeah, pretty basic tools. Nothing fancy.
Making the Thing
First thing was the round top. Grabbed that big platter, flipped it upside down on the pine board, and traced around it with a pencil. Gave me a nice circle, about 12 inches across I think.
Then came the cutting. Clamped the board down tight and carefully followed the pencil line with my jigsaw. It wasn’t a perfect, factory-smooth circle afterwards, jigsaws can wander a bit, you know? But it was round enough for a plant stand. Spent some time sanding the edge smooth, first with the medium grit paper, then the fine grit. Made it look a lot better and got rid of any splinters.
Next, the legs. I decided three legs would be best. More stable on floors that aren’t perfectly level, unlike four legs which always seem to wobble. Cut three pieces from the 2×2 scrap wood, all the same length. Think I made them about 16 inches long. Sanded the cut ends smooth too.
Putting It All Together
Figuring out where to attach the legs took a minute. I kind of eyeballed it, placing them equally spaced around the underside of the round top, maybe an inch or so in from the edge. Marked the spots with pencil.

For attaching, I decided glue and screws were the way to go. Put a good amount of wood glue on the top end of each leg. Placed them on their marks under the top piece. Then, carefully flipped the whole thing over. I drilled pilot holes down through the top and into the center of each leg first – helps stop the wood splitting. Then drove in a couple of decent-length wood screws for each leg, countersinking them slightly so the heads were flush or just below the surface.
Let the glue dry for a few hours. Checked it was solid. It felt pretty sturdy.
The Final Result
Didn’t bother with paint or stain this time. Sometimes I do, but I kind of liked the plain pine look for this. Just gave the whole thing a final light sanding to make sure it was smooth all over.
And that was it. Stuck the monstera on top. Fit perfectly. Sits nice and stable in the corner now, off the cold floor. Took maybe, what, two or three hours total, not counting glue drying time? Definitely better than shelling out cash for something flimsy. It does the job, and I made it myself. Good enough for me.


