
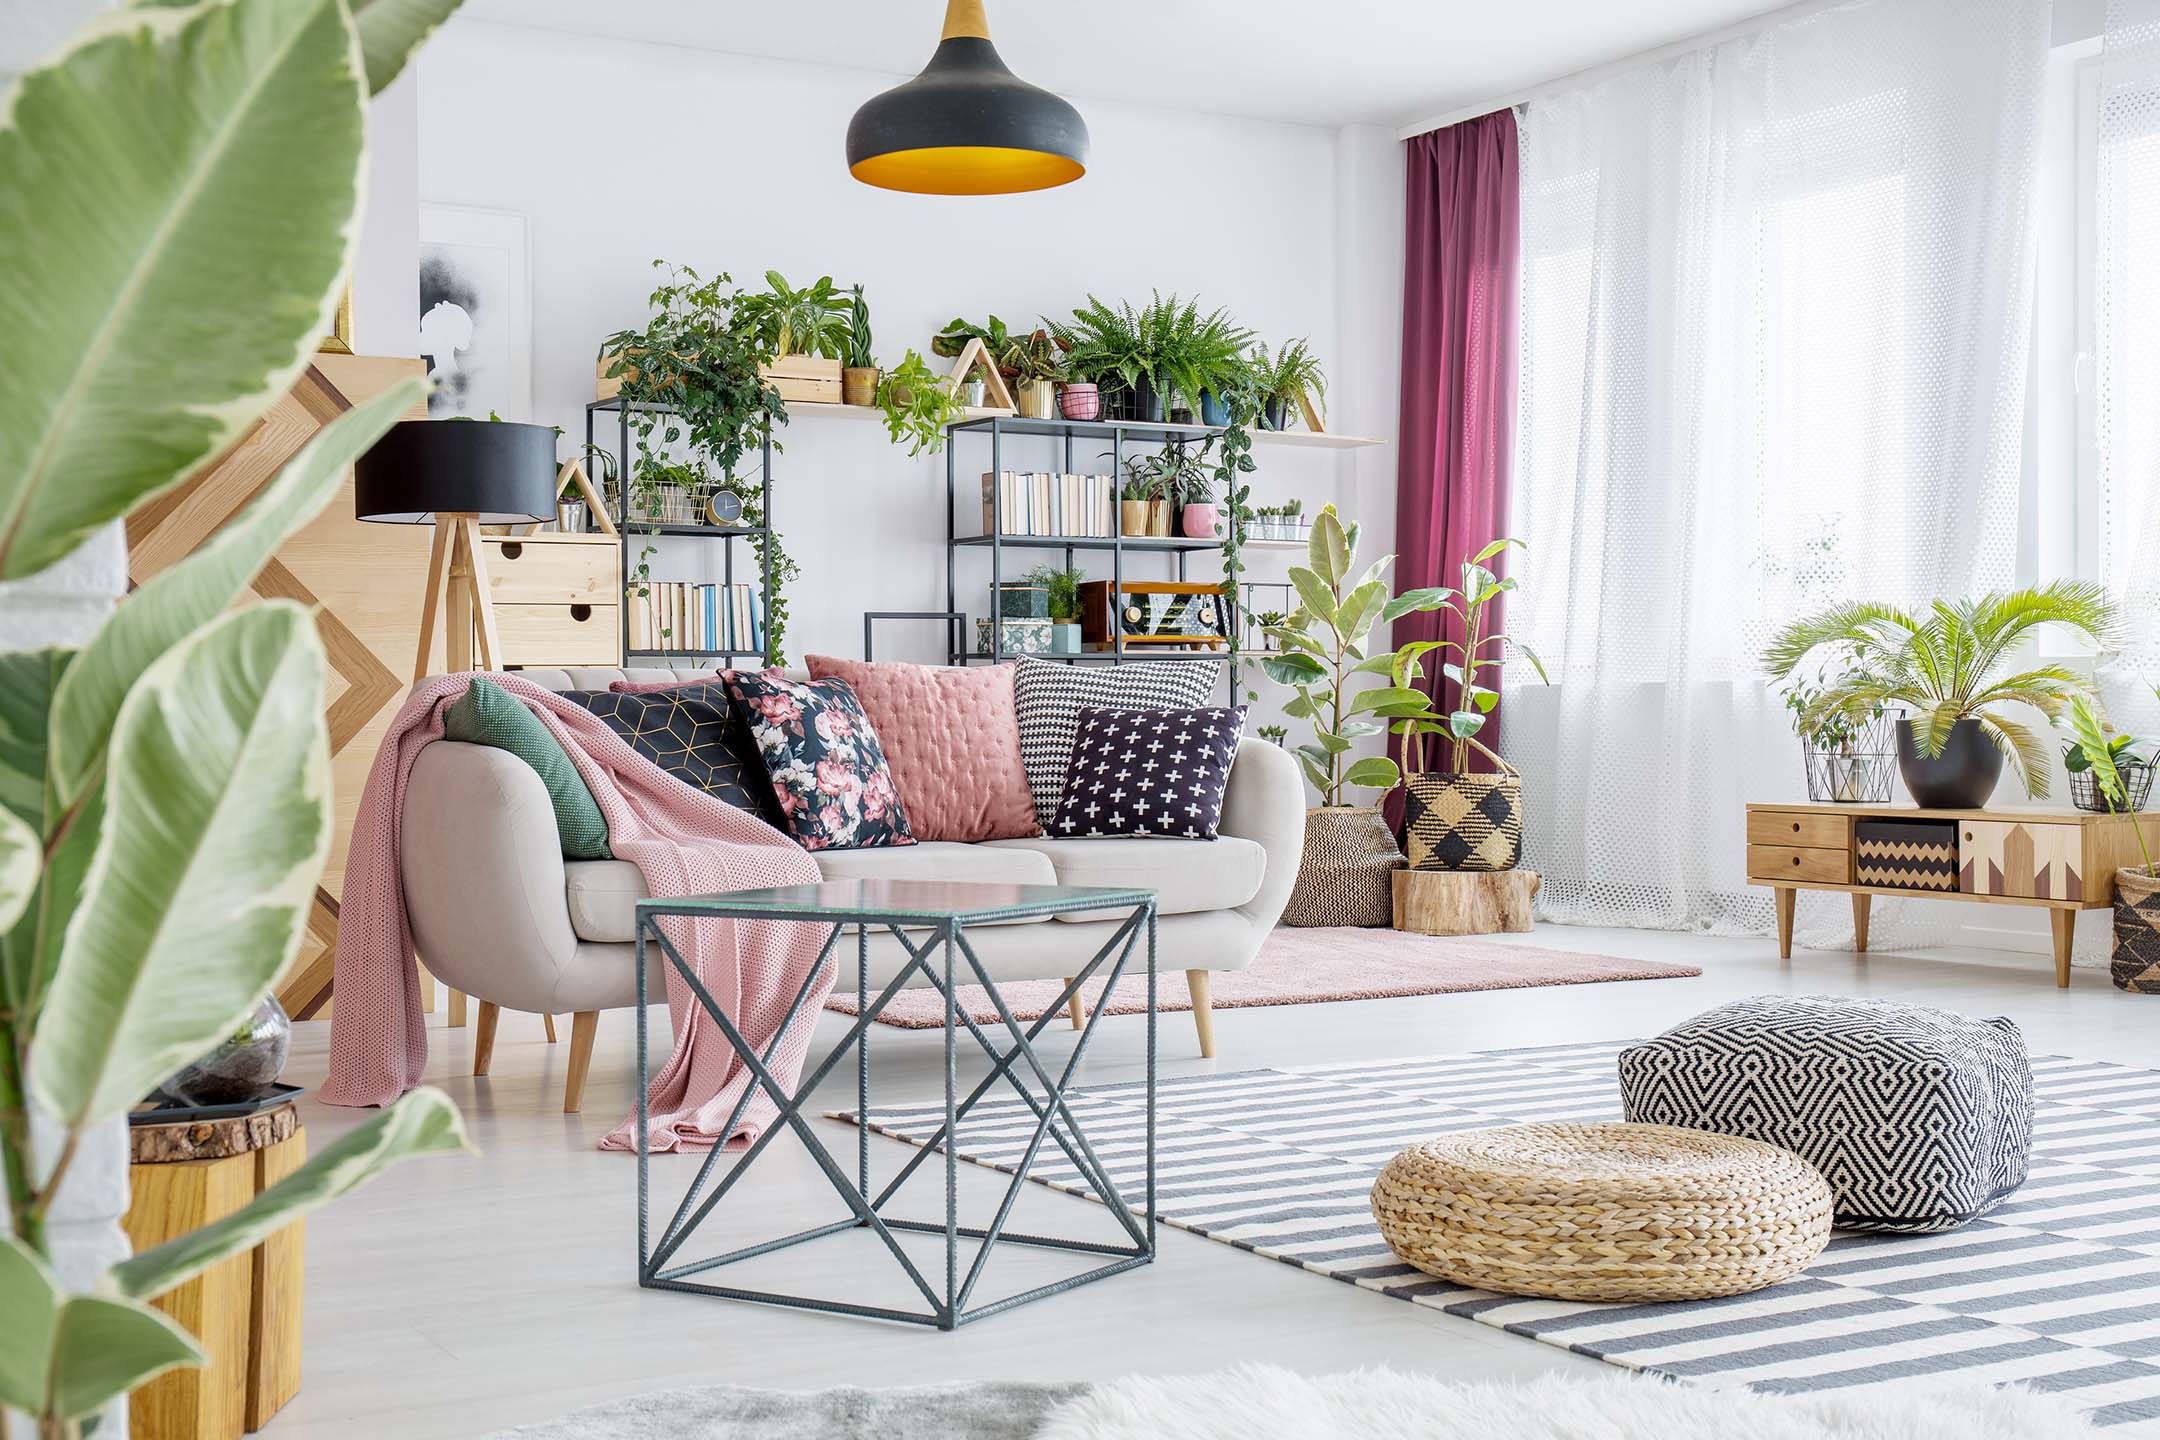
Alright, so I decided I needed a modern planter stand. My plants were just kind of… there. Sitting on the floor, some on little saucers. It wasn’t a good look, you know? I wanted to lift them up, make them look a bit more special, give the room a bit of a nicer vibe. It’s like, they say elevating plants makes them stand out, makes them a focal point. And I was like, yeah, I want that.
Getting Started – The Plan (Sort Of)
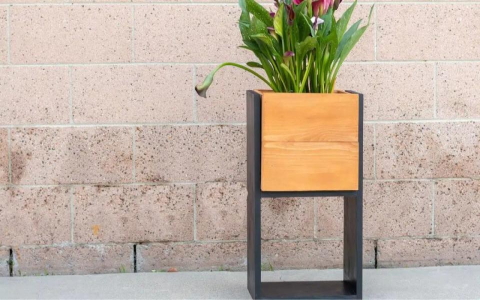
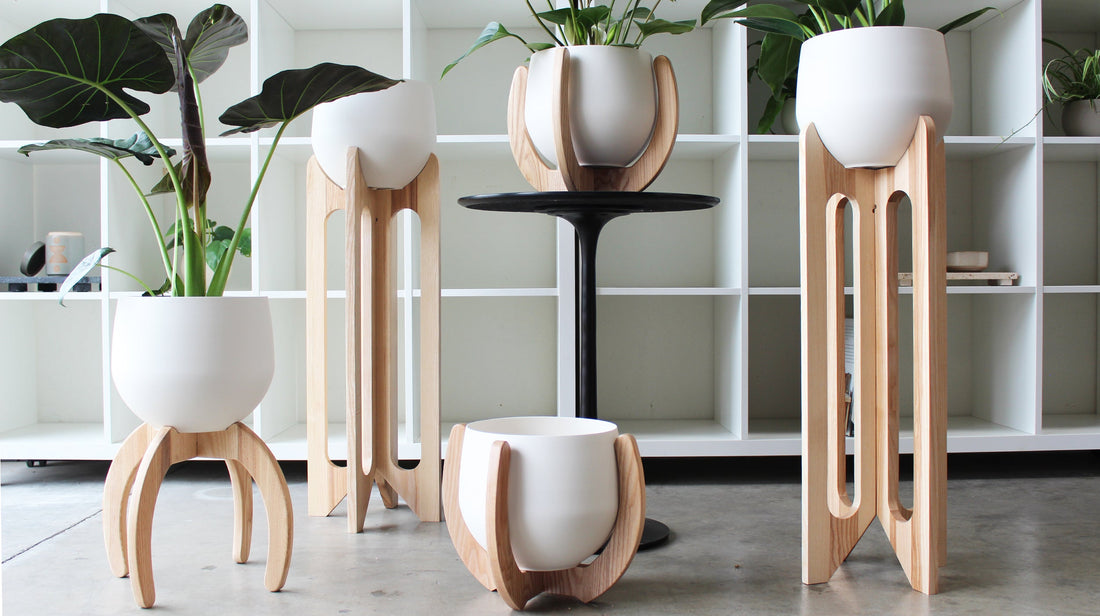
First thing, I spent way too much time looking at pictures online. Some were super fancy, probably cost a fortune. Others looked like a kid made them. I wanted something in between – clean lines, modern, but something I could actually build without a full workshop. I sketched out a few ideas, nothing too complicated. Just a simple frame, really. The main thing was getting the height right. I didn’t want it too tall, or too short. Goldilocks zone, you know?
Then came the materials. I headed down to the hardware store. Lumber. Screws. Maybe some wood glue. I’m not a master carpenter, let’s be clear. I just wanted something sturdy. I picked out some decent pine boards. Not too expensive, looked okay. Figured I could stain it later if I wanted to.
The Actual Building Part – Sweat and Maybe a Few Swear Words
Okay, so cutting the wood. This is where things always get interesting for me. I measured everything twice. Seriously. I even said it out loud, “measure twice, cut once.” Still, one of my first cuts was a bit… wobbly. My old hand saw, it’s got character, let’s say. But I managed. Got my four legs, and the pieces for the top part where the pot would sit.
Assembling it was next. I decided to use screws and a bit of wood glue for extra strength. Getting those first few screws in to make a stable corner, that’s always a bit of a juggle when you’re working alone. Lots of propping things up with other random stuff I had lying around. There was definitely a moment where I thought, “Why am I doing this? I could have just bought one.” But then I remembered the prices, and also, where’s the fun in that?
I eventually got the frame for the top put together, then attached the legs. Lots of checking if it was level. Or, you know, “level-ish.” My floor isn’t perfectly flat anyway, so “good enough” became my motto. Once it was all screwed together, it felt pretty solid. I gave it a good wobble test. Passed!
Thinking About the Pot
Now, the planter itself. I had this nice, deep pot I wanted to use. And I remembered reading somewhere, or maybe someone told me, that with these really deep planters, you don’t actually have to fill the whole thing with soil. That stuff gets heavy, and it’s expensive! So, the plan was to fill the bottom part, maybe half or even a bit more, with something else. Like old plastic bottles, or some packing peanuts in a bag, just to take up space. Then put landscape fabric over that, and then the soil. Makes the whole thing lighter and saves on good potting mix. Seemed like a smart move.
The Final Look and Feel
After a bit of light sanding to smooth out any rough edges – didn’t want splinters, obviously – I stood back and looked at it. Not bad. Not bad at all. It was simple, sure, but it was exactly what I wanted. I didn’t bother staining it right away. Kind of liked the natural wood look for now.
Then, the big moment: putting the plant on it. And yeah, it totally changed the look. The plant looked way better, more prominent. It wasn’t just hiding in the corner anymore. It felt like it completed that little spot in the room.
What I learned, or re-learned:
- Patience is key. Rushing leads to wonky cuts.
- “Good enough” is sometimes actually good enough, especially for a home project.
- Building something yourself, even something simple, is pretty satisfying.
- Lifting plants up really does make a difference. They just look happier.
So yeah, that was my adventure in making a modern planter stand. It’s not a masterpiece, but it’s mine, and it does the job. And my plant seems to like its new view. Now I’m looking around thinking… what else needs a stand?


