
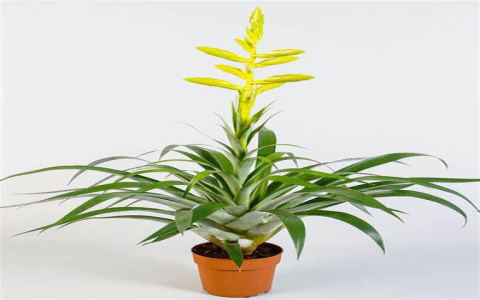
Okay, so, I’ve got this bromeliad, right? And it started looking a bit cramped in its pot. I noticed these little baby plants, they call them “pups,” sprouting around the base. That’s when I knew it was time for a bigger pot. Plus, I saw some roots poking out of the bottom – a sure sign it needed more space.
First, I gathered my stuff. I got some new potting mix – the old stuff looked pretty worn out. I also picked up a slightly larger pot, nothing too crazy, just enough to give it some room to grow. Oh, and I grabbed my gardening gloves, ’cause I didn’t want to get all dirty. Some wooden stakes, too, just in case the plant needed some support after the move. I even found some coco coir at the store and thought, “Why not?” and added it to the mix.
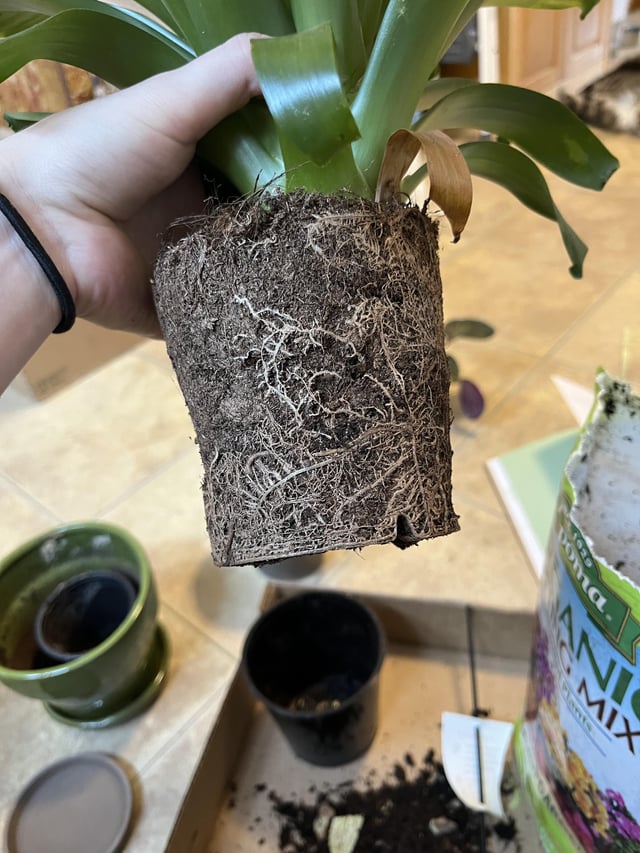
Next, I gently took the bromeliad out of its old pot. It was a bit of a struggle, but I managed not to break anything. I carefully separated the pups from the mother plant. Each one got its own little pot, filled with the fresh soil mix I’d prepared. I made sure to pat down the soil firmly, but not too tight, you know? Gotta let those roots breathe.
The main plant, I put it in that new, bigger pot. I filled it in with more of that fresh soil, making sure it was nice and snug. After that, I gave them all a good watering. Not too much, just enough to get the soil damp.
Here’s what I did, step-by-step:
- Get prepared: Gloves on, new pot ready, fresh soil mixed with some coco coir, and those wooden stakes nearby.
- Out with the old: I took the plant out of its old pot and separated the pups.
- In with the new: Each pup went into its own little pot, and the main plant got the bigger one.
- Watering time: Gave them all a good drink, but didn’t drown them.
Now, they’re all sitting pretty in their new homes. I think they’re gonna be much happier now. It felt good to give them some space and fresh soil. Hopefully, they’ll thrive and grow even more beautiful. I heard that doing this can really make them grow better, and I’m all for that. Fingers crossed!


