
Alright, so I wanted to share what I got up to the other weekend – I decided to tackle making a sort of plant stand tree. My collection of little green buddies was starting to take over every flat surface, and honestly, it was getting a bit much, even for me!
Getting the Idea Rolling
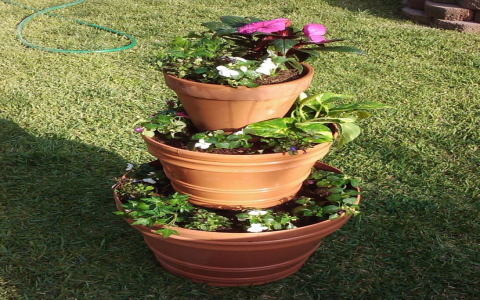
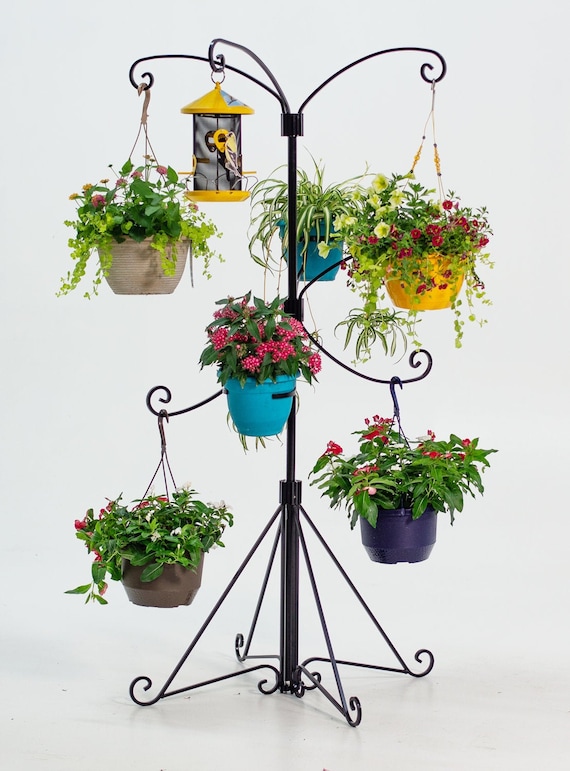
I’d seen some cool, tiered plant stands, but nothing quite like what I had in my head, or at least, not for a price I was willing to pay. I figured, why not try and build something myself? I’m not exactly a master carpenter, mind you, but I can usually figure things out. I wanted something that went upwards, like a skinny tree, to save floor space but still hold a decent number of pots.
So, the first step was, well, thinking. I didn’t draw up any complicated plans, not my style. I just sort of visualized it. A main “trunk” piece, and then little “branches” or platforms sticking out at different levels and angles. Seemed simple enough in my head, famous last words, right?
Gathering the Bits and Pieces
Off to the hardware store I went. I needed wood, obviously. I grabbed a few lengths of decent pine, not too expensive, but sturdy enough. I also picked up:
- A thicker piece for the main upright “trunk.”
- Some smaller, flatter pieces for the “shelves” or “branches.”
- A bigger, heavier piece for the base, because the last thing I wanted was this thing toppling over. Stability was key!
- A bunch of screws of various lengths. You can never have too many screws.
- Some wood glue, for good measure.
I already had a drill, a saw (a basic hand saw, nothing fancy), and some sandpaper at home. That was pretty much it for materials. I decided to worry about paint or stain later; getting the structure right was the main thing.
The Actual Building Part – Sweat and Maybe a Few Swear Words
Okay, so building it was an adventure. I started by cutting the base. Made it a good size, a square, because I figured that’d be pretty stable. Then I cut the main “trunk” piece to the height I wanted. Attaching that securely to the base was the first hurdle. Lots of glue, lots of screws, and a bit of hoping for the best. I checked it with a level, well, I eyeballed it mostly, to make sure it wasn’t leaning too much. Good enough!
Then came the “branches.” This is where it got a bit fiddly. I cut out several small platforms, different sizes, some square, some a bit more rectangular. My idea was to stagger them up the trunk. Getting them attached strongly and, you know, relatively level, was tricky. I didn’t want my plants sliding off!
I’d sort of hold a piece in place, mark where the screws should go, drill pilot holes (learned that lesson the hard way in past projects – split wood is no fun!), and then screw them in. Patience, lots of patience. And yeah, some of them weren’t perfectly straight, but I told myself it added to the “organic, tree-like” charm. That’s my story and I’m sticking to it.
I just kept adding platforms, working my way up. Stepping back every now and then to see how it looked. It started to actually resemble a tree, a very geometric, wooden tree, but a tree nonetheless!
Finishing Touches and The Grand Reveal
Once all the pieces were attached and felt solid, I gave the whole thing a quick sanding to get rid of any rough edges. I had some leftover dark brown wood stain from another project, so I slapped a coat of that on. It made it look a bit more “finished” and less like a pile of raw wood. Let that dry overnight.
And then, the fun part! Bringing in the plants. I carefully arranged my little pots on the different levels. Smaller ones higher up, a couple of slightly bigger ones on the lower, sturdier platforms. I tried to balance it out visually.
Honestly, I was pretty chuffed with how it turned out! It’s not perfect, by any stretch. If a real carpenter saw it, they’d probably chuckle. But it’s sturdy, it holds my plants, it cleared up a ton of space, and I made it myself. That’s the main thing. It looks pretty cool in the corner of the living room, and now my windowsills can breathe again. Success!


