
Okay, let me tell you about this little project I did, messing around with a gnome and a watering can.
Getting the Idea
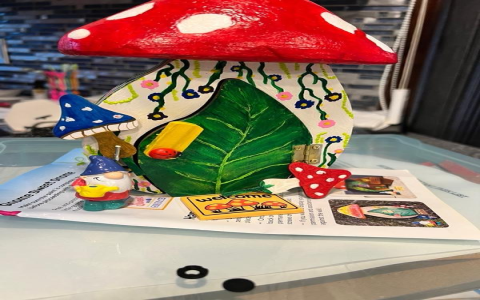
So, I was looking at my garden the other day, felt it needed something… quirky. You know? Not just flowers and stuff. I remembered seeing these cute little gnome things everywhere, and I had this old, kinda banged-up metal watering can just sitting in the shed. An idea sparked – why not combine them? Make a gnome watering can. Seemed like a fun weekend thing to do.
Gathering the Bits and Pieces
Didn’t want to spend much money, obviously. So, the plan was to use what I already had around.
- The old metal watering can (gave it a good scrub first).
- Some air-dry clay I had leftover from another project.
- Basic acrylic paints – red, blue, white, black, skin tone, green. You know, the usual suspects.
- Paintbrushes, nothing fancy.
- Some clear sealant spray I found in the garage.
That was pretty much it. Kept it simple.
Making the Gnome Part
Alright, this was the fun, but also kinda tricky, part. I grabbed a lump of that air-dry clay. Didn’t sketch anything, just went for it. I wanted the gnome sort of leaning against the side of the can, looking like he belonged there.
First, I shaped a basic body and stuck it on the can. Then the head, the big pointy hat – gotta have the pointy hat, right? – and a big round nose. The beard was next. I tried to make it look all textured and flowing. Getting the clay to actually stick properly to the smooth metal was a bit of a pain. I had to rough up the surface of the can a little where the clay would go, just scratched it lightly with some sandpaper. Helped a bit.
Then came the waiting. Air-dry clay takes its sweet time. Said 24 hours on the pack, but I left it for nearly two days just to be sure. Checked it like every few hours, poking it gently. Patience isn’t my strong suit, haha.
The Painting Bit
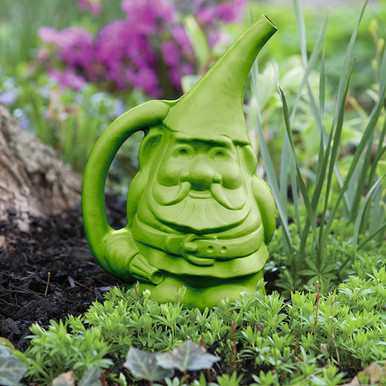
Once the clay was rock hard, it was painting time. This is where it starts to come alive. I went with classic gnome colors. Bright red for the hat, a nice blue for his little coat. White for the beard, obviously. Added some skin tone for the nose and hands (just little lumps, really).
Getting the paint into all the nooks and crannies of the beard texture took a bit of fiddling with a smaller brush. Then I added tiny black dots for eyes, peeking out from under the hat. Simple, but effective. I thought about adding more details, like little mushrooms around his feet, but honestly, I just wanted to get it finished at that point.
Finishing Touches
After the paint dried completely, I took it outside and gave the whole thing, can and gnome, a couple of light coats of clear sealant spray. Hopefully, that gives it some protection against the weather, though I suspect it’ll mostly live on the porch rather than out in the rain.
And that was basically it. The gnome is stuck fast, the paint is sealed. It still technically works as a watering can, though the gnome makes it a bit awkward to hold. It’s definitely more of a decoration now. Looks kinda rustic and handmade, which is exactly what I wanted. Adds a bit of fun to the garden corner. Was a good way to spend a weekend, just tinkering and making something with my hands. Pretty happy with how my little gnome watering can turned out.


