

Okay, so I’ve been wanting to spice up my living room with some greenery, and I thought a cool, modern planter with a stand would be perfect. I’m no expert craftsman, but I figured, “How hard could it be?” Let’s dive into how I built it, and maybe you can learn a thing or two along the way (or at least have a good laugh at my expense).
The Brainstorming Phase
First, I scoured the internet for inspiration. I looked at a ton of pictures and kinda got an idea of what I wanted: something simple, clean lines, and not too bulky. I didn’t want anything too fancy, because, let’s be honest, my woodworking skills are…basic.
Gathering Supplies
Next, I headed to the local hardware store. This is always an adventure. I ended up getting:
- A pre-made ceramic pot (I wasn’t about to try making that from scratch!). I chose the size of the plant that I was planning on buying.
- Some wood for the stand. I went with pine because it’s cheap and easy to work with.
- Wood glue.
- Screws.
- Sandpaper (various grits).
- Wood stain (I chose a dark walnut color).
- A sealant to protect the wood.
Building the Stand
This is where things got interesting. I measured the diameter of the pot’s base to figure out how big the stand’s top needed to be. I cut four pieces of wood for the legs and four shorter pieces for the top frame. I’m not going to lie, my cuts weren’t perfectly straight, but hey, that’s what sandpaper is for, right?
Then, I assembled the top frame using wood glue and screws. I made sure it was square(ish) and let the glue dry overnight. The next day, I attached the legs to the frame, again using glue and screws. This part was a little tricky, trying to get everything lined up and level. There was a bit of wobbling at first, but I managed to fix it with some extra sanding and a little bit of “creative adjustment.”
Finishing Touches
Once the stand was assembled and sturdy-ish, I sanded the whole thing down, starting with a coarse grit and working my way to a finer grit. This took a while, but it made a huge difference in how smooth the wood felt.
Next, I applied the wood stain. I love how the dark stain made the wood grain pop. After the stain dried, I applied a couple of coats of sealant to protect the wood from water damage (because, you know, plants need water).
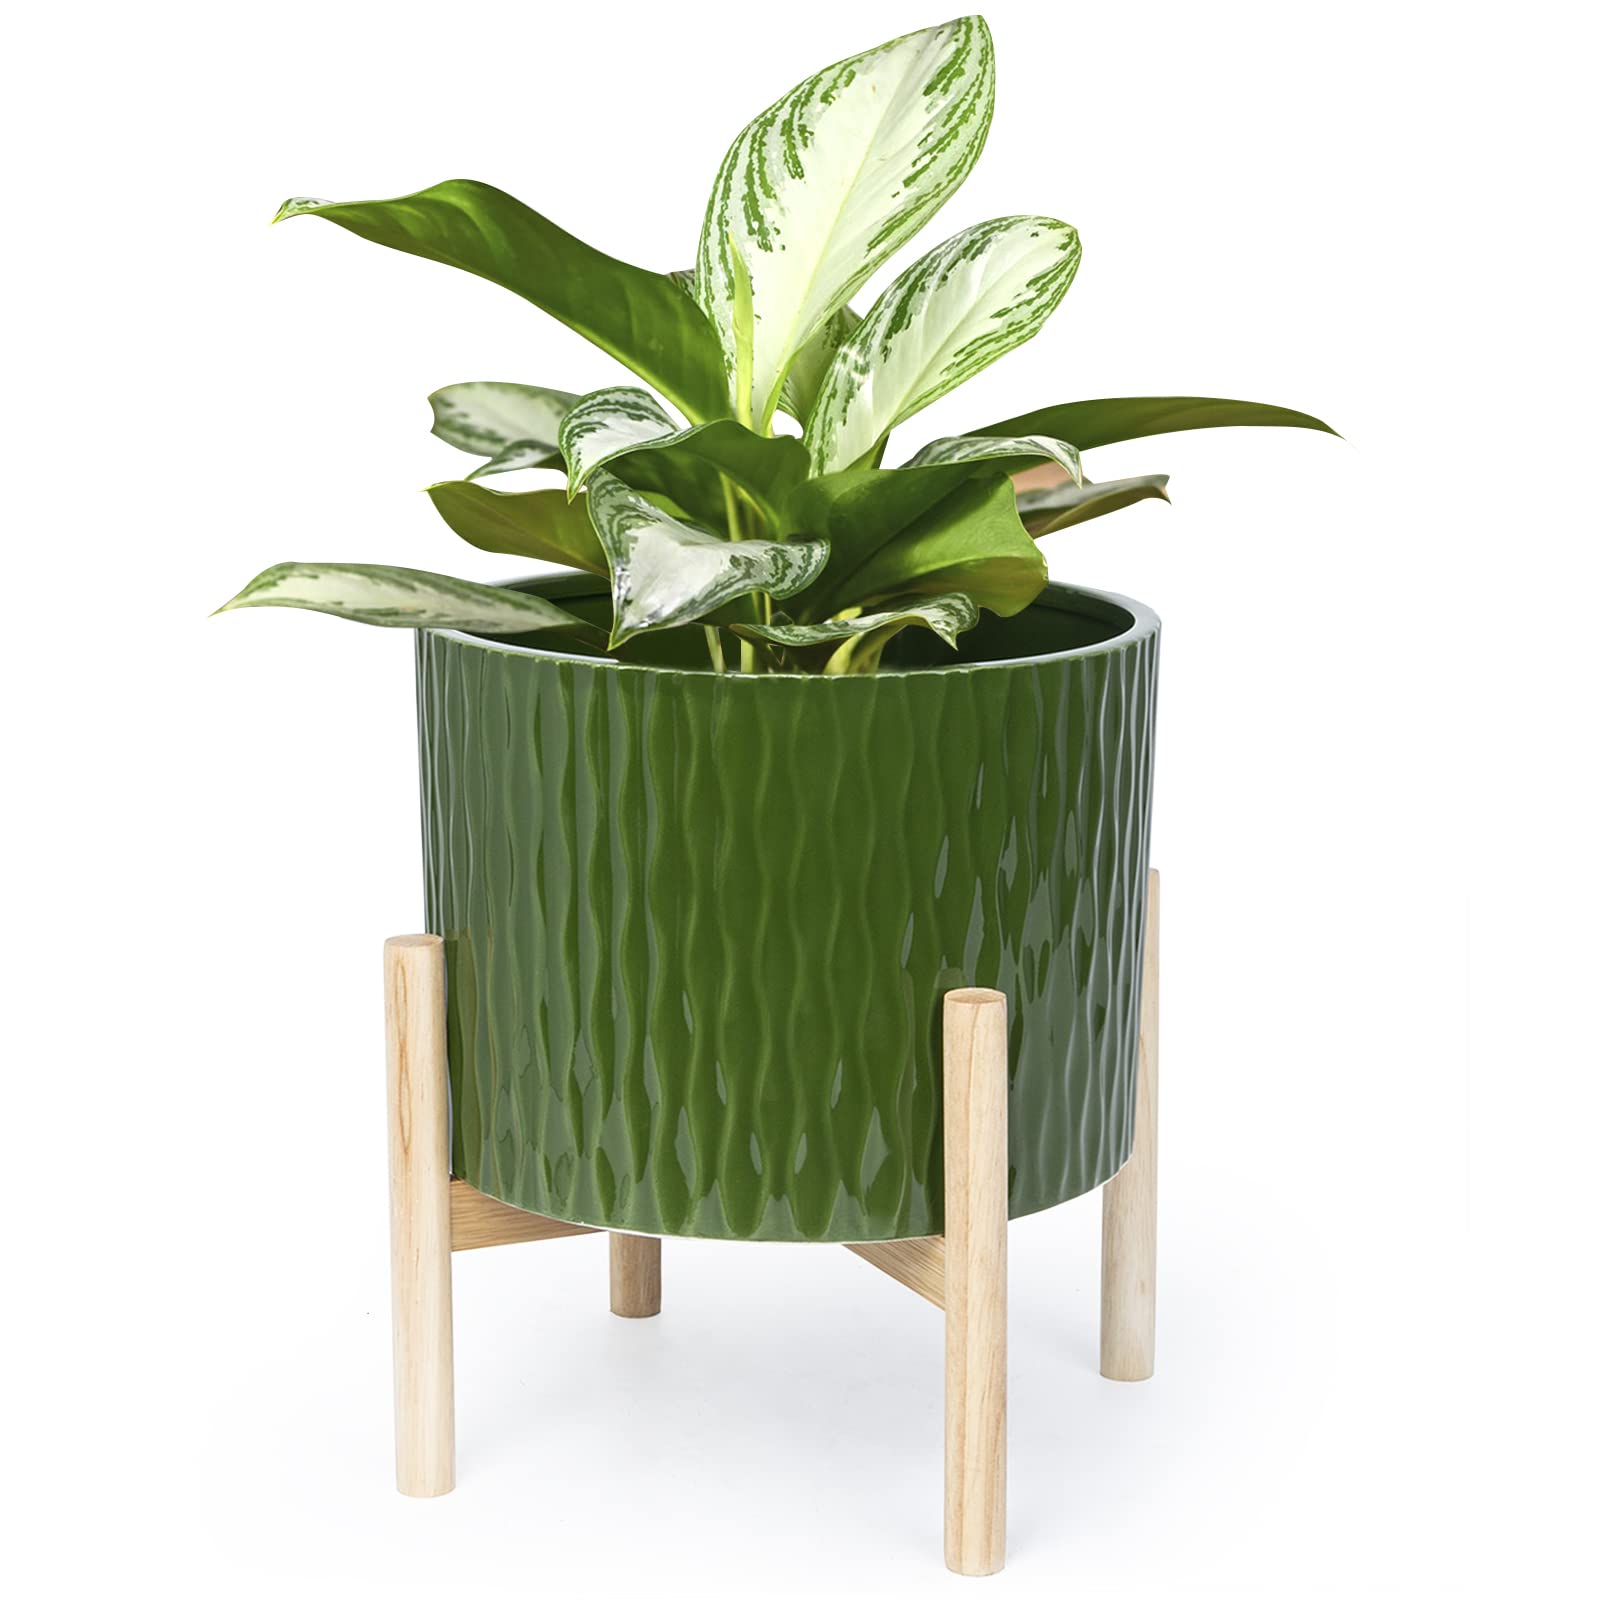
The Final Result
Finally, I placed the ceramic pot on the stand, and voila! My modern plant pot with a stand was complete. It’s not perfect, but it’s mine, and I’m pretty proud of it. It definitely adds a touch of modern style to my living room. And the best part? I made it myself! So if you think your craft skills are bad, think again and DIY!


