
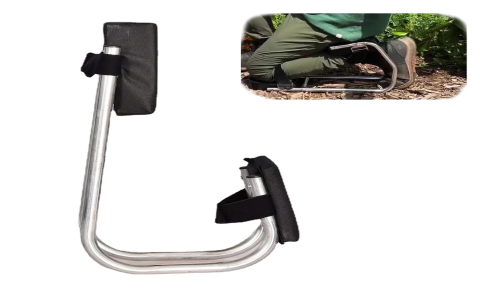
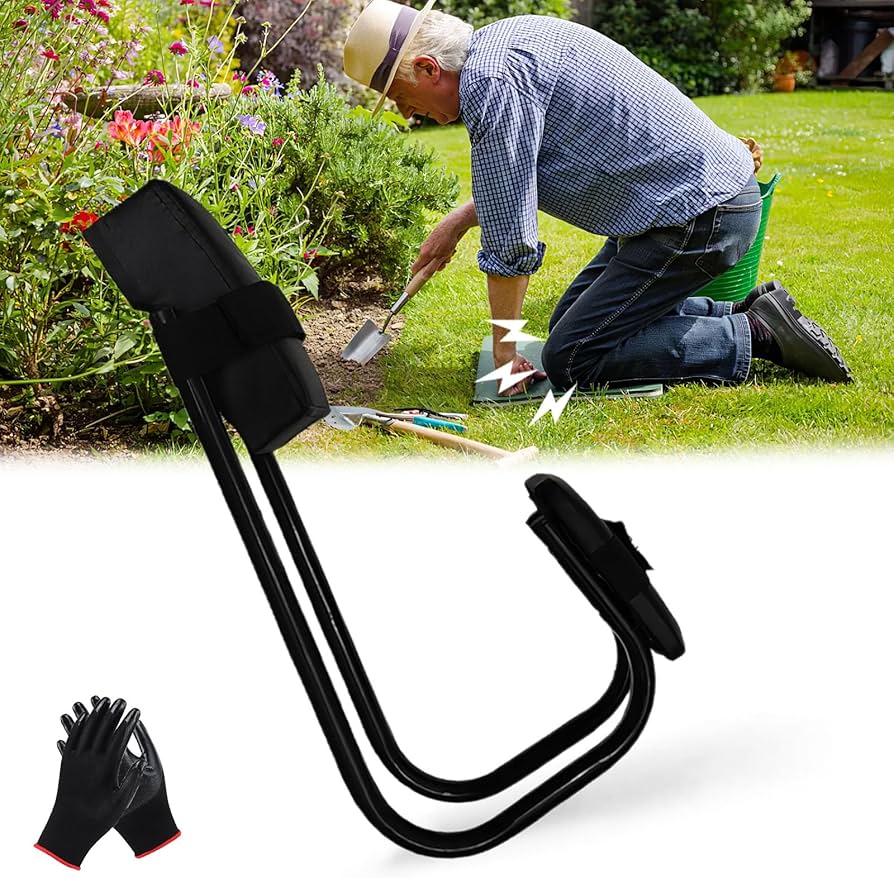
Alright folks, let me tell you about this little project I cooked up – a gardener’s tool seat. My back’s been screaming at me lately after spending hours hunched over weeding and planting. So, I figured I needed something to make life a little easier out in the yard.
First things first, I grabbed some scrap wood I had lying around in the garage. I’m talking about some old 2x4s and a piece of plywood I salvaged from a previous project. You know, the stuff you always think you might need someday? Well, someday had arrived!
I started by building a simple rectangular frame with the 2x4s. I wanted it to be sturdy, so I made sure to use plenty of screws and wood glue. No wobbly seats for this old gardener! I measured and cut the wood to the dimensions I thought would be comfortable – about 18 inches wide and 12 inches deep seemed like a good start.
Then came the legs. I cut four pieces of 2×4, about 14 inches long. This height seemed about right for sitting comfortably without having to squat too low. I attached the legs to the inside corners of the frame, again using screws and glue for extra strength. I made sure they were nice and square, because ain’t nobody got time for a lopsided seat.
Next, I cut the plywood to fit on top of the frame as the seat. Before attaching it, I sanded it down smooth to avoid any splinters. Then, I screwed it onto the frame, making sure the screws were countersunk so they wouldn’t snag my pants. Gotta protect the gardening jeans!
Now, for the tool storage part! I wanted something simple but functional. I found an old canvas bag that was just collecting dust. I figured I could attach it to the side of the seat to hold my trowel, pruners, and other essential gardening tools.
I measured the bag and decided where I wanted to attach it to the frame. Then, I used some heavy-duty staples to secure the bag to the side of the wooden frame. It wasn’t pretty, but it was functional! You could use screws or even sew it on if you’re feeling fancy.
To make it a bit more comfortable, I decided to add some padding to the seat. I had some leftover foam from an old cushion, so I cut it to size and glued it onto the plywood seat. Then, I covered it with some durable outdoor fabric I found on clearance at the fabric store. I stapled the fabric to the underside of the seat, pulling it tight to create a smooth, comfortable surface. No need to get all fancy, just gotta get it done.
Finally, I gave the whole thing a coat of outdoor sealant to protect it from the elements. You know, rain, mud, and all the other lovely things that come with gardening. I let it dry completely before taking it out to the garden.
The Verdict? It’s not the prettiest thing in the world, but it’s sturdy, comfortable, and keeps my tools within easy reach. My back is already thanking me. Plus, it was made from stuff I already had, so it didn’t cost me a dime! Highly recommend giving something like this a try if your body is starting to protest all that bending and kneeling!
- Materials: Scrap wood (2x4s, plywood), canvas bag, foam padding, outdoor fabric, screws, wood glue, staples, outdoor sealant
- Tools: Saw, drill, staple gun, sander, measuring tape
Tips for Your Own Gardener’s Tool Seat
- Don’t be afraid to customize it to your own needs and preferences. Add more storage, make it taller or shorter, whatever works for you!
- Use durable materials that can withstand the elements.
- Make sure the seat is sturdy and stable, especially if you’ll be using it on uneven ground.


