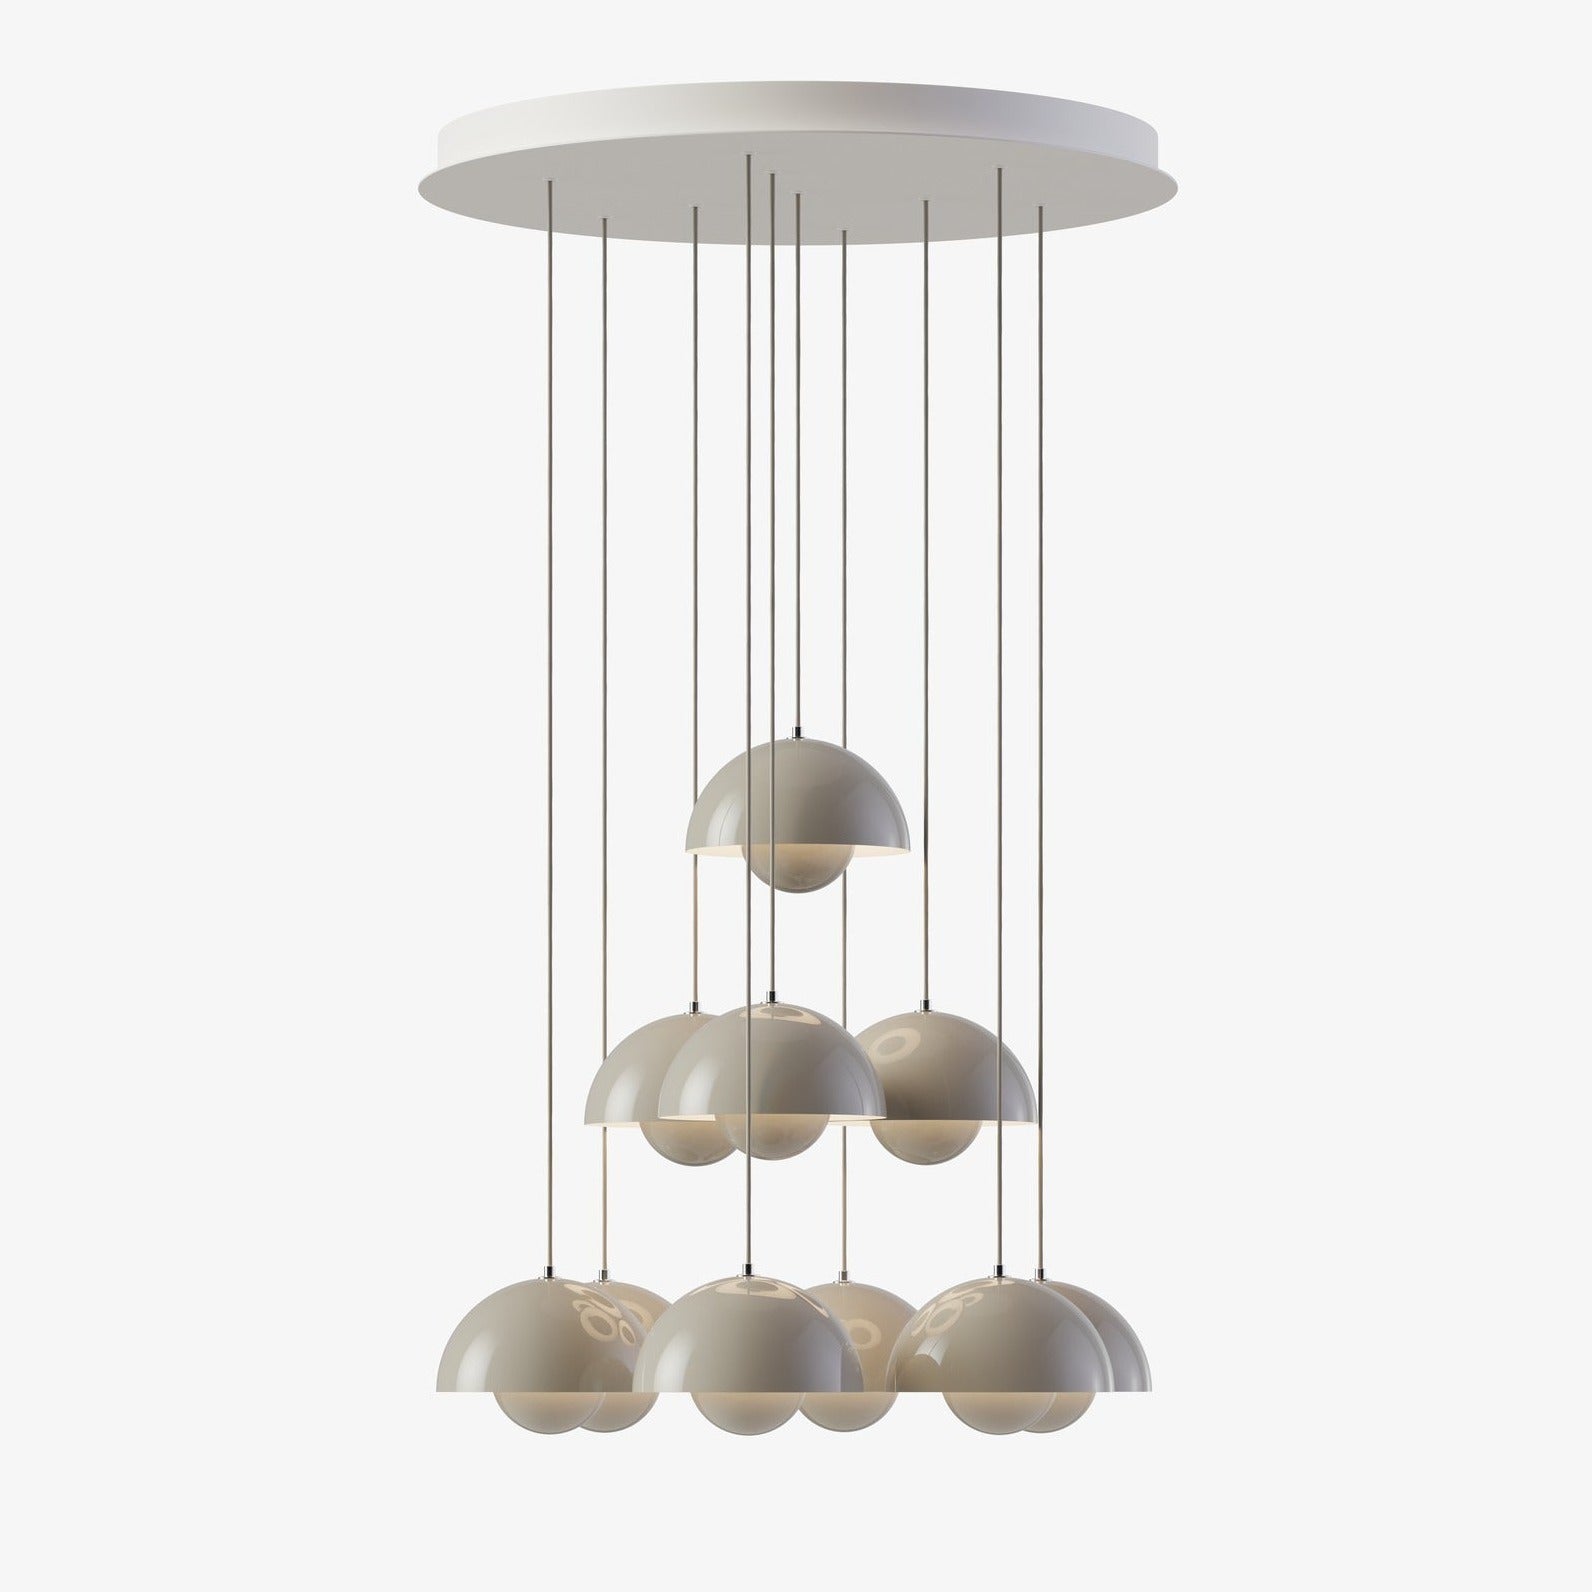
Okay, so I saw this super cool idea online for a flowerpot chandelier and thought, “I gotta try that!” I’m not gonna lie, it seemed a little intimidating at first, but I was determined to make it happen. It all started with a trip to the garden center.
Gathering Supplies
First things first, I needed the flowerpots. I grabbed a bunch of terracotta pots in different sizes – some big, some small, you know, to get that tiered look. I also picked up some strong rope, because safety first, people! And of course, I needed plants! I went with some trailing plants like ivy and some colorful flowers to add some pop. I think the color is so important.

- Terracotta pots (various sizes)
- Strong rope
- Trailing plants (ivy, etc.)
- Colorful flowering plants
- A strong hook (for hanging)
- Drill (with a bit for terracotta)
Prepping the Pots
This was probably the trickiest part. I needed to make sure the pots could hang securely, so I had to put on the goggle, grabbed my drill and carefully drilled some extra holes in the bottom of each pot. I made sure they were big enough for the rope to fit through, but not too big that the soil would fall out. It was a little dusty, so I definitely recommend doing this outside.
Assembling the Chandelier
I put all tools on the ground, then cut long pieces of rope – much longer than I thought I’d need, because you can always trim it later. I started with the biggest pot at the bottom and threaded the rope through the holes, tying big, sturdy knots underneath to keep it from slipping. Then I worked my way up, adding smaller pots and tying them to the ropes above. I made sure to space them out evenly so it looked balanced.
It took some fiddling to get the spacing right, and I definitely had to re-tie a few knots. My hands were pretty dirty at this point! One time, I almost dropped a pot, which would have been a disaster!
Planting and Hanging
Once I was happy with the arrangement, I carefully added the plants to the pots. I put the trailing plants in the higher pots so they could cascade down, and the flowering plants in the lower ones so they’d be more visible. Finally, I installed a super strong hook in the ceiling beam (making sure it was REALLY secure) and hung the whole thing up.
I add some soil little by little, to make them looks full.
The Final Result
And… wow! It looked amazing! The plants looked so vibrant, and the whole thing had this cool, rustic vibe. It totally transformed the space. It’s definitely a conversation starter, and I’m pretty proud that I made it myself. It took a few hours and a bit of effort, but it was totally worth it. I’m already thinking about making another one for my patio!


