
Okay, so I saw this cute idea online for making candles in little flower pots, and I just had to try it! Here’s how my little DIY adventure went.
Gathering My Stuff
First, I needed to get all the materials. I already had some old flower pots lying around, the small terracotta ones. I made sure to grab:
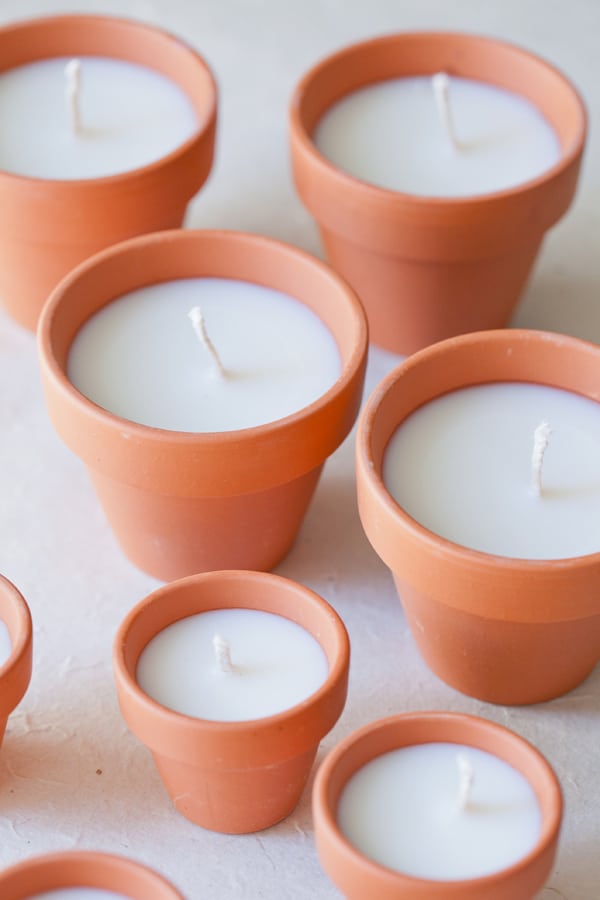
- Small terracotta flower pots (cleaned them out real good!)
- Wax flakes – I used soy wax because I heard it burns cleaner.
- Wicks – made sure they were long enough for the pots.
- Wick stickers – to hold the wicks in place.
- A double boiler (or a heat-safe bowl and a saucepan).
- Essential oils – I chose lavender and vanilla, my favorites!
- Something to stir with – a chopstick worked great.
- old crayons
Prepping the Pots
I started by washing the flower pots and letting them dry completely. It is important to make sure there is no dirt or anything inside. Then, I took those little wick stickers and stuck one to the bottom of each wick. I carefully centered the wicks in the pots, pressing down firmly so they’d stay put.
Melting the Wax
Next up, the wax! I didn’t have a real double boiler, so I just put some water in a saucepan and set a heat-safe bowl on top. I poured the soy wax flakes into the bowl and turned the heat to medium-low. I had to learn patience with this part, don’t rush to melt the wax, slow and steady is much better! Stirred it occasionally with the chopstick until it was all melted and smooth.
Adding the Good Stuff
Once the wax was all melted, I took it off the heat. Then, I added in a bunch of drops of my essential oils. Lavender first, then vanilla. I didn’t measure, just added until it smelled strong enough to my standards, making sure to stir it all together.
I found some old crayons, and to add some pretty color I broke off a small piece of crayon and added to the wax and stirred to melt and mix the color.
Pouring and Waiting
This was the exciting part! I carefully poured the scented wax into each flower pot, making sure not to overfill them. I left a little bit of space at the top. I was so anxious to see how it looked, I poured very slowly.
Then came the hardest part: waiting! I had to let the candles cool and harden completely, which took a few hours. I resisted the urge to poke at them, and kept myself busy with my daily tasks.
The Final Result!
Finally, they were ready! I trimmed the wicks down to about half an inch, and that was it. My flower pot candles were done! They looked so cute, and my room smelled amazing when I lit one. It was such a fun and easy project, and I’m already planning to make more as gifts. I felt so great making these by myself, and so can you!


