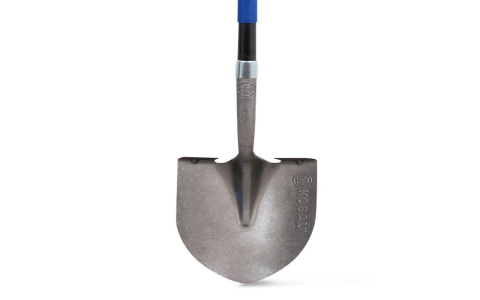
Okay, so yesterday I decided it was finally time to tackle that broken shovel in my shed. You know, the one I’d been tripping over for months? The handle had snapped clean in half during that last big snowstorm, and I’d just been chucking it back in the corner ever since. Enough was enough.
First, I grabbed the broken shovel and took a good look at it. The wood had split right near where it meets the metal blade, a classic weak spot. I figured I’d need a new handle, some strong adhesive, and maybe some screws for extra reinforcement.

So, I headed to the local hardware store. I wandered around the lumber section for a bit, feeling all the different wooden handles. I ended up picking a sturdy-looking ash handle – felt nice and solid in my hand. I also grabbed a tube of heavy-duty construction adhesive and a box of wood screws, just in case.
Back home, I got to work. First, I cleaned up the metal part of the shovel, scraping off any old bits of wood and glue. Then, I test-fitted the new handle. It was a little snug, so I used a rasp to widen the opening a bit. I kept checking and filing until it slid in nice and smooth.
Putting it All Together
Next, I applied a generous amount of that construction adhesive inside the metal socket and along the end of the new handle. I slid the handle in, making sure it was aligned properly. Then, to be extra sure it wouldn’t budge, I drilled a couple of pilot holes and sunk some wood screws through the metal and into the handle.
- Cleaned the old shovel head.
- Fitted the new handle.
- Applied adhesive.
- Secured with screws.
I wiped away any excess adhesive, and that was pretty much it! I left it to dry overnight, and this morning, it felt solid as a rock. I even tested it out on a small pile of dirt in the garden, and it worked perfectly.
Honestly, it felt pretty good to fix something myself instead of just throwing it away and buying a new one. Plus, I saved a few bucks! Now, let’s see what else I can fix around here…


