
Alright folks, let me tell you about my little adventure with the “track shovel” thing. It’s not as glamorous as it sounds, but hey, practical skills are where it’s at, right?
The Backstory: So, I’ve got this patch of land, see? And it gets all muddy and gross, especially after it rains. I was tired of slipping and sliding around, so I figured, “Why not build a little track?” A track, I thought, needs a shovel.
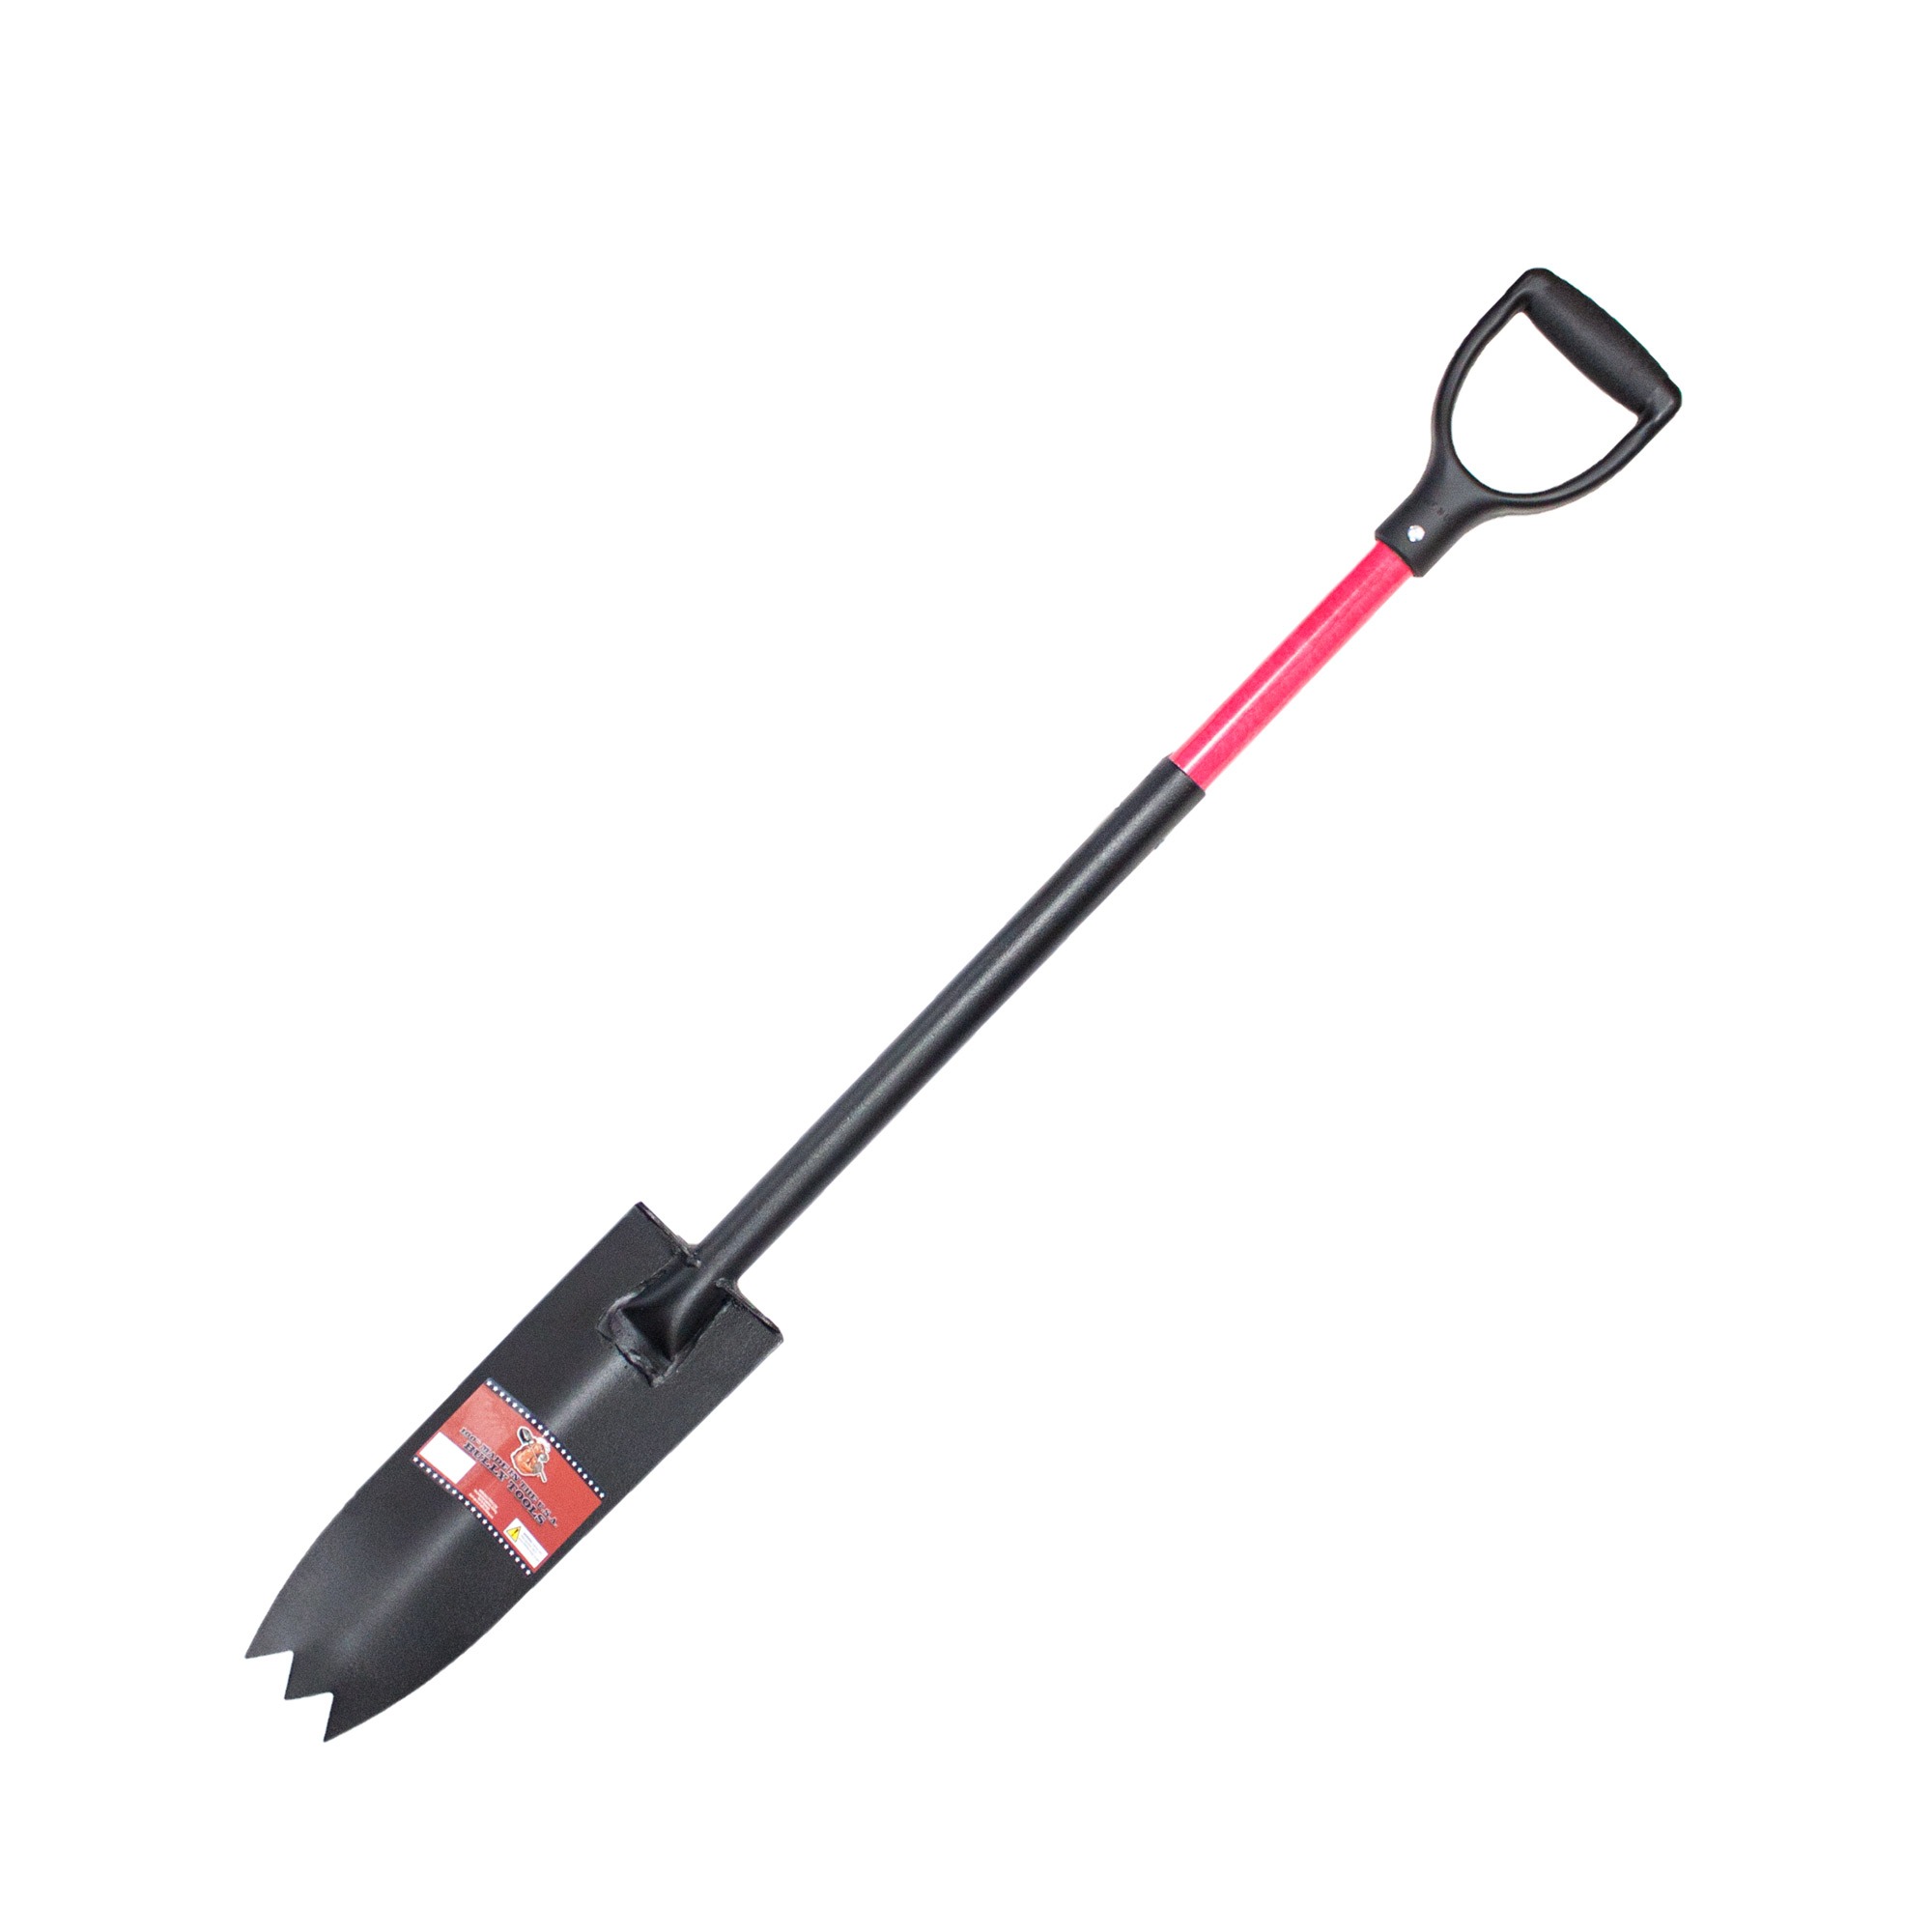
The Hunt: First, I needed a shovel. Not just any shovel, mind you. I needed one that could really move some dirt, but also be precise enough for finer work. Ended up snagging one with a slightly curved blade, seemed like a good compromise. Cost me about 30 bucks, nothing fancy.
Getting Started: Okay, day one. I marked out the area for the track. Nothing crazy, just a simple path around the worst of the mud. Grabbed the shovel and started digging. Man, that first shovelful felt good! Like, “Yeah, I’m actually doing this!”
The Grind: After about an hour, though, my back was screaming. This was harder than I thought! The ground was a mix of soft soil and these really annoying little rocks. Had to keep stopping to pry them out. Lesson learned: pace yourself.
Technique Matters: I started experimenting with different digging techniques. Turns out, a good solid stomp on the shovel head makes a world of difference. And instead of trying to lift massive amounts of dirt each time, smaller, more controlled scoops were much easier on the back.
Leveling It Out: Once I had the basic trench dug, it was time to level things out. This involved a lot of eye-balling and adjusting. I used the back of the shovel to smooth out the dirt and fill in any low spots. A level would have been nice, but I was going for rustic charm, you know?
Adding the Gravel: Next up, gravel. I got a few bags of pea gravel from the hardware store. Spread it along the track, making sure to cover the dirt evenly. Used the shovel to push the gravel around and tamp it down.
Fine Tuning: After the gravel was in, I walked the track a few times, feeling for any uneven spots. Added more gravel where needed and used the shovel to smooth everything out. It was starting to look like an actual track!
The Final Result: A few days later, my “track shovel” project was complete. It’s not perfect, by any means, but it does the job. No more mud! And honestly, there’s something really satisfying about building something with your own two hands (and a shovel, of course).
What I Learned: This little project taught me a few things. First, even simple tasks can be surprisingly challenging. Second, good technique makes a huge difference. And third, a little hard work can go a long way. Plus, now I’ve got a track, so that’s a win in my book.
- Find a shovel that feels good in your hands.
- Pace yourself! Don’t try to do too much at once.
- Experiment with different techniques to find what works best for you.
- Don’t be afraid to get your hands dirty.
- Enjoy the process!
So, there you have it. My track shovel adventure. Maybe it’ll inspire you to tackle your own little project. Who knows, you might just surprise yourself with what you can accomplish.


