
Alright, let’s talk about that time I decided to repot my orchid right when it was showing off its best flowers. Yeah, I know, everyone says don’t do it, wait till it’s done blooming. But honestly, the situation was looking a bit grim down below.
Why I Did It Anyway
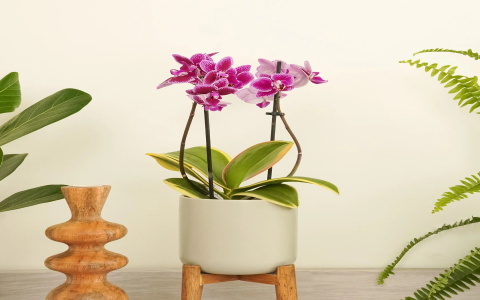
So, this particular Phalaenopsis, it was in one of those flimsy plastic pots it came in from the store. Looked okay for a while, but then I noticed the bark mix was just… breaking down. Looked mushy, stayed wet too long. Plus, some roots were trying to escape over the top like they were staging a jailbreak. The flowers looked great, sure, but I had this nagging feeling the roots weren’t happy. I figured, better to risk a few blooms than lose the whole plant down the line, right?
Getting Down to Business
First thing, I had to get it out of that old pot. This was trickier than I thought because some roots had stuck themselves tight to the plastic. I ended up having to carefully cut the pot away in a few places. Didn’t want to just yank it and tear healthy roots.
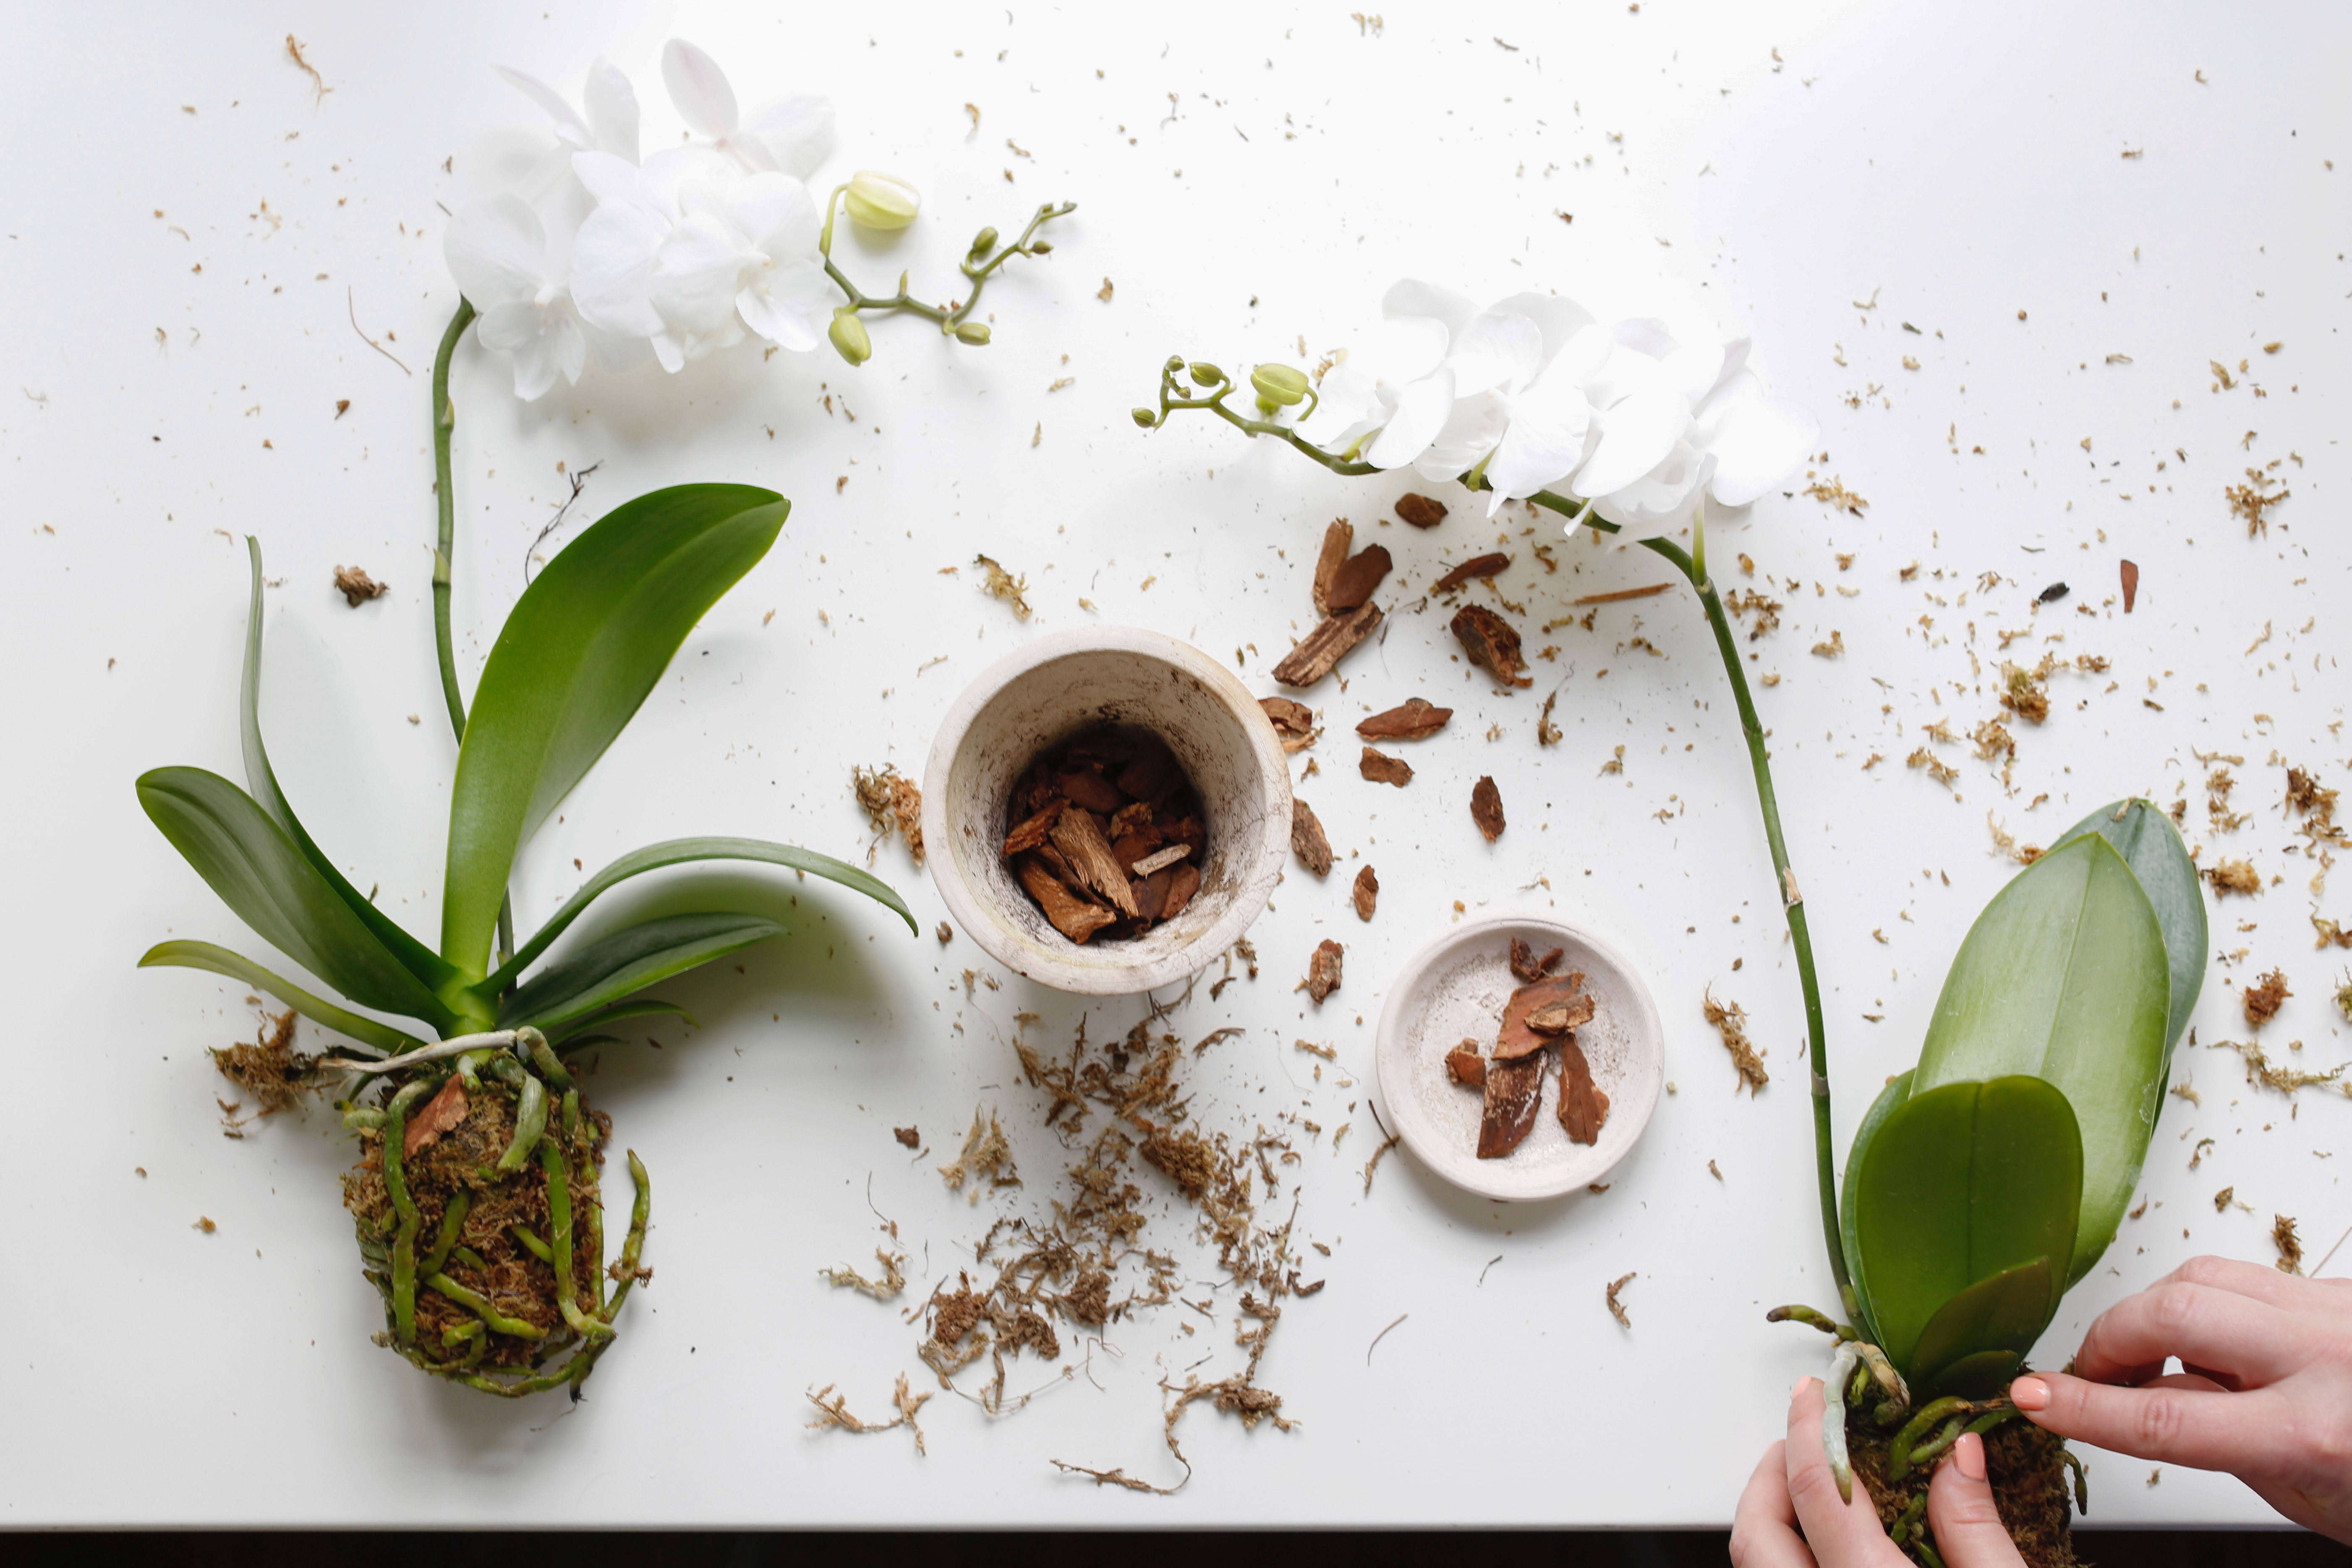
Once it was out, oh boy. The center of the root ball was pretty much just damp mush. Lots of old, dead roots – brown, squishy things. Got my clean scissors and started trimming.
- snipped off all the mushy, papery, or black roots.
- tried my best to leave the firm, green or silvery ones alone.
- gently untangled the healthy roots as much as possible without breaking them.
You gotta be careful doing this, especially with the flower spike waving around. I kept accidentally bumping the blooms, half expecting them to just drop off right there.
The New Home
I picked out a clear plastic pot, just slightly bigger than the old one. I like the clear ones ’cause you can actually see what the roots are doing in there, see when they need water. For the mix, I went with a chunky orchid bark mix I had. Nothing fancy, just medium-grade bark with a bit of charcoal mixed in.
Getting the orchid into the new pot was the next step. I held the plant where I wanted it, trying to get the base level with the pot rim, and then started adding the bark mix. Shook the pot gently, used a chopstick to poke bark into the gaps between the roots. Didn’t pack it down super tight, orchids need air around their roots. Made sure the plant felt stable and wasn’t wobbling all over the place. Supporting the flower spike with its little clip helped keep things balanced too.
The Aftermath
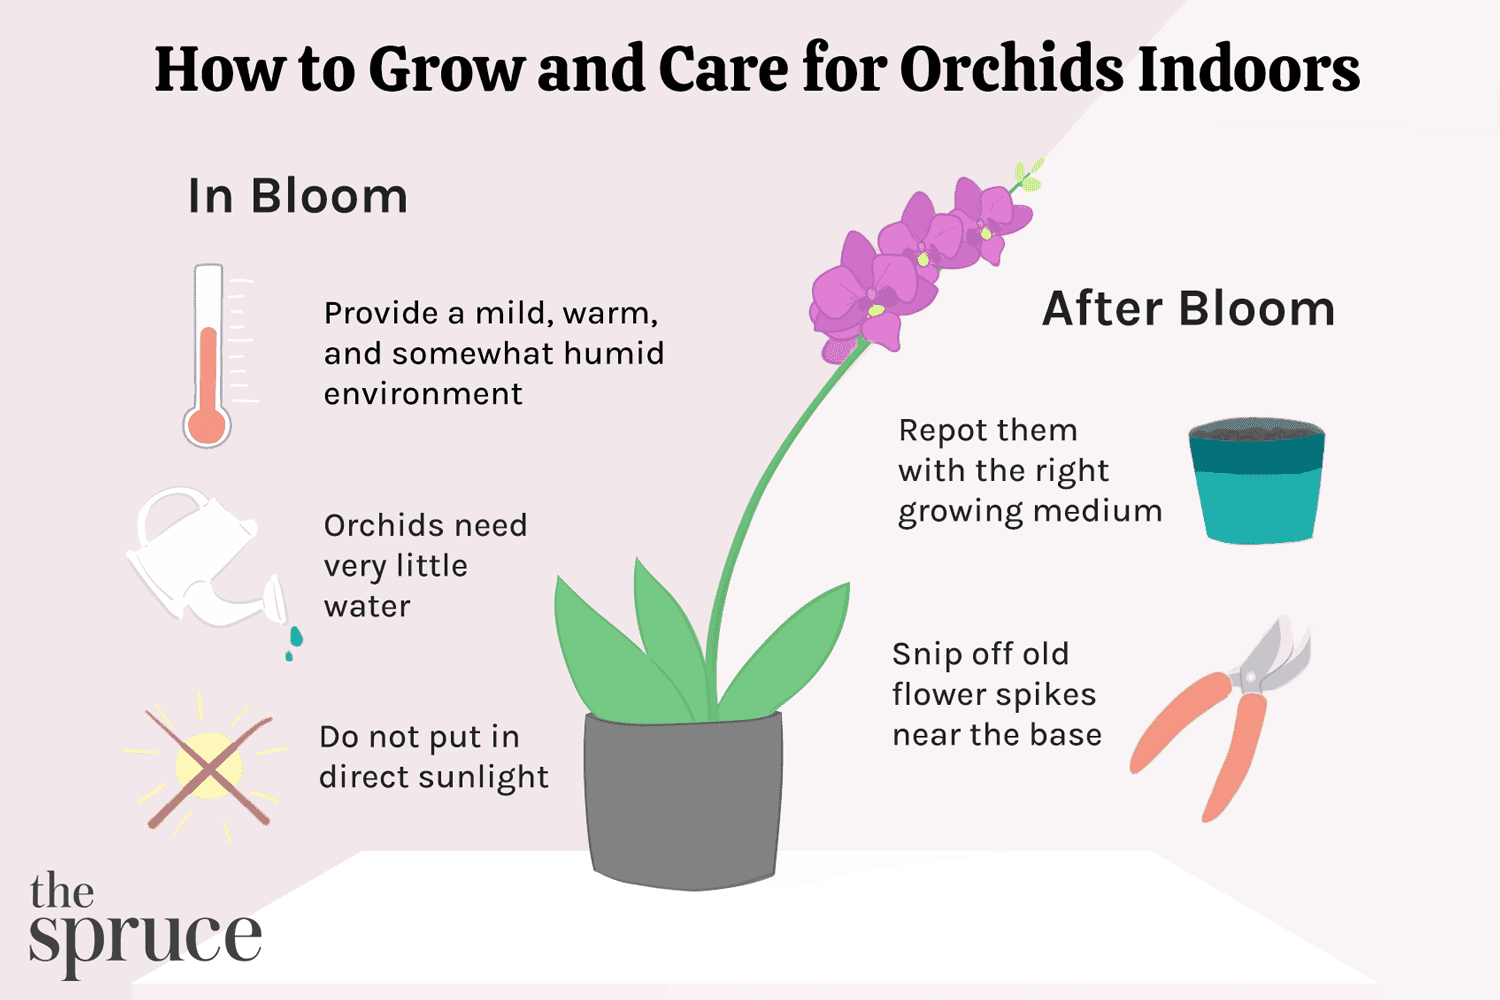
Okay, moment of truth. I gave it a good watering, letting water run through the new bark mix and out the bottom drainage holes. Then I put it back in its usual spot – bright, indirect light. And waited.
Honestly? I was totally expecting all the flowers to drop within a day or two. But guess what? They didn’t! A couple of the oldest blooms faded a bit quicker than they might have otherwise, maybe a week later, but the main show kept going for several more weeks. The plant itself didn’t look stressed either, no yellowing leaves or anything dramatic.
So, Would I Do It Again?
Look, I still think waiting is probably the safest bet most of the time. Less stress on the plant when it’s not putting energy into flowers. But this time? It worked out fine. The roots definitely needed sorting out, and the plant seems happier in the long run in its new pot and fresh mix. So, if the situation calls for it, like really bad medium or a pot issue, I wouldn’t be as scared to do it again. Sometimes you just gotta tackle the problem you see. It’s a bit of a gamble, but sometimes it pays off.


