
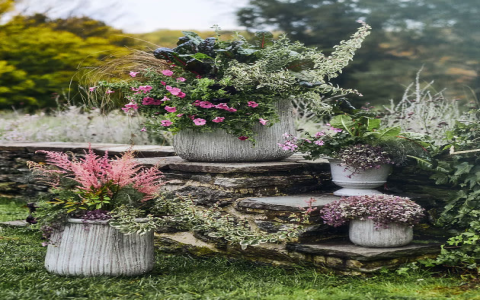
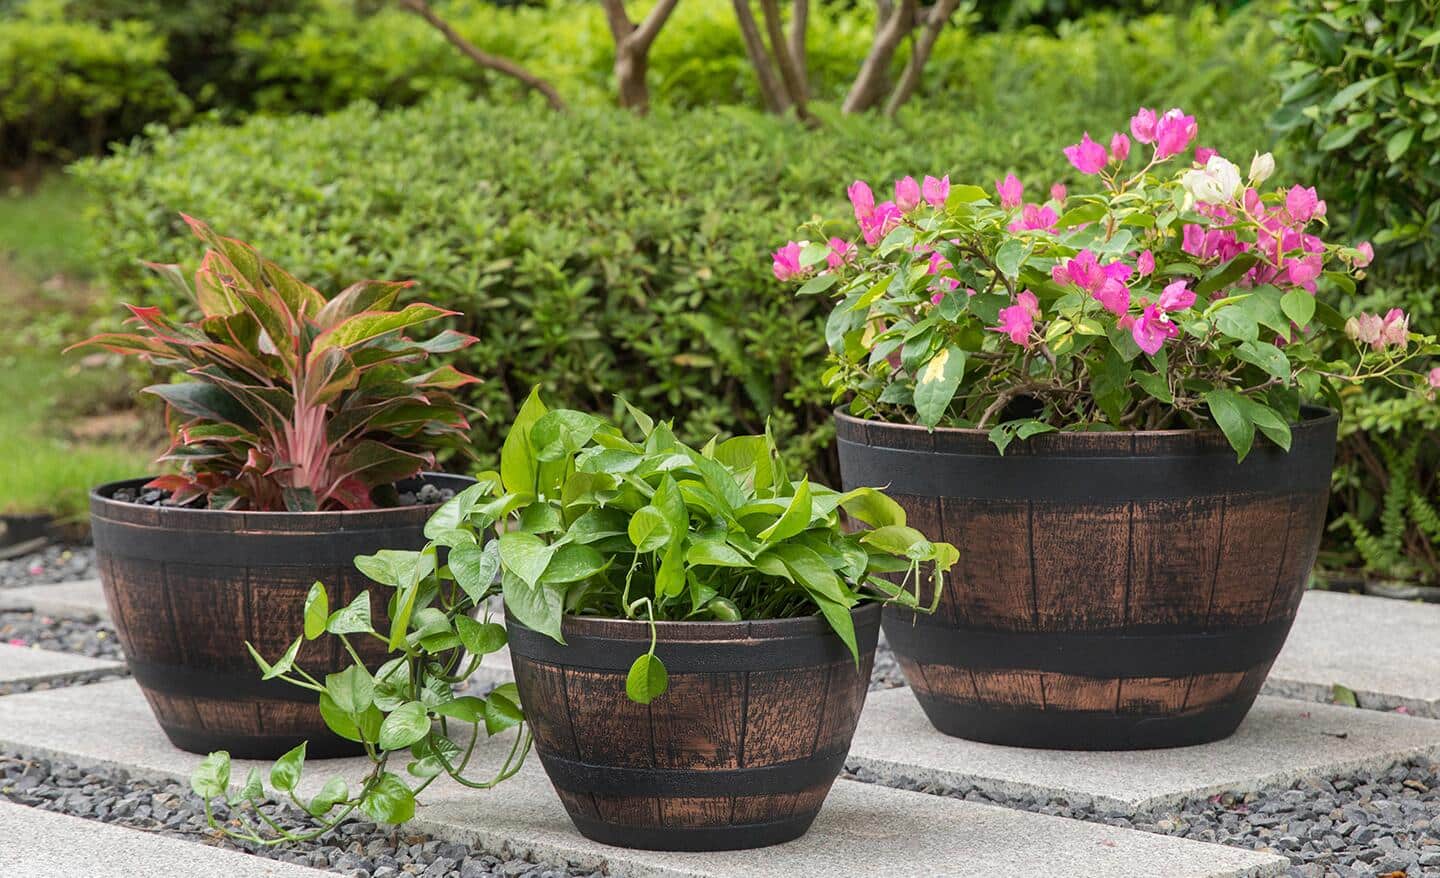
Okay, so I wanted to try out this “flowerpot b2” thing I saw online. It looked pretty neat, so I figured, why not give it a shot?
Getting Started
First, I needed to gather all the stuff. This is what I grabbed:

- A regular terracotta flowerpot (nothing fancy, just a basic one)
- Some acrylic paints – I went with a few different colors to make it interesting.
- Paintbrushes – a couple of different sizes, for the bigger areas and the smaller details.
- A sealant – I didn’t want the paint to chip off, so I got some clear acrylic sealant.
The Painting Process
I started by giving the flowerpot a good cleaning. Just wiped it down with a damp cloth to get rid of any dust or dirt.
Then came the fun part – painting! I didn’t have a super specific design in mind, I just kind of went with the flow. I started with a base coat of one color, let that dry completely, and then added some other colors on top. I used the smaller brushes to make some patterns and designs. I even added a few dots and stripes, just for kicks.
Honestly, I just played around with it until I liked how it looked. There’s no right or wrong way to do it, it’s all about being creative!
Sealing the Deal
Once the paint was completely dry (I waited a full day, just to be sure), it was time to seal it. I took the flowerpot outside and sprayed it with the clear acrylic sealant. I made sure to get an even coat all over, to protect the paint from the elements.
I let the sealant dry for another day, and that was it! My flowerpot b2 project was complete.
The Finished Product
I gotta say, I’m pretty happy with how it turned out! It’s definitely unique, and it adds a nice pop of color to my space. Plus, it was a super easy and fun project to do. I might even make a few more, to give away as gifts or something.
It is a nice and easy try.


