
Okay, here is my blog post about making a porcelain flowerpot:
Today, I tried my hand at something new – making a porcelain flowerpot. I’ve always loved the look of those shiny, delicate pots, and I figured, why not give it a shot? Plus, my little jade plant needed a new home.
First, I gathered all the stuff I needed. I got some porcelain clay from the local craft store – man, that stuff is surprisingly heavy! Then I grabbed my pottery wheel, some basic shaping tools, and a bucket of water. I also made sure to wear some old clothes because I had a feeling things might get messy.
I started by wedging the clay, which is basically kneading it like dough to get rid of any air bubbles. This part took some muscle, let me tell you! Once the clay was nice and smooth, I slapped a big chunk of it onto the center of the wheel and started spinning.
The Real Fun Begins
Centering the clay was way trickier than I thought it would be. It kept wobbling all over the place, and I almost flung it across the room a couple of times! But after a few tries, I finally got it to sit still and started shaping it into a basic cylinder.
Slowly but surely, I started to pull the walls of the pot up, using my fingers and some water to keep the clay moist. This part was actually pretty relaxing, watching the pot take shape beneath my hands. I decided to go for a simple, slightly flared design.
Finishing Touches
Once I was happy with the shape, I used a wire tool to cut the pot off the wheel and carefully set it aside to dry. It needed to dry for a few days until it was “leather-hard,” which means it was still a bit damp but firm enough to handle.
After that, it was time for the first firing. I carefully placed the pot in my friend’s kiln. It was my first time using one! This baked the clay and made it hard and durable.
When the pot came out of the kiln, it looked a bit rough and matte. So, the next step was glazing. I picked out a pretty, glossy white glaze and carefully brushed it onto the pot. Then it went back into the kiln for the final firing.
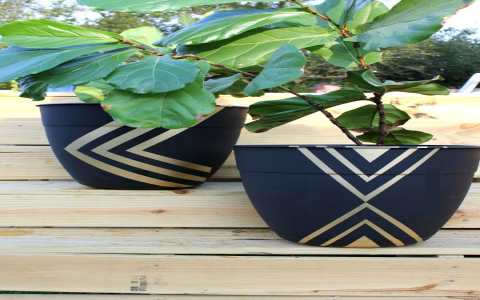
Finally, the moment of truth! When I opened the kiln and saw my finished pot, I was pretty stoked. It was shiny, smooth, and looked just like the ones you see in stores. I potted my little jade plant in it, and it looks so happy in its new home.
- Started with porcelain clay and a pottery wheel.
- Wedged the clay and centered it on the wheel.
- Shaped the pot and let it dry.
- Fired it in a kiln.
- Glazed it and fired it again.
- Successfully made my very own porcelain flowerpot!
It was definitely a learning experience, but I’m so glad I tried it. Now I have a beautiful, one-of-a-kind flowerpot, and I can proudly say, “I made that!”


