

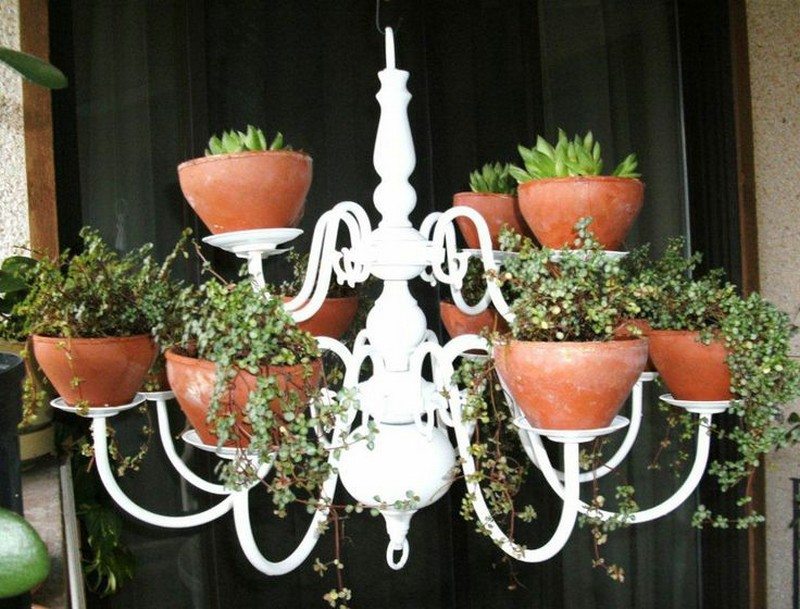
Alright folks, gather ’round! Let me tell you about this crazy idea I had and actually pulled off – a flowerpot chandelier. Yeah, you heard right. I made a chandelier… out of flowerpots!
It all started when I was cleaning out the garage. Stumbled upon a bunch of terracotta flowerpots – all different sizes, leftover from last summer’s gardening frenzy. I was about to toss ’em, but then BAM! Inspiration hit me like a rogue tomato.

First things first, planning is key. I sketched out a rough design on a napkin (very professional, I know). I envisioned a tiered chandelier, with the larger pots at the bottom and smaller ones towards the top. Figured I’d need some wire, chain, and a light kit.
So, off I went to the hardware store. Grabbed a roll of sturdy wire, a length of chain that looked strong enough to hold everything, and a basic pendant light kit – you know, the kind with the socket and the wire. Also snagged some heavy-duty hooks and S-hooks for hanging.
Now comes the fun part – drilling holes. This was a bit nerve-wracking, ’cause I didn’t want to crack the pots. I used a diamond-tipped drill bit (essential, trust me) and went super slow, applying gentle pressure. Drilled three evenly spaced holes around the rim of each pot. This is where the wire would go through to hang them.
Next, I started assembling the tiers. I cut lengths of wire, threaded them through the holes in the pots, and twisted the ends together securely. Made sure each pot was hanging level. This took some fiddling, but eventually, I got the hang of it (pun intended!).
Then came the tricky bit – connecting the tiers. I used more wire to attach the smaller tiers to the larger ones, creating that chandelier shape. Again, level was the name of the game. I wanted everything to hang evenly and look balanced. It looked wonky for a while, but I kept adjusting until it looked right.
Once the basic structure was done, it was time to add the light. I threaded the pendant light wire through the center of the chandelier, letting the socket hang down a bit. I had to get creative with how it sat, but it worked in the end.
Finally, hanging it up. I attached the chain to the top of the chandelier and used the heavy-duty hooks to hang it from the ceiling. Made sure it was secure before letting go – didn’t want the whole thing crashing down!
And there you have it! A flowerpot chandelier. It looks surprisingly awesome. Throws off a cool, rustic vibe. Plus, it’s a total conversation starter. Everyone who comes over asks about it.
Lessons learned? Measure twice, drill once. Go slow and steady. And don’t be afraid to get your hands dirty. It was a fun project, and I’m pretty proud of how it turned out.
- Gather materials.
- Drill holes in flowerpots.
- Assemble tiers with wire.
- Connect tiers.
- Add the light kit.
- Hang and admire!
Now, if you’ll excuse me, I’m gonna go bask in the glow of my repurposed flowerpot masterpiece!


