
Okay, so, I’ve been getting tons of questions lately about what kind of soil I use for my Aglaonema plants. People see how lush and happy mine look, and they’re like, “What’s your secret?” Well, it’s not really a secret, but it does involve a bit of soil mixology. I’ve experimented a lot over the years, and I’ve finally landed on a mix that seems to make my Aglaonemas thrive. It’s nothing fancy, really, but it gets the job done. Let me walk you through my process, step by step.
Gathering My Supplies
First things first, I gather all my supplies. I like to lay everything out so I can see what I’m working with. You’ll need a few key ingredients for this mix:
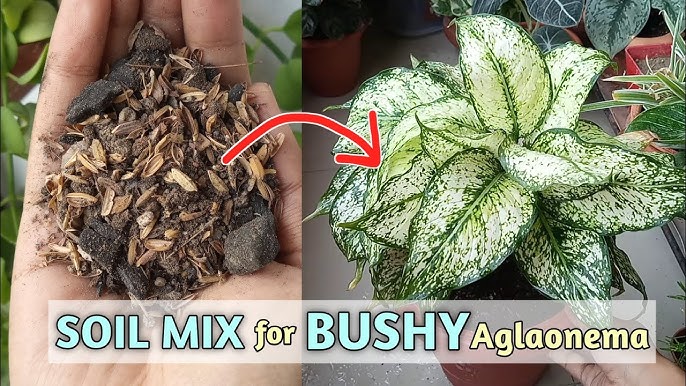
- Peat moss: This stuff is like a sponge, it holds onto moisture really well, which is great for Aglaonemas because they like their soil to be consistently moist but not soggy.
- Perlite: These little white rocks are super lightweight and help with drainage. They create air pockets in the soil, which keeps things from getting too compacted and allows the roots to breathe.
- Pine bark: Adding some small pieces of pine bark is great because it helps improve drainage and aeration.
Mixing It Up
Once I’ve got everything ready, it’s time to start mixing. I don’t really follow a strict recipe, but I usually go for something like this:
- 2 parts peat moss
- 1 part perlite
- 1 part pine bark
I just eyeball it, really. I start by dumping the peat moss into a big container, then I add the perlite and pine bark. Then comes the fun part – getting my hands dirty! I mix everything together with my hands, breaking up any clumps of peat moss and making sure the perlite and pine bark are evenly distributed. It’s kind of like making a cake, but instead of flour and sugar, you’re using dirt and rocks. Make it fun is my advice.
Potting My Plants
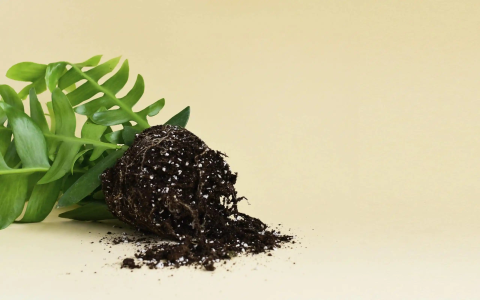
After the soil is all mixed up, I grab my Aglaonema and carefully remove it from its old pot. I gently loosen the roots a bit, just to encourage them to spread out in their new home. Then, I put a layer of my soil mix in the bottom of the new pot, pop the plant in, and fill in around the sides with more soil. I make sure not to pack it down too tight – you want the roots to be able to breathe, remember? It’s important not to pack it too tightly.
Watering and Watching
Once the plant is potted, I give it a good watering. I like to water until I see water coming out of the drainage holes at the bottom of the pot. This ensures that the soil is evenly moist. Then, I just keep an eye on it over the next few days, making sure the soil doesn’t dry out completely. Aglaonemas like their soil to be consistently moist, but not soaking wet. It’s a delicate balance, but you’ll get the hang of it.
And that’s it! That’s how I mix my soil for my Aglaonema plants. It’s a simple process, but it makes a big difference. Since I started using this mix, my plants have been so much happier and healthier. They’re growing like crazy, and their leaves are so vibrant and colorful. If you’re struggling with your Aglaonemas, give this soil mix a try. You might be surprised at the results!


