
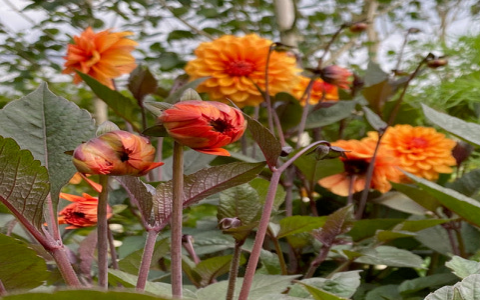
Okay, so fall is here, and it’s time to think about my dahlias. I love these flowers, and I want to make sure they come back strong next year. So here’s what I did this year with my dahlias.
Getting Started
First things first, I waited for that first real frost. You know, the one that turns the leaves all black and sad. That’s the signal that it’s time to get to work. It is important to me, so I observed the dahlia carefully.
Cutting Back
Once the foliage was blackened, I grabbed my clippers and cut the stems back. I left about 2 to 4 inches of stem sticking out of the ground. This makes it easier to find them when I’m digging. Some folks say you can wait a week or two after the frost to dig, but I usually just do it right away,get it all over with in one go, you know?
Digging ‘Em Up
Digging is probably the trickiest part. I used a garden fork, but a shovel works too. The key is to start digging wide, about a foot away from the stem. Dahlias have these clumps of tubers, and they can spread out, so you don’t want to accidentally chop them.
I carefully loosened the soil all around the plant, and then gently lifted the whole clump out of the ground. It’s kind of like pulling up a big, weird-looking carrot, but way bigger! I shook off as much loose dirt as I could.
Cleaning and Drying
I did have to take them off the soil for a while, and I had to clear it of any remaining soil on the roots. Next, I rinsed off the tubers with a hose. I didn’t scrub them super hard, just got the major dirt clods off. Then, I let them air dry for a few days. I put them in my garage, which is cool and dry, on some newspaper. You want them to dry out a bit so they don’t rot in storage.
Dividing (Optional)
Some people divide their dahlia clumps in the fall, some wait until spring. Honestly, because it was too much for me to deal with after all of the above, I usually wait until spring. It’s easier to see the “eyes” (the little growth points) then. But if you want to do it now, just use a sharp knife and make sure each section has at least one eye.
Storing Those Tubers
This is the key to keeping them alive all winter! I found a cardboard box and put a layer of slightly damp peat moss, vermiculite, in the bottom. Then, I placed the tubers in the box, making sure they weren’t touching each other. I added more peat moss on top, just enough to cover them.

- Don’t seal the box completely. They need a little air circulation.
- Store the box in a cool, dark, and dry place. My basement is perfect, it stays around 40-50°F all winter.
- Check on them every month or so. If they look shriveled, I might mist them very lightly with water. If they look moldy, I’ll toss those ones out so they don’t spread the mold.
Fingers Crossed!
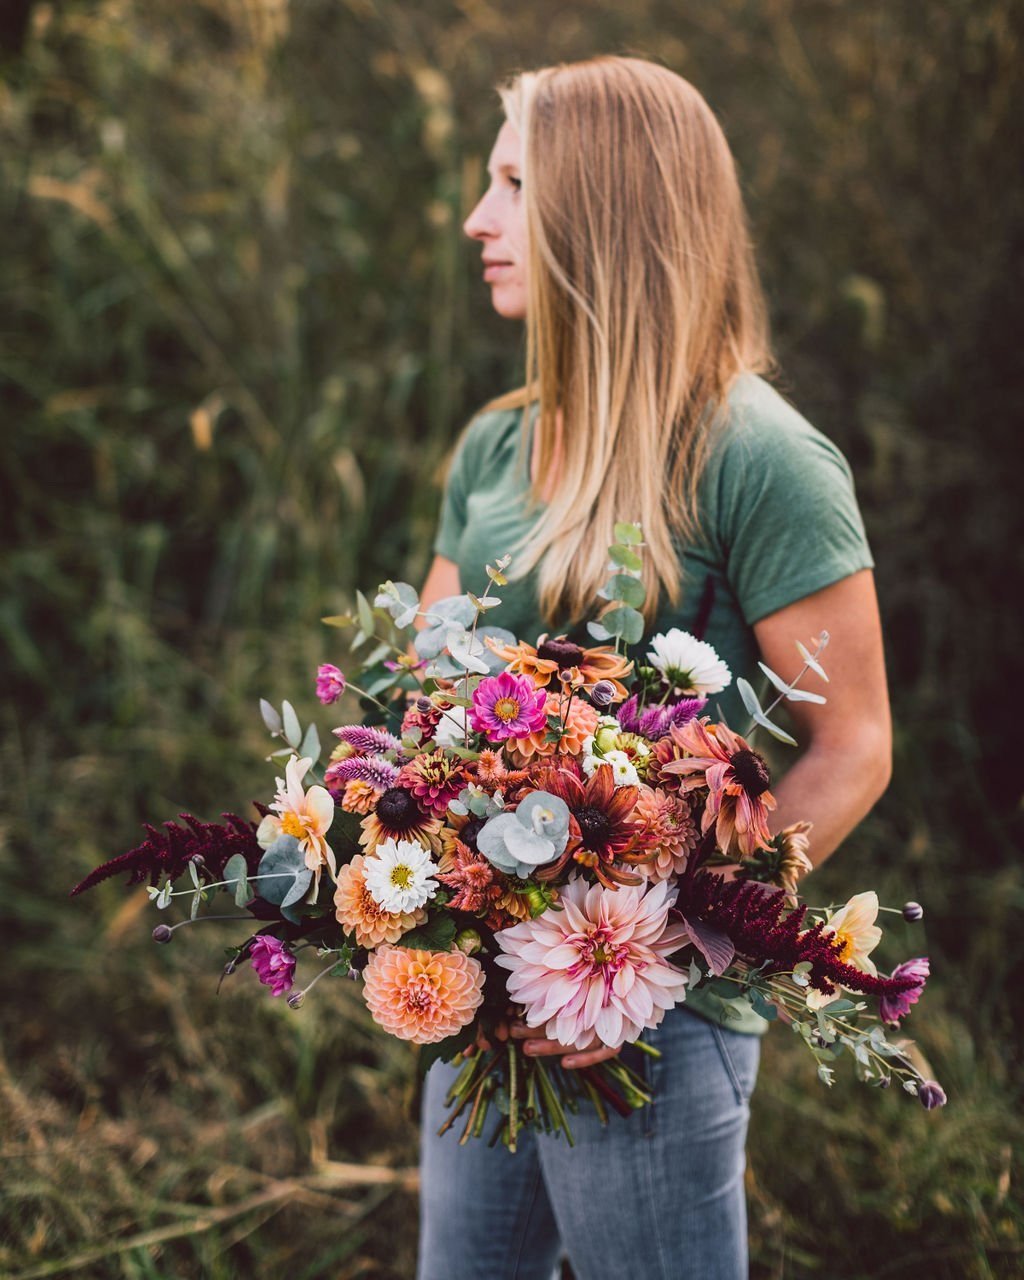
And that’s it! It’s a bit of work, but totally worth it when those gorgeous dahlias bloom again next summer. It’s like a little reward for all the effort. I’m already dreaming of next year’s blooms!


