
Okay, here’s my blog post about my recent experience with cymbidium potting soil:
So, I’ve got this cymbidium orchid, right? It’s been looking a little sad lately, not really thriving. I figured it was probably time to repot it, and that meant diving into the world of potting mixes. I’m no expert, but I’ve learned a few things over the years, and I wanted to share my process.
Getting Started
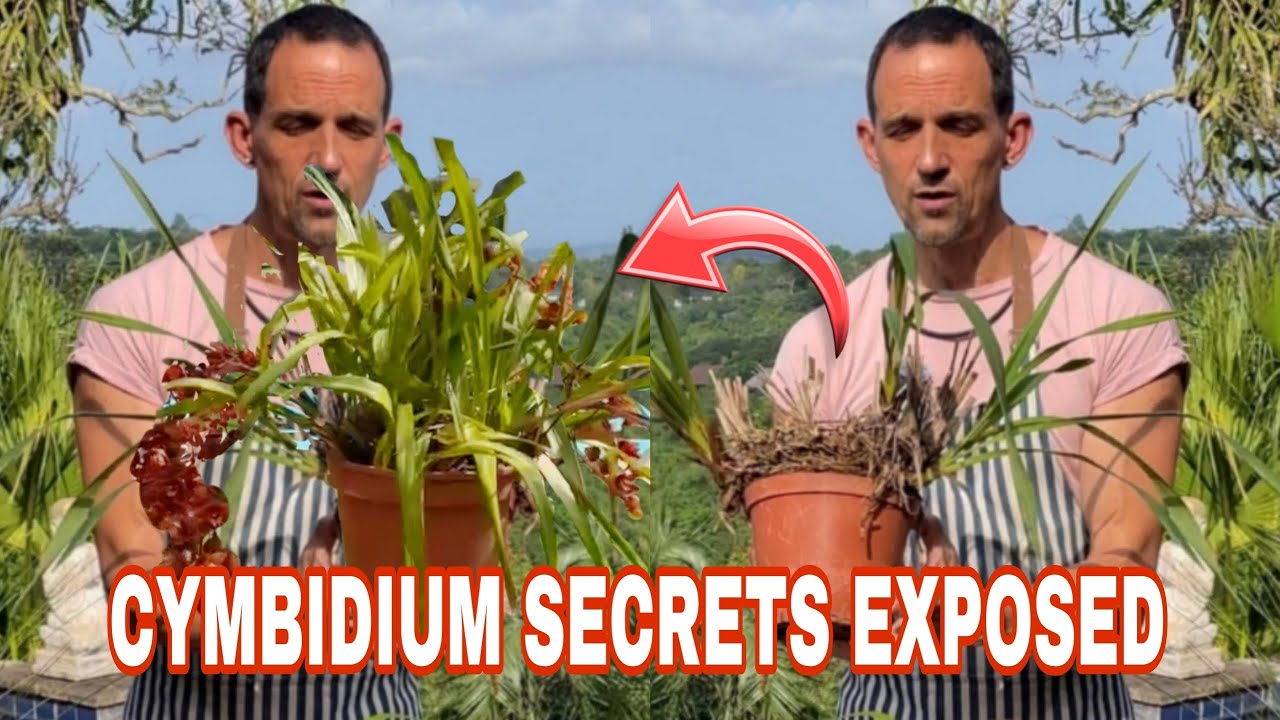
First things first, I needed to get the orchid out of its old pot. I gently squeezed the sides of the plastic pot to loosen things up. It was pretty root-bound, so it took a little wiggling and coaxing. I didn’t want to yank it and damage the roots, so patience was key. Eventually, I got it out in one piece!
Inspecting the Roots
With the orchid out, I could finally see what was going on with the roots. Some were healthy and plump, but there were also some dead, mushy ones. Yuck. I carefully trimmed away the dead roots with some sterilized scissors. Gotta keep things clean to prevent any infections.
Choosing the Right Mix
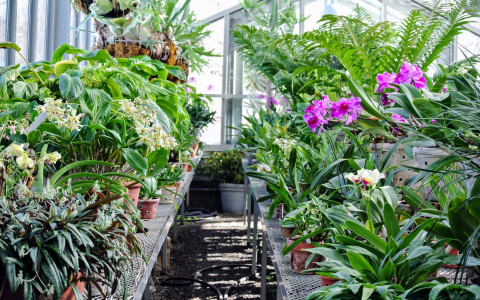
Now for the important part: the potting mix. I’ve learned that cymbidiums don’t like regular potting soil. They need something that drains really well, but also holds some moisture. I decided to make my own mix this time. Here’s what I used:
- Orchid bark: This is the main ingredient. It provides good airflow for the roots. I used a medium-grade bark.
- Perlite: This helps with drainage and keeps the mix from getting too compacted.
- Charcoal: A bit of horticultural charcoal helps keep things “sweet” and prevent any funky smells.
I mixed everything together in a big bucket. There’s no exact science to the proportions, but I aimed for something like 60% bark, 30% perlite, and 10% charcoal. Just eyeballing it, really.
Repotting Time!
I chose a new pot that was just a little bigger than the old one. Cymbidiums like to be somewhat snug in their pots. I put a layer of the mix in the bottom, then placed the orchid in the pot, making sure the base of the plant was level with the top of the pot. Then, I carefully filled in around the roots with the rest of the mix, tapping the pot gently to settle everything in.
The Finishing Touches
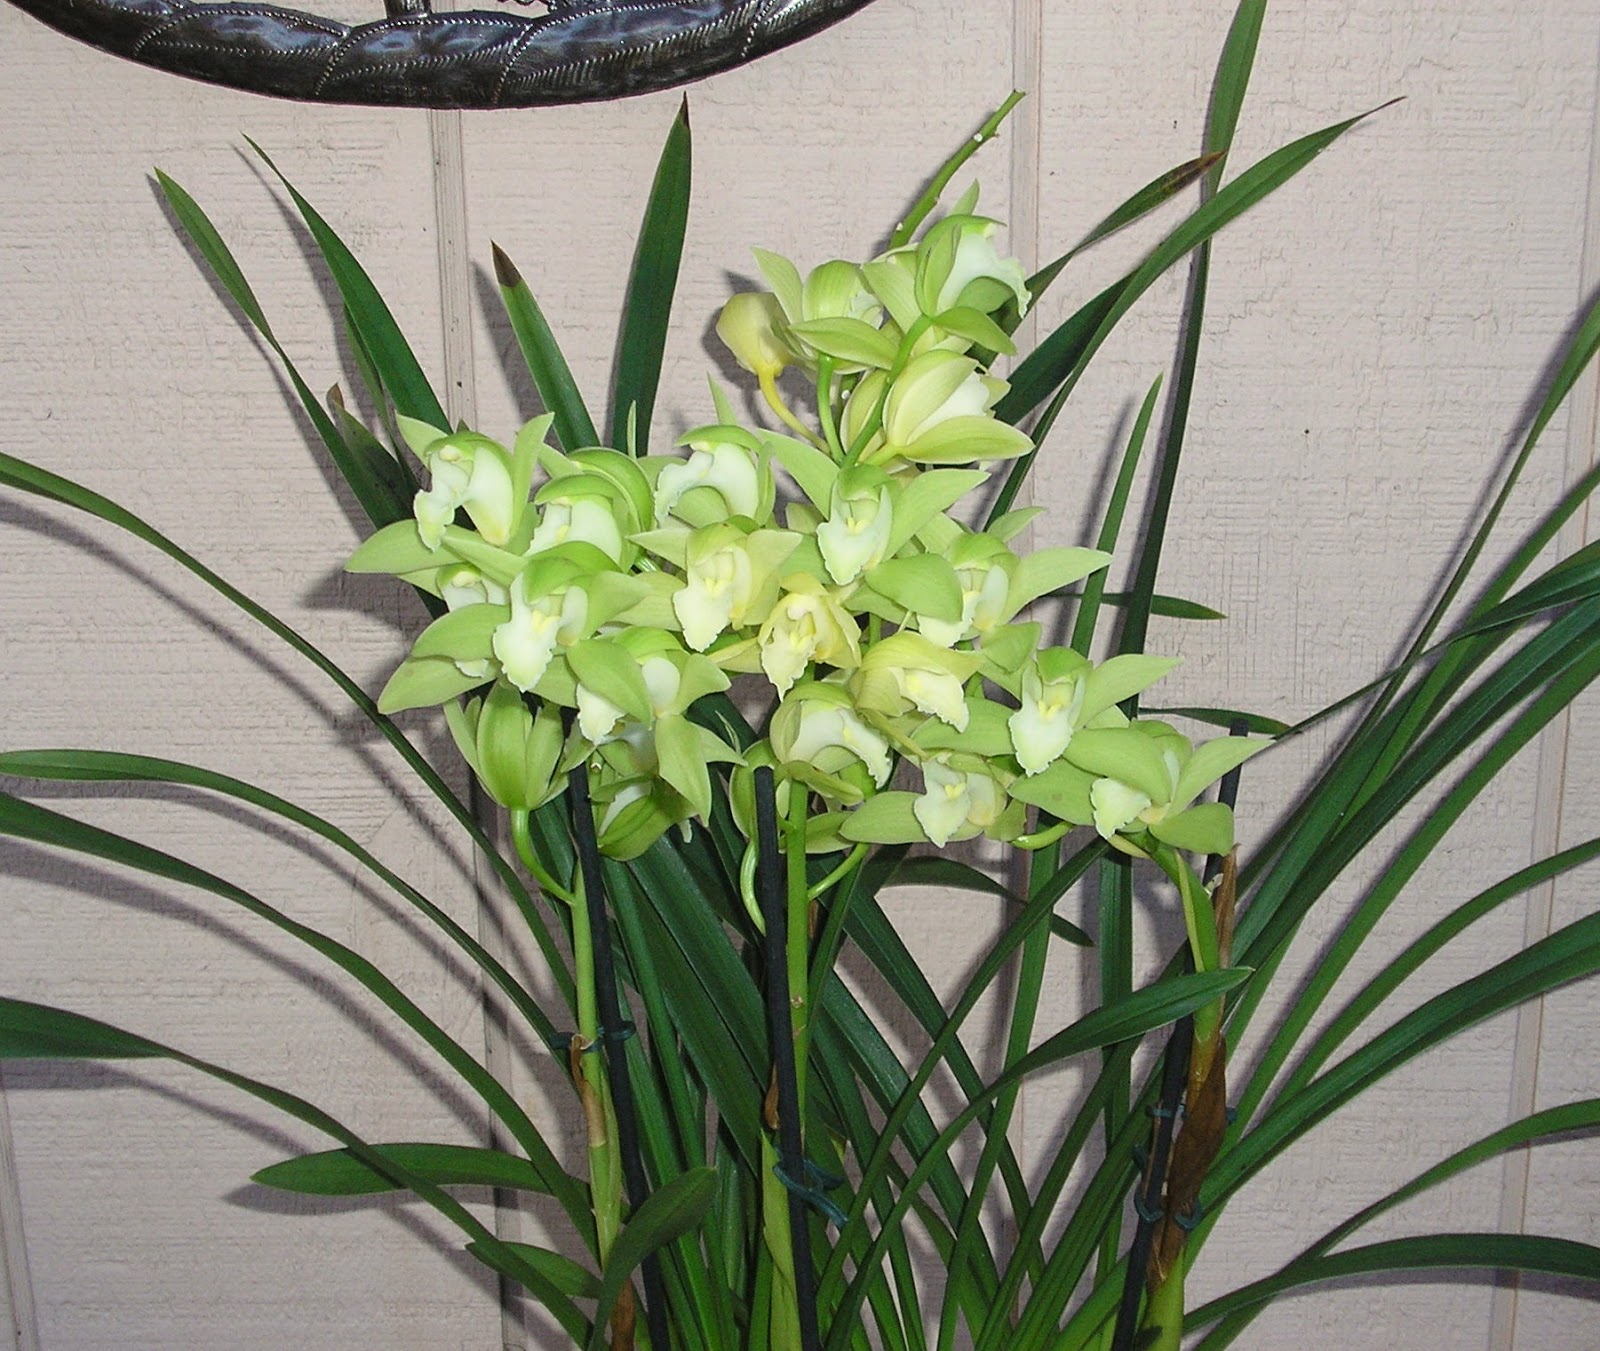
After repotting, I watered the orchid thoroughly, letting the water drain out the bottom. I also added a little slow-release orchid fertilizer to give it a boost. Now, it’s just a matter of waiting and watching to see how it does. I’m hoping for some new growth and, eventually, some beautiful blooms!
I kept it slightly shaded for few days, after checking leaves, I moved it back to brighter location. I think that worked!
Fingers crossed this does the trick! It’s all a learning process, and I’m happy to share what I’ve learned (and am still learning!) along the way.


