
Alright, so I’m gonna spill the beans on my latest little DIY project: jazzing up some gardening gloves. I was tired of the same old boring work gloves, you know? Figured I could give ’em a little makeover, make ’em chic, as the title says! Let’s dive in!
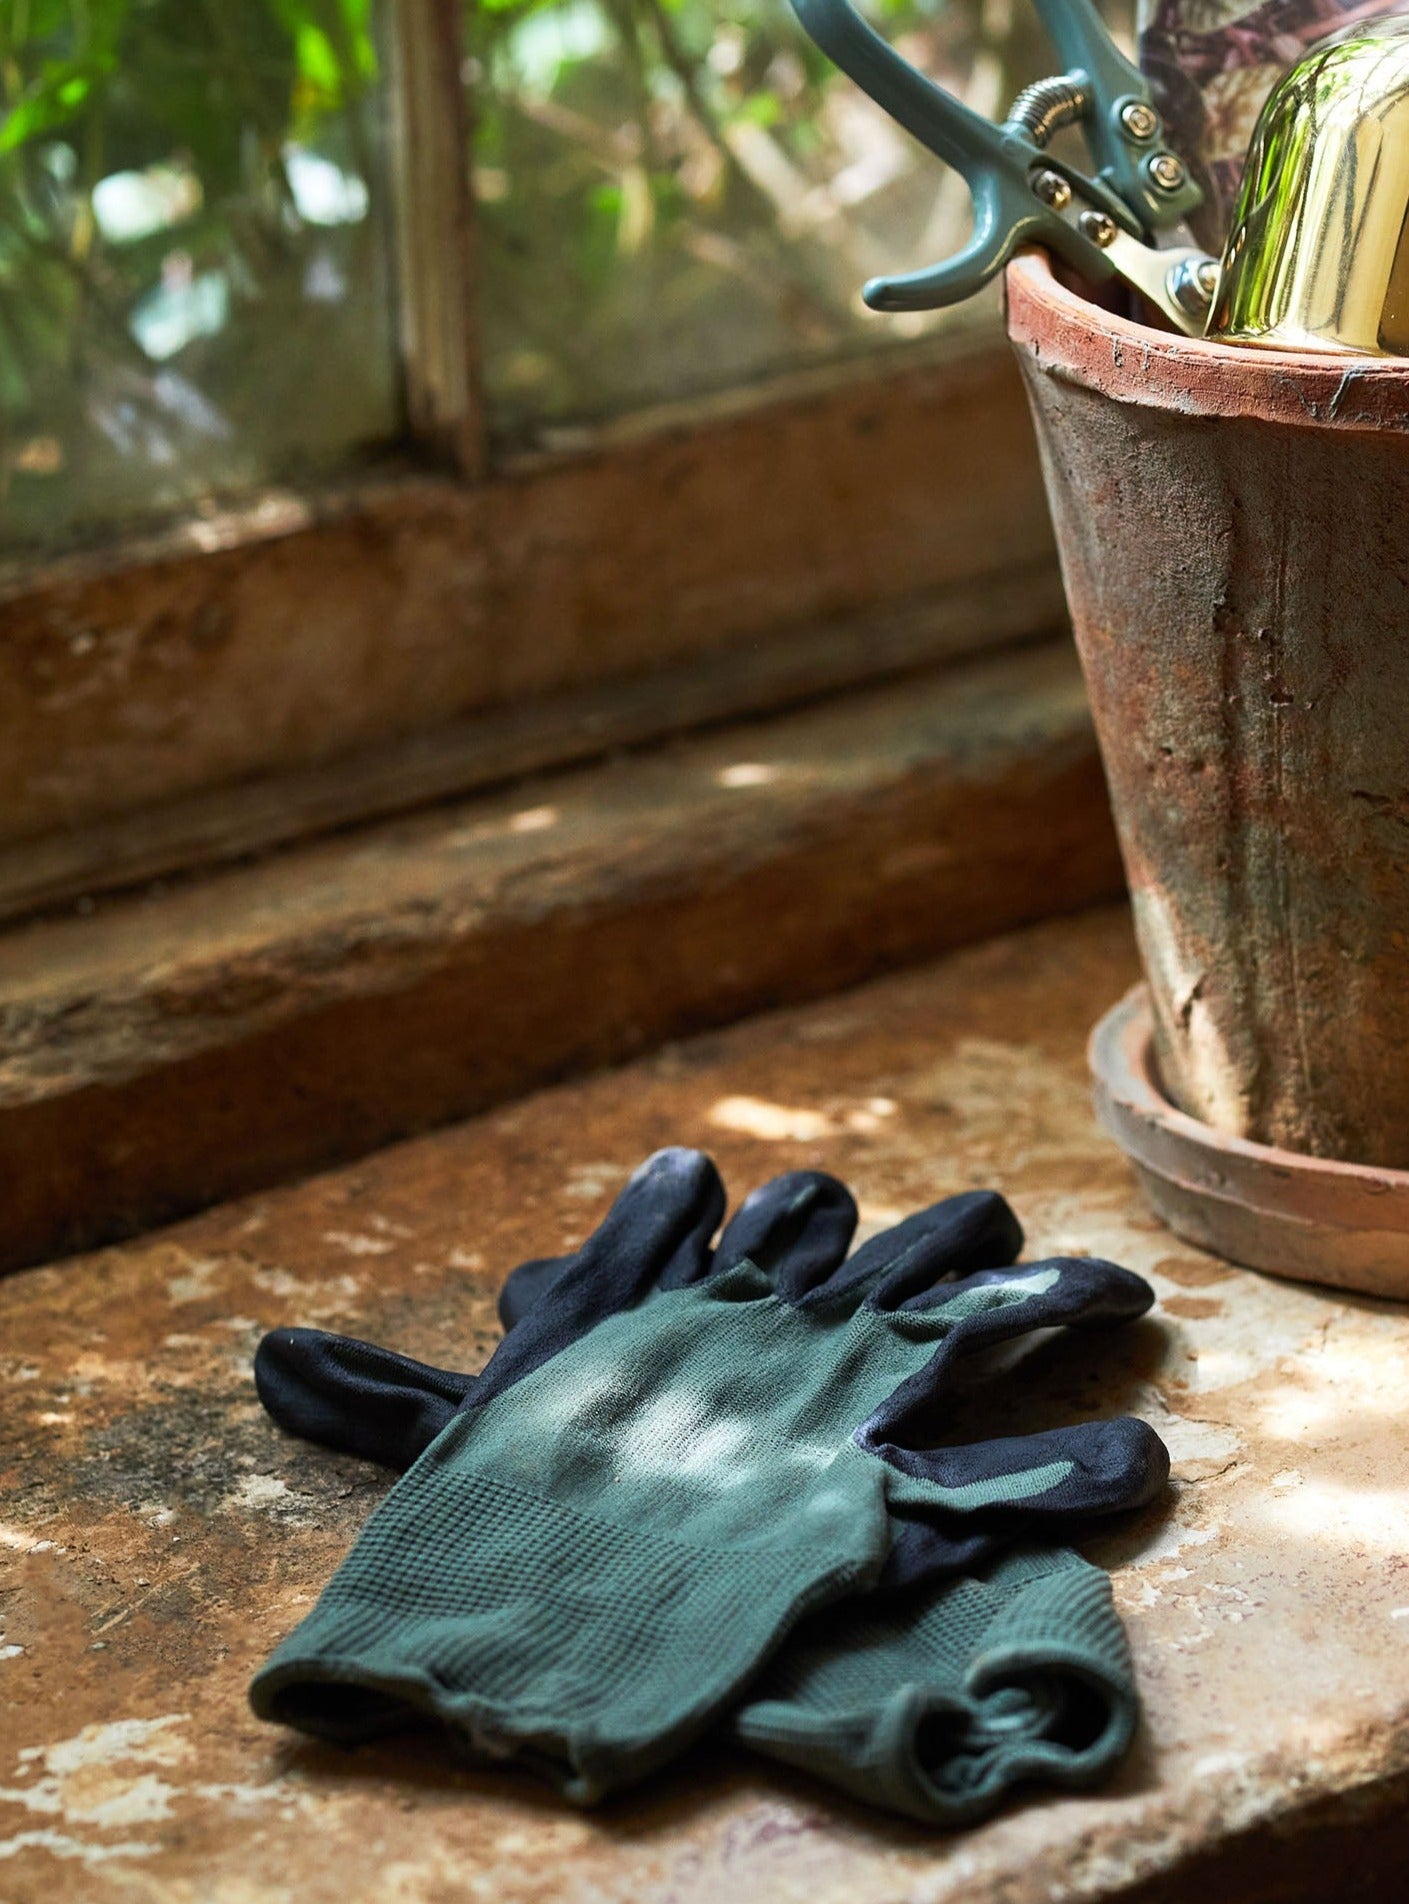
First things first, I grabbed my trusty old gardening gloves. They were looking pretty rough, covered in dirt and who-knows-what-else. I gave them a good scrub with some dish soap and water. Gotta start with a clean slate, right?
Next up, the fun part! I rummaged through my craft stash and found some fabric scraps. I had some floral prints, a bit of denim, and even some faux leather leftover from a previous project. The plan was to add patches to the gloves to give them a more stylish and personalized look.
I started by cutting out different shapes and sizes from the fabric. Hearts, stars, squares – whatever felt right. I wasn’t too worried about being perfect; the goal was to make them unique and fun.
Then, I arranged the patches on the gloves to see how they looked. I played around with different combinations until I was happy with the layout. I wanted a mix of textures and colors, something that would really pop.
Once I had the patches where I wanted them, I used fabric glue to stick them onto the gloves. I made sure to press down firmly to get a good bond. You could sew them on too, if you’re feeling fancy, but glue was quicker and easier for me. I ain’t got all day!
After the glue dried, I decided to add some extra embellishments. I had some old buttons lying around, so I sewed them onto a few of the patches. A little bit of embroidery would also look really cool, but I was feeling lazy, so I skipped that step.
To give the gloves a more finished look, I used fabric paint to add some details. I painted small dots and lines around the edges of the patches, and I even wrote my initials on one of the fingers. Gotta claim ’em, you know?
Finally, I let the paint dry completely, and then I sprayed the gloves with a fabric sealant to protect them from dirt and moisture. This step is important if you want your DIY gloves to last.
And that’s it! My chic gardening gloves were ready to go. They look so much better than the plain old ones I started with. Plus, they’re totally unique – no one else has gloves like these!
Here’s a quick rundown of the materials I used:
- Old gardening gloves
- Fabric scraps
- Fabric glue
- Buttons
- Fabric paint
- Fabric sealant
A few tips for anyone who wants to try this project:
- Don’t be afraid to experiment with different fabrics and embellishments.
- Use a strong fabric glue to ensure that the patches stay put.
- Let the glue and paint dry completely before using the gloves.
- Protect your gloves with a fabric sealant to keep them looking their best.
Overall, this was a fun and easy project that anyone can do. It’s a great way to upcycle old gardening gloves and make them your own. Plus, it’s a chance to get creative and express your personal style. I’m seriously thinking about doing it again!
So, grab your gloves, get your craft supplies, and get to work! You might be surprised at what you can create.


