
Okay, so yesterday, I finally got around to pruning my cherry trees. It’s something I’ve been meaning to do for a while, but, you know, life gets in the way.
Getting Started
First things first, I gathered my tools. I’ve got these trusty old pruning shears that I’ve had for years, and I also grabbed my loppers for some of the thicker branches. Oh, and gloves, can’t forget the gloves! You don’t want to get all scratched up by those thorny branches.
The Actual Pruning
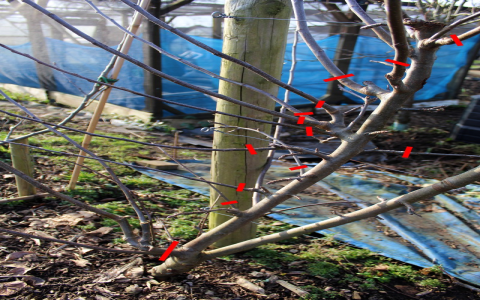
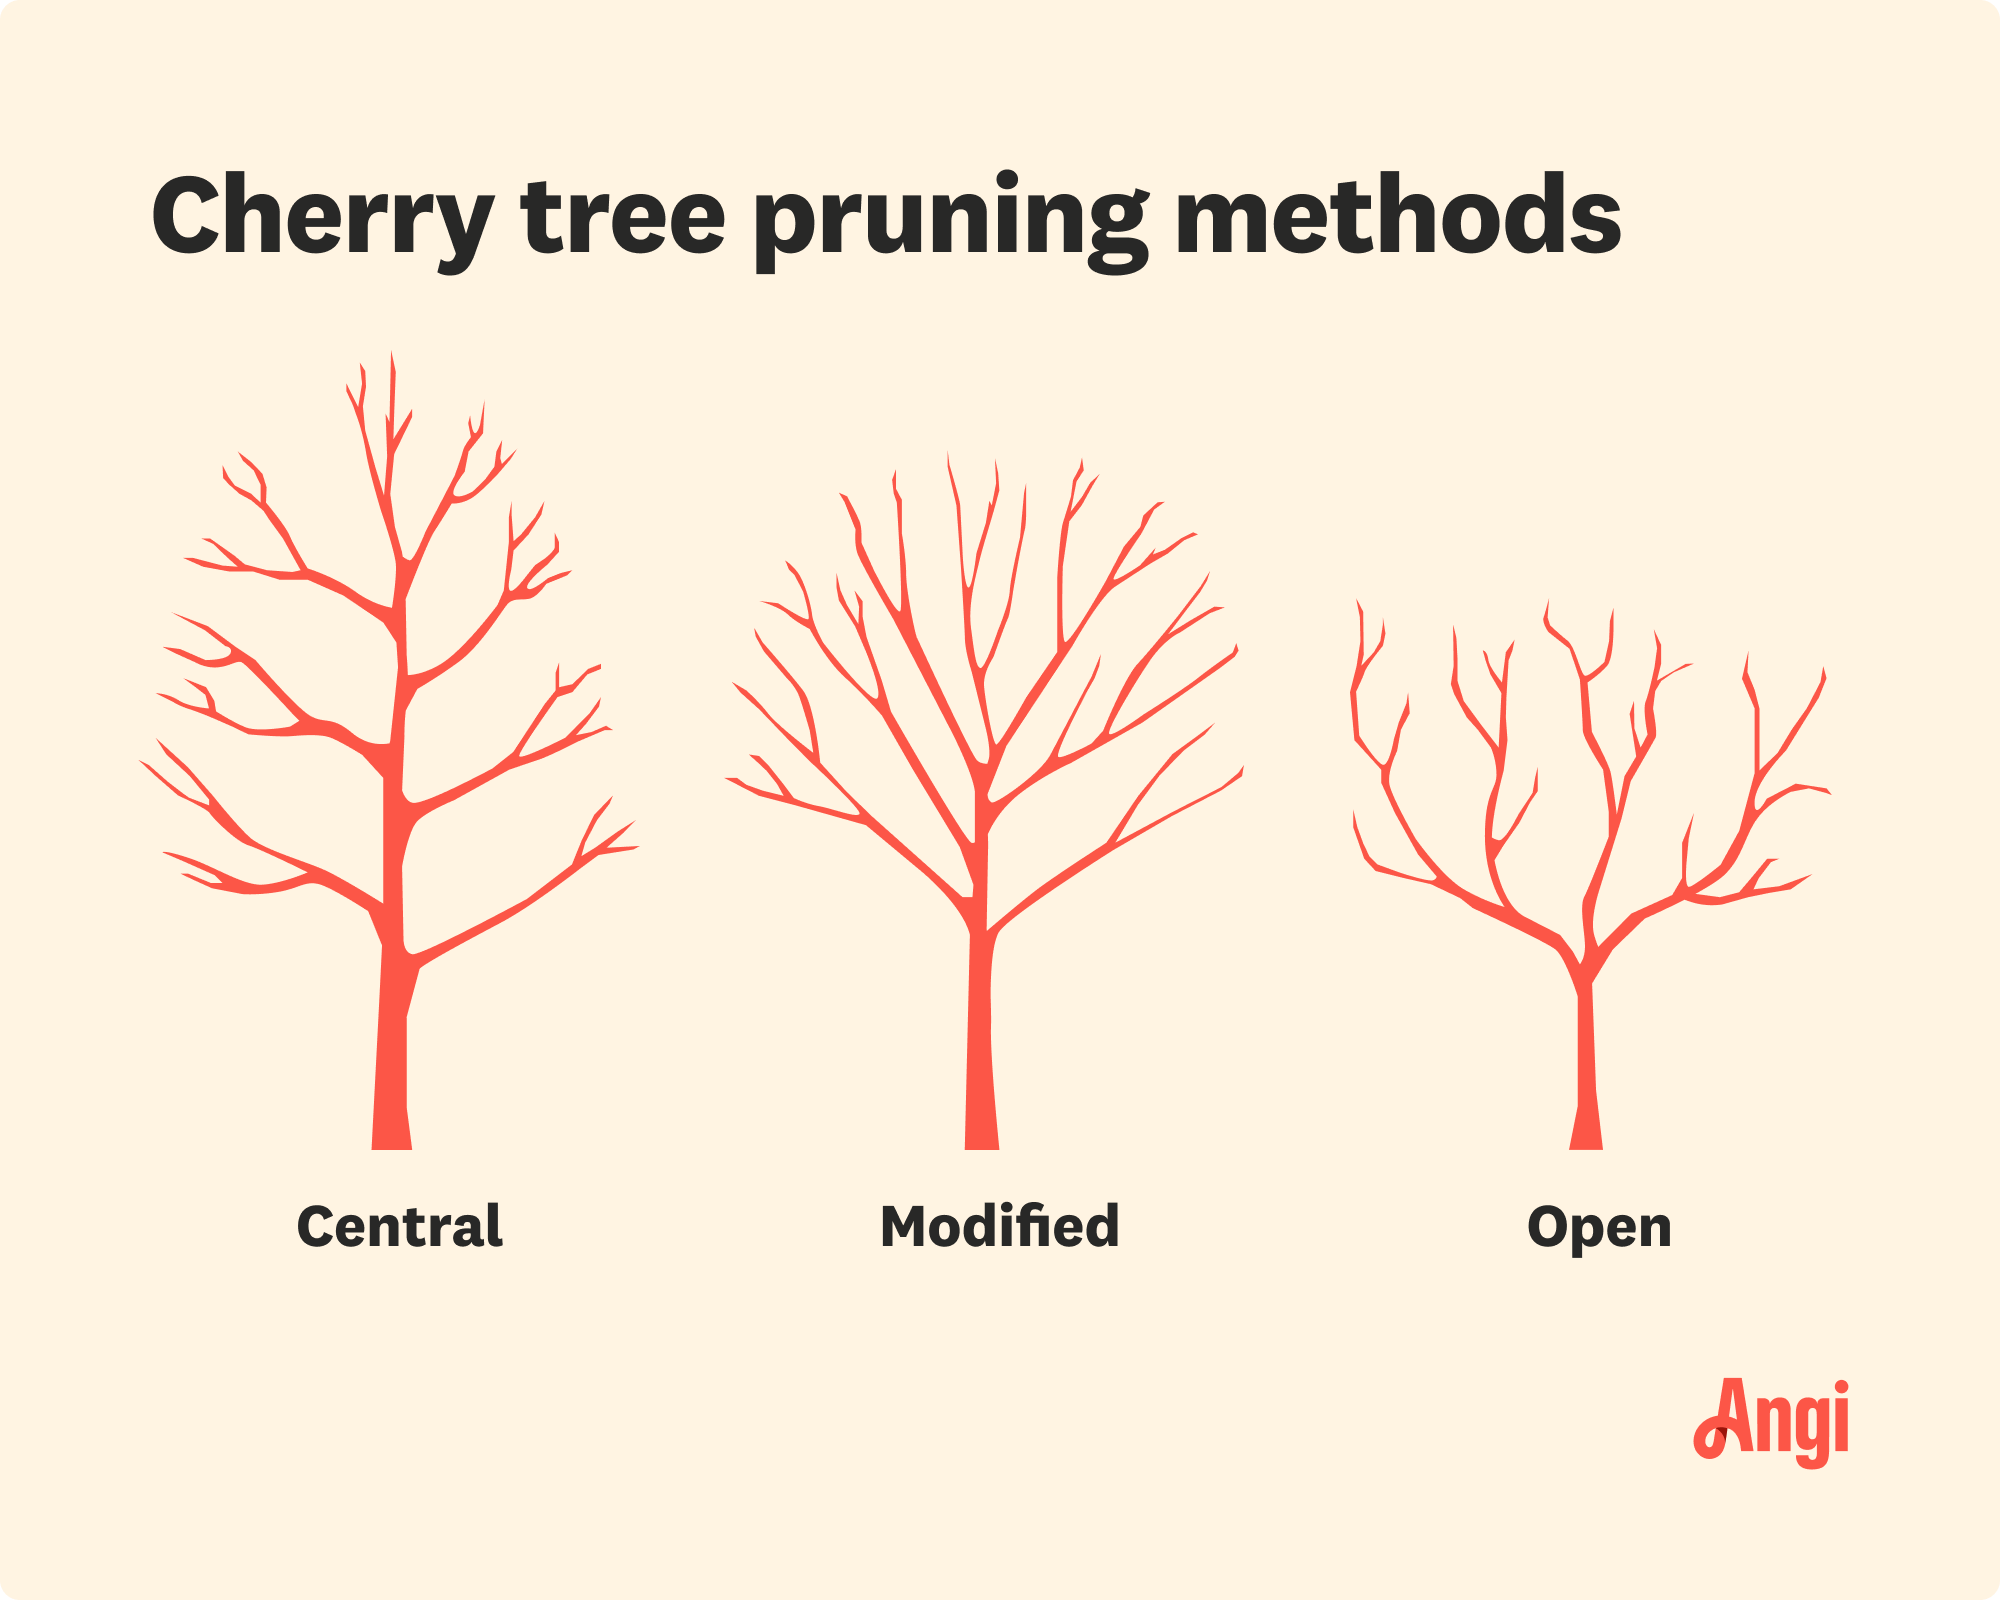
I started by looking at the overall shape of the trees. I wanted to make sure I was opening up the center, letting in more light and air. That’s supposed to be good for fruit production, or so I’ve read.
- I cut out any dead or diseased branches first. Those are easy to spot, they’re usually discolored and brittle.
- Then, I looked for any branches that were crossing or rubbing against each other. Those gotta go, otherwise they can create wounds where diseases can get in.
- Next, I focused on thinning out the canopy. I took out some of the smaller branches, especially those growing straight up or down. The idea is to encourage horizontal growth, where the fruit will actually grow.
It was kind of a slow process, taking a step back every few cuts to see how things were looking. I didn’t want to go too crazy and end up with a butchered tree. I snipped here and there, trying to imagine how the tree would look in a few months, all leafed out. Some branches were easy to cut, some others were higher so I used my loppers.
Cleaning Up
Once I was done pruning, I gathered up all the branches and hauled them away. I’ll probably chop them up later for firewood or something. I don’t think is necessary but I’m gonna consider that. I cleaned my tools with some soapy water and that’s it.
Honestly, it wasn’t as hard as I thought it would be. It was actually kind of relaxing, being out there in the yard, working on the trees. And hopefully, all this effort will pay off with a bigger, better cherry harvest next year!


