
How This Whole Plant Stand Thing Started
Honestly, it all began when I tripped over one of those flimsy plastic trays holding my big ceramic pot again. Water went everywhere, ceramic pot went “CLANK” – scary sound, thought it cracked! That plastic tray just looked sad anyway, and my back hurt for days. Right then, knew I had to build something sturdy and nicer looking. Saw a ton of ideas online, but most seemed too expensive or complicated. Decided to mess around in my garage and see what I could actually pull off myself with stuff I already had mostly lying around or could get cheap.
Digging Through My Junk Pile (I Mean Supplies)
Started by just dragging everything that looked vaguely useful out onto the garage floor. You know how it is:
- Found these leftover cedar fence planks from last summer’s failed garden project (still smelled nice!).
- A couple short chunks of 2×4 pine that were too ugly for anything else.
- An old metal stool base I saved years ago thinking “might need this someday.”
- Some random ceramic tiles left over from the bathroom reno.
- The trusty toolbox: saw, drill, wood glue, sandpaper, screws. No fancy tools.
The Garage Became My Messy Workshop
Cleared off a spot on the workbench – gotta start somewhere! Grabbed the cedar planks first. Measured how tall I wanted the stand for my favourite big snake plant, marked it rough with a pencil. Used the handsaw to lop off the ends. Sanded those edges like crazy; nobody likes splinters. Tried stacking the planks just loose to see the shape. Looked okay, kinda rustic. Glued them together, clamped ‘em tight with whatever clamps I could find, weights piled on top. Took ages to dry completely. Felt impatient, kept checking.
While that glue dried, tackled that metal stool base. Thing was dusty and a little rusty. Took steel wool and some WD-40 to scrub it down outside. Looked way better. Sprayed on two coats of this waterproof paint I had for outdoor chairs. Important step! Nobody wants rusty water staining the floor. That part dried way faster than the wood glue.
Then tried the super basic approach for smaller pots: just the short 2×4 chunks. Cut them into equal lengths, stacked them like Lincoln logs. Glued each layer, drilled pilot holes down through the center to push a long screw through for stability. Sanded everything smooth after assembly. Simple, chunky look.
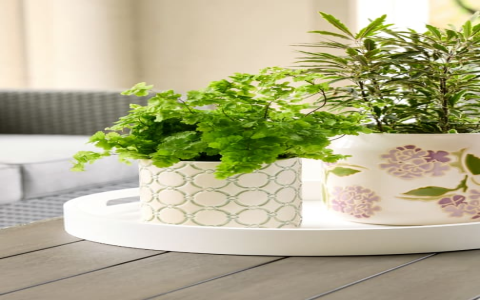
For the tile idea… that was kinda last minute. Had one larger ceramic tile. Stuck these little rubber feet on the bottom corners so it wouldn’t scratch the floor. Just set the ceramic pot right on top. Shockingly simple, but actually looked pretty slick and modern. Win!
The Moment of Truth (& Some Wobbles)
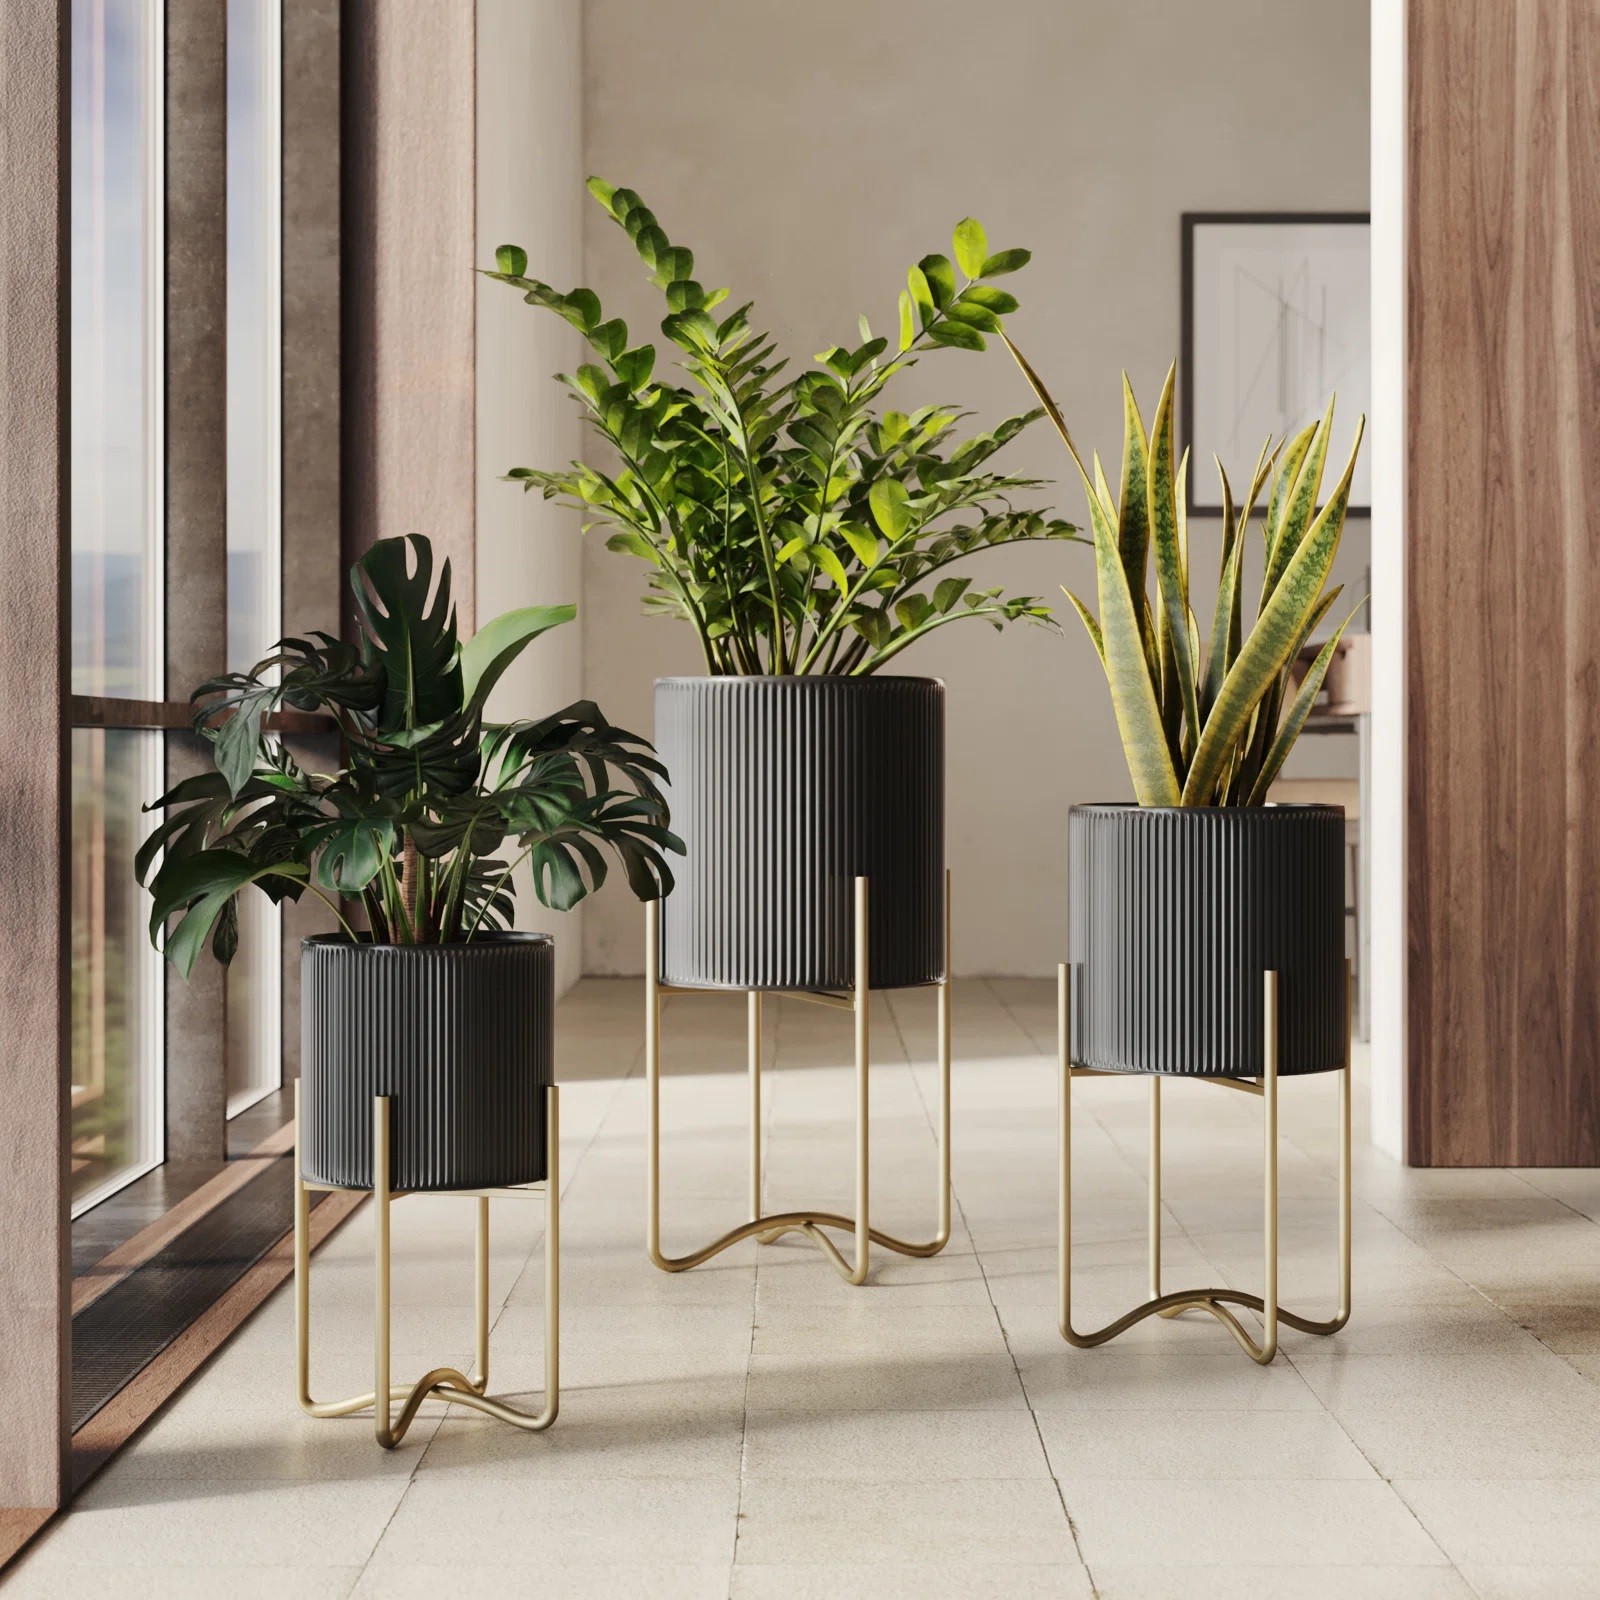
First, tried my stacked cedar plank stand. Looked cool! Put the big ceramic pot on top. Gave it a gentle nudge… held! Solid! Success felt awesome. The painted metal base worked great too – the pot sits right in the seat area, stable as anything, looks industrial.
The Lincoln log stand for the medium pot… well, version one wobbled. Like, a lot. Took it apart. Realized the layers weren’t perfectly flat. Sanded each layer level carefully before gluing and screwing again. Took two tries, but got it stable.
Tile? No drama. Just worked. Love it when that happens.
Here’s What Actually Worked (My Top 10 Winners)
After all that cutting, gluing, sanding, painting, and cursing mildly at wobbles, here’s the solid performers I ended up with, ranked by how stoked I am about them and how much work they needed:
- The Stacked Slab Look: Those cedar planks glued up? Turned out fantastic after the sanding & waiting for glue to cure. Super sturdy for big heavy pots. Natural wood vibe.
- Upcycled Stool Base: That old rusty base scrubbed up nice! Painted black, holds a medium pot perfectly. Gets compliments.
- Chunky Lincoln Logs: My do-over 2×4 stack. Sanded smooth, clear-coated. Surprisingly nice next to the couch holding a spider plant.
- Simple Ceramic Tile Riser: Almost cheating it was so easy. Put little rubber feet under it. Perfect for a single small pot on a windowsill.
- Scrap Wood Tripod: Had some thinner scrap wood pieces. Cut three equal lengths, screwed together at the top like a teepee. Sanded well. Works well outdoors!
- Thick Rope Wrapped Legs: Took an old wooden crate leg, wrapped thick natural rope around it tight with glue. Weird texture, cool effect. Unique.
- Wood + Tile Combo: Made a simple small square platform with scrap wood, glued one of the nicer tiles on top as the shelf. Looks fancy, zero effort.
- Minimalist Metal Frame: Found some thicker wire. Bent it into a simple rectangle shape with legs. Tough to get perfectly even, but looks cool holding a small round pot.
- Old Book Stack: Saw this idea online. Used a stack of super old, damaged hardcover books I didn’t want, glued ’em together tightly. Waterproofed the top. Kitschy but fun.
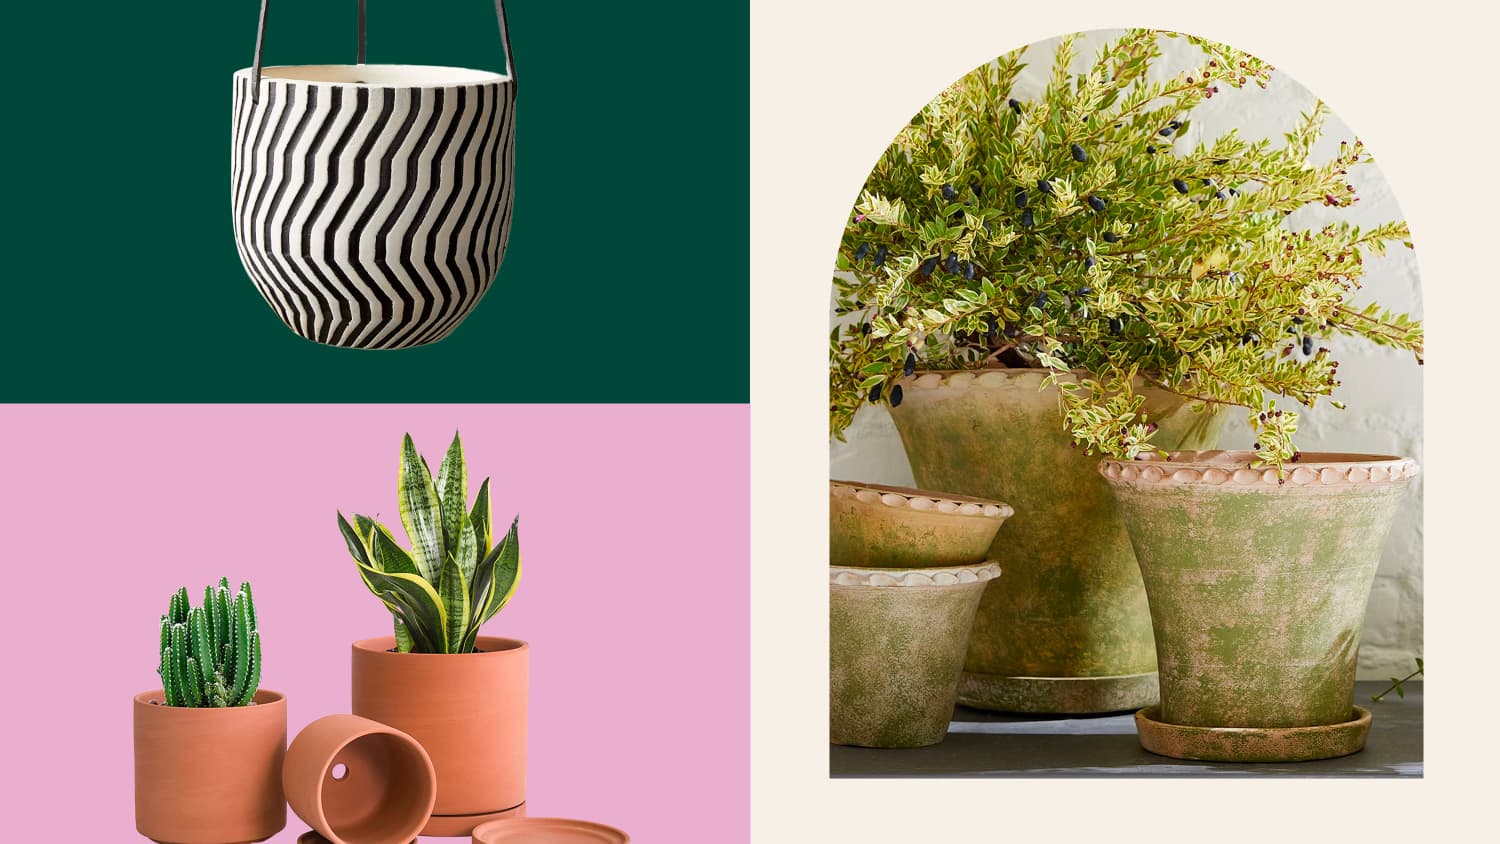
- Stacked Terracotta Saucers: Literally just glued three different sized terracotta saucers together, biggest on bottom. Spray painted white. Weirdly effective small stand.
Lessons From My Garage Chaos
Honestly? Start simple. That tile riser or wood chunk stack cost almost nothing and took minutes (okay, minus the wobble-fix time!). Don’t be afraid to use junk – that old stool base was gold. Sanding is boring but sooo important for looks and not snagging things. Patience with glue? Non-negotiable. Finally, waterproof anything that might get wet or sit on a wet surface. So satisfying seeing plants up off the floor, safe, and looking way nicer than some cheap plastic tray. Saved a bunch of cash and have something unique for every corner.


