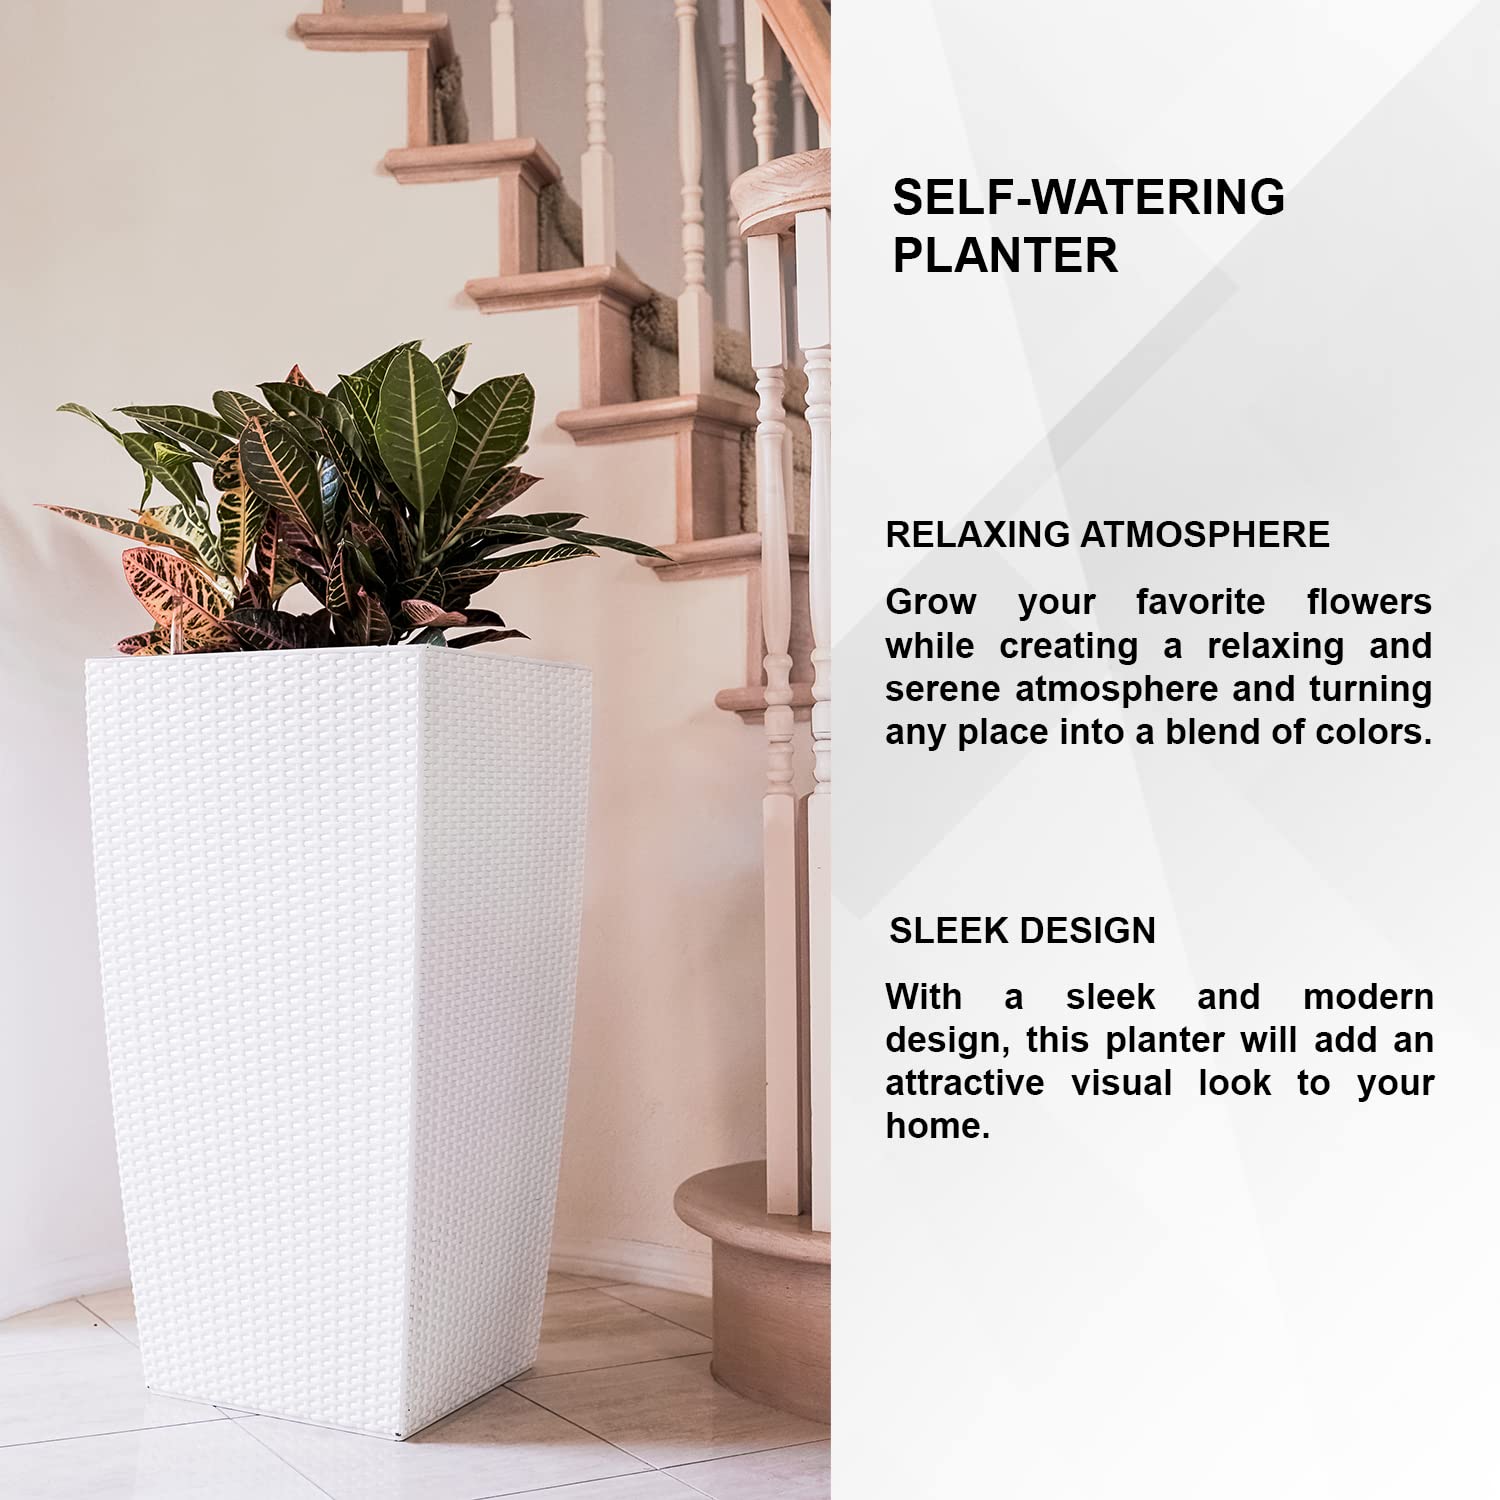
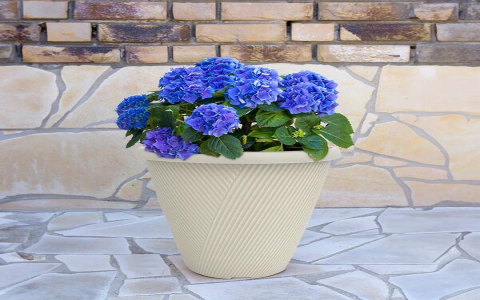
Okay, so I’ve been wanting to try a self-watering planter for a while. I’m terrible at remembering to water my plants, so anything that helps me keep them alive is a win. I found this simple white planter design that I thought would be a good starter project, so I decided to give it a shot.
Getting Started
First, I gathered my materials. I already had a plain white ceramic pot that I wasn’t using, which was perfect. I also picked up some:

- Some wick material, which I found the yarn at home .
- Potting mix, because, well, you need that for plants.
- And of course, a plant! I went with a small peace lily.
Setting it Up
I made a hole through the bottom, It was surprisingly easy.I threaded my wick through the hole that in the bottom of the pot. I made sure to leave a good amount of wick hanging out the bottom, and then I spread out the rest of the wick inside the pot, kind of in a spiral pattern.
Next, I added my potting mix, carefully packing it around the wick. Then I planted my peace lily, making sure the roots were nicely nestled in the soil.
Making it Self-Watering
To make this thing actually self-watering, I needed a reservoir. I just used a simple plastic container that my pot could sit on top of. I filled the container with water, making sure the wick was dangling down into it.
The idea is that the wick will soak up the water and deliver it to the soil, keeping the plant consistently hydrated. It’s like magic, but it’s actually just physics.
Fingers Crossed!
So, that’s it! My self-watering white planter is all set up. I’m really hoping this works and my peace lily thrives. I’ll keep an eye on the water level in the reservoir and refill it as needed. It’s been a few days now, and the plant looks happy, so fingers crossed this is the solution to my plant-killing tendencies!
I’ll try to remember to water it regularly, at least to start. We’ll see how it goes!


