
Okay, so my phalaenopsis orchids were looking a little sad. The leaves were kinda droopy, and I knew it was time to check out what was going on with the roots. Turns out, the old potting mix was totally broken down – looked like soggy dirt, not good!
Getting My Supplies Ready
First, I gathered everything I needed. I got:

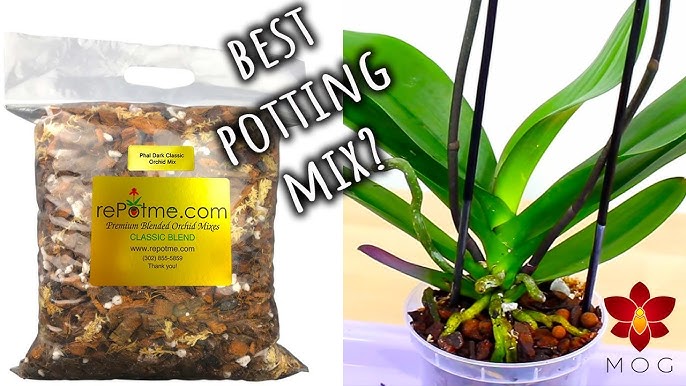
- A new bag of orchid potting mix. I made sure it was specifically for orchids, not regular potting soil.
- Some clean scissors (I wiped them down with rubbing alcohol).
- A new pot, just slightly bigger than the old one.
- A bucket of water.
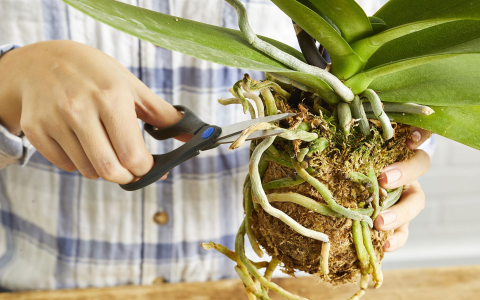
Time for Action!
I gently pulled the orchid out of its old pot. Wow, the roots were a mess! Some were brown and mushy (definitely rotten), and others were okay, kinda silvery-green. I carefully snipped off all the dead, mushy roots with my clean scissors. Be brave! It’s okay to cut away the bad parts; it helps the plant in the long run.
Soaking and Mixing
I put the orchid aside and focused the new * orchids do not like to be planted with any soil,they like bark or long-fibered sphagnum moss.I found that my orchid potting mix is bark,that will be ok.
I Dumped some of the bark into my bucket of water . Give them mix to soak the water.
Potting It Up!
I put a little bit of the new mix in the bottom of the new *, I carefully positioned the orchid in the pot, making sure the roots were spread out. I gently added more of the mix around the roots, tapping the pot to help it settle. Don’t pack it down too tight, though! Orchids like air around their roots.
The Final Touches
Once the orchid was potted, I gave it a good watering. I let the water run through the pot until it drained out the * that’s it!
Now, my orchid is in its fresh new home, and I’m hoping to see it perk up soon. Fingers crossed for some new blooms in the future! I’ll keep an eye on it and water it when the potting mix feels dry to the touch. It’s all about paying attention and giving these beauties what they need.


