
Why I Needed to Repot My Orchids
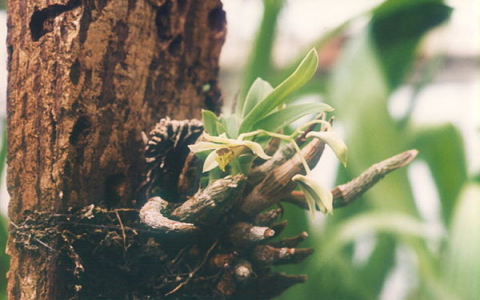
My old orchids were looking real sad last month. Roots coming out everywhere, leaves turning yellow, and zero blooms for almost a year. Figured it was time to repot those drama queens.
Finding Cheap But Good Kits
Started checking online for orchid repotting kits that wouldn’t break the bank. Found loads claiming to be “premium” with crazy prices. Scrolled for hours comparing what actually comes in these things. Ended up picking three affordable kits under 20 bucks each to test out.
First kit showed up looking fancy in the box, but felt cheap when I opened it. The potting mix was mostly dust, and those plastic pots were thinner than sandwich bags. Immediately tossed that one aside.
Second kit actually impressed me. Sturdy pots with proper drainage holes, good quality shears, and the moss actually smelled fresh. Best part was the included fertilizer packets – legit useful stuff!
Actual Repotting Night
Cleared my kitchen table and dumped everything out:
- Step 1: Soaked that new moss for 30 minutes while drinking coffee
- Step 2: Yanked my orchid out of its old pot – roots were a tangled disaster
- Step 3: Snipped off all the dead roots with those shears from the kit (worked surprisingly well)
- Step 4: Stuffed the new moss around the roots like packing a fragile vase
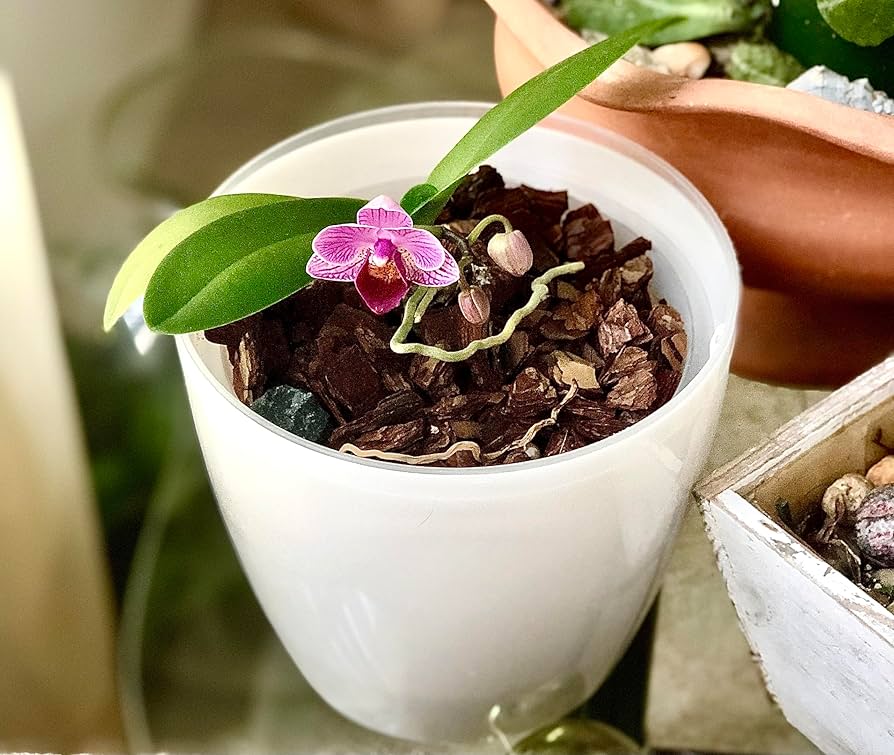
- Step 5: Dropped that beauty into its new ventilated pot
How It Turned Out
Waited three weeks holding my breath. Saw green shoots popping up last Tuesday! These new pots let the roots breathe way better than my old mug setup. Only downside? One kit included gloves that ripped immediately – total joke. But the good kit’s moss stays moist for days, which is perfect since I always forget to water.
Honestly amazed these budget kits work at all. That middle kit? Total keeper. My orchids ain’t winning flower shows yet, but they’re finally growing new leaves without giving me death stares every morning.


