

Alright, let’s talk about this little project I just finished – a modern planter stand. You know, I’ve been wanting to spruce up my living room with some greenery, and I figured a nice stand would be perfect. I looked around online, but honestly, nothing really caught my eye, plus some of them were pretty pricey. So, like I always do, I thought, “Why not just build one myself?”
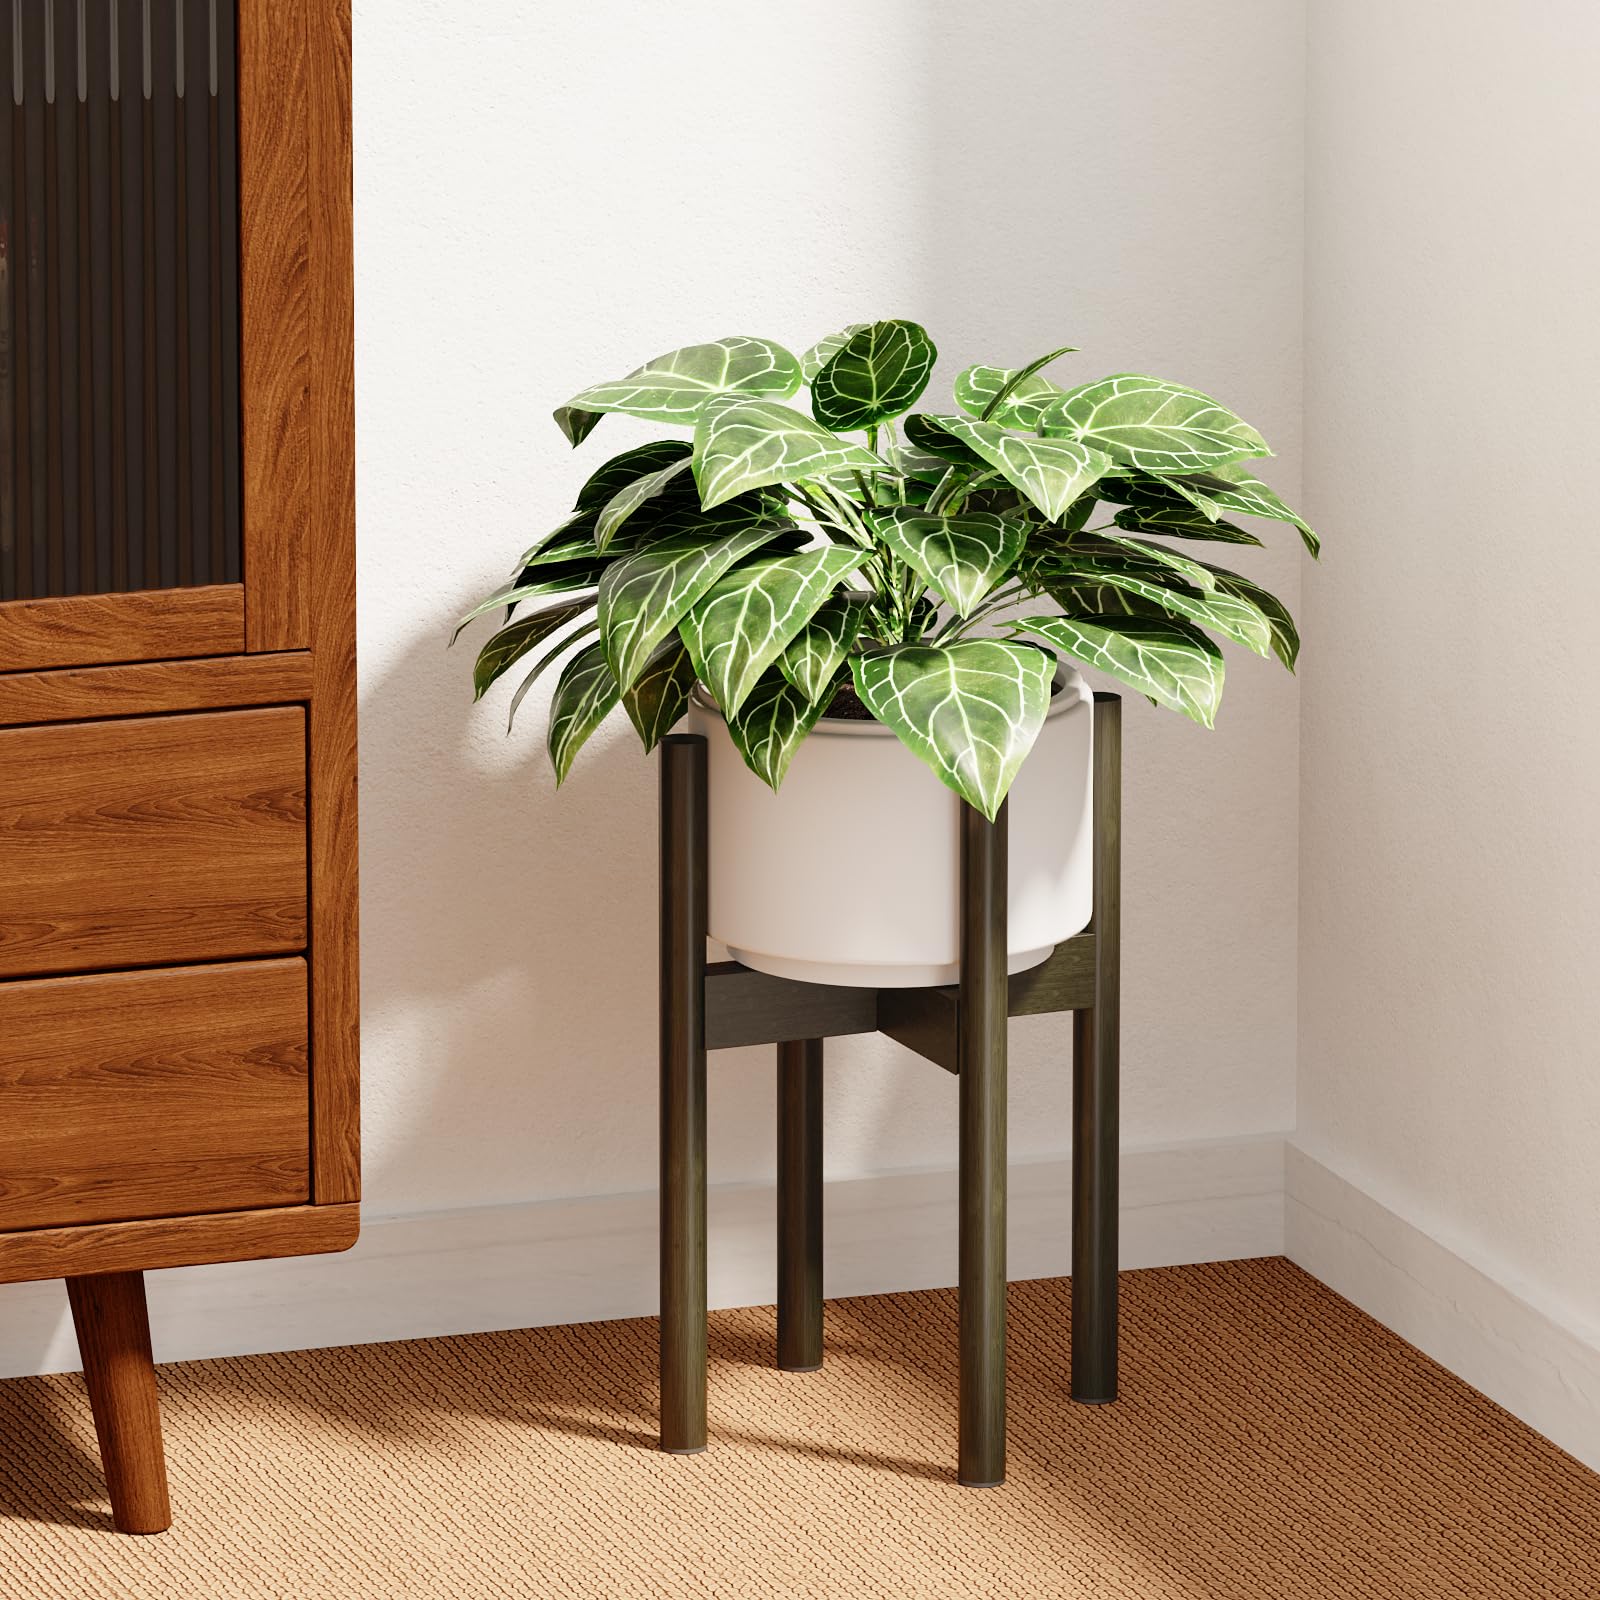
First things first, I had to figure out what I wanted. I was leaning towards something simple and clean, nothing too bulky. I sketched out a few ideas, and after messing around with the design a few times, I finally landed on a tiered look with three levels. It took me a couple of tries to get the proportions right, but I think it ended up looking pretty sweet.
Getting Started
Next, it was time to gather some materials. I swung by the local hardware store and picked up some wood. I chose pine because it’s cheap and easy to work with. I also grabbed some wood stain, screws, and wood glue. The guy at the store was super helpful. He even helped me cut the wood down to the sizes I needed, which saved me a ton of time. I made sure to double-check all my measurements before leaving the store because, you know, measure twice, cut once.
Putting it Together
Once I got home, I started assembling the stand. I started with the legs. I wanted the legs to be sturdy, so I used some pretty thick pieces of wood. I glued and screwed them together, making sure everything was nice and square. This part was a bit tricky, had to use some clamps to hold everything in place while the glue dried. After that, I attached the shelves. I made sure to space them out evenly so that the plants would have enough room to grow. I also sanded down all the edges to make sure there weren’t any splinters. That part took forever, my arms were so tired afterward!
The Finishing Touches
After everything was assembled, it was time for the fun part – staining! I went with a dark walnut stain because I wanted the stand to have a modern look. I applied two coats, waiting for each coat to dry completely before applying the next. It was a bit time-consuming, but it was definitely worth it. The stain really brought out the natural beauty of the wood. I also added some small metal brackets to the bottom of the legs for extra support and because I thought they looked cool. I found some cheap ones at a local craft store, so that was a plus.
The Final Result
And there you have it! My very own, handmade modern planter stand. It turned out even better than I expected, to be honest. It’s sturdy, it looks great, and it’s the perfect addition to my living room. Plus, I saved a ton of money by building it myself. Now I just need to get some plants to put on it! I’m thinking some succulents and maybe a snake plant. Oh, and I also want to get a cool, durable metal plant stand for my outdoor garden. I’ll have to keep an eye out for a good deal on one of those.
- What I learned: Patience is key. Take your time, don’t rush things, and it will all come together.
- What I would do differently: Maybe use a different type of wood. Pine is great, but something a little harder would have been nice too. Also, maybe wear gloves next time I use wood stain.
- Overall: I’m super happy with how it turned out. It was a fun project, and I learned a lot. Plus, now I have a cool new piece of furniture that I made myself!
So, if you’re thinking about building your own planter stand, I say go for it! It’s a rewarding experience, and you’ll end up with something unique that you can be proud of. Just make sure you have a plan, gather your materials, and take your time. And don’t be afraid to get creative and make it your own!


