

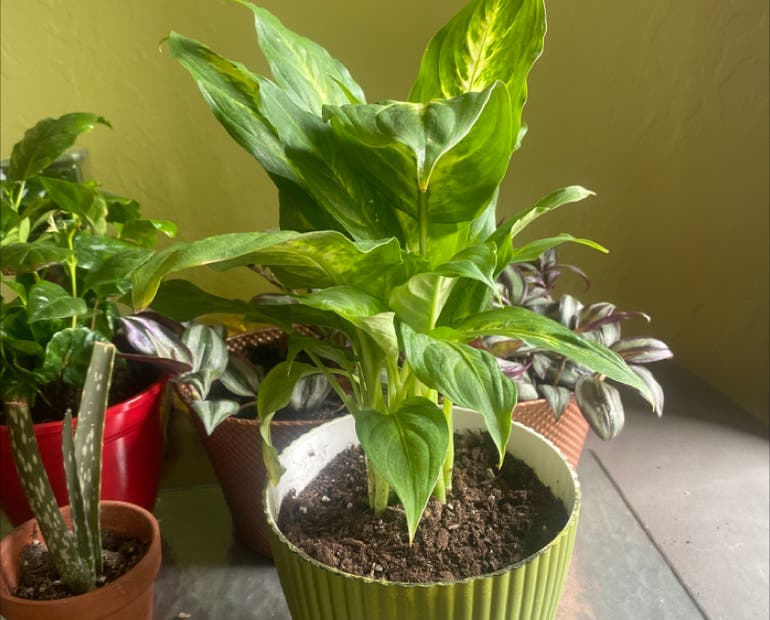
Okay, so, the other day I decided to tackle this whole “dieff camille care” thing. I’d been seeing it all over my Pinterest, and honestly, my dieffenbachia (which I affectionately call Camille) was looking a little, uh, sad. So, I figured it was time for some serious plant-parent action.
First, I checked the soil. I stuck my finger in about two inches, and it was bone dry. Big yikes. Camille was definitely thirsty. I also noticed the pot she was in didn’t have drainage holes – another major no-no. Rookie mistake, I know.
Next up, I found a new pot. I grabbed one of my terracotta pots with a nice, big hole in the bottom. I know these plants like to dry out a bit between waterings, and terracotta helps with that.
Repotting Time!
- I gently pulled Camille out of her old pot. Her roots were all tangled and circling the bottom. Poor thing!
- I loosened up the roots a bit with my fingers. I didn’t want to damage them too much, just give them some room to breathe.
- I put a layer of fresh potting mix in the bottom of the new pot.I got some the other week.
- I placed her in the new pot and filled in around the sides with more soil.
- I watered her thoroughly until water started draining out the bottom.
After the big move, I found a good spot for Camille. She used to be in a pretty dim corner, which I now realize wasn’t ideal. Dieffenbachias like bright, indirect light, so I moved her closer to a window, but not directly in the sun’s rays.
Finally, I gave her leaves a good wipe-down. They were covered in dust, which I’m sure wasn’t helping her absorb light. I just used a damp cloth and gently cleaned each leaf. It’s amazing how much brighter she looked after just that!
It’s only been a few days, but Camille already seems happier. Her leaves are starting to perk up, and I swear she’s even grown a little. I’m going to keep a close eye on her soil moisture and make sure she’s getting enough light. Hopefully, this little care routine will keep her thriving!


