
Hey everyone, it’s time for another one of my plant experiments. Today, I want to talk about something that’s been on my mind lately – the perfect soil mix for my Aglaonema. I’ve been doing some digging around, no pun intended, and I think I’ve finally cracked the code. So, grab your gardening gloves, and let’s get into it!
Getting Started
First things first, I gathered all my materials. I wanted to make a mix that was well-draining, because I know Aglaonemas don’t like to sit in water. They’re like me; they need their space, haha. I picked up some peat moss, a bag of perlite, and a bit of vermiculite. I’ve heard these are pretty good for drainage, and it seemed like a good place to start.
Mixing It Up
Now, for the fun part – mixing! I started with a base of peat moss. It’s light, fluffy, and holds moisture well without getting soggy. Then, I added in the perlite. These little white rocks are like magic for aeration. I tossed in a handful of vermiculite, too. From what I read, it helps with both retaining water and nutrients. I mixed it all together in a big bucket, making sure everything was evenly distributed. It felt a bit like baking, but without the delicious smell of cookies afterwards.
The Experiment
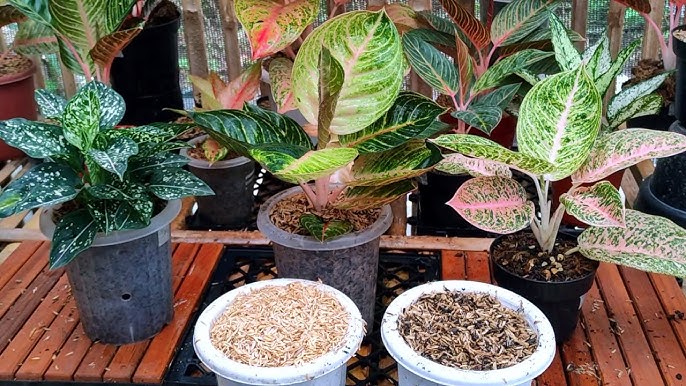
With my soil mix ready, I decided to repot a couple of my Aglaonemas. I gently took them out of their old pots, brushed off the old soil from their roots, and placed them in their new homes filled with my custom mix. I made sure to pat the soil down gently around the roots to get rid of any big air pockets.
The Waiting Game
After repotting, I watered them just enough to settle the soil, making sure not to overdo it. I noticed the water drained pretty quickly, which was a good sign. Now, it’s all about watching and waiting. I kept an eye on the moisture level of the soil, only watering when the top inch felt dry to the touch. I also paid attention to the leaves for any signs of mold or weird smells – so far, so good!
Keeping an Eye on Things
I also learned that it’s important to monitor the EC levels of the soil. I didn’t have a fancy tool for this, but I made a mental note to check for any signs of the plant not getting enough nutrients or getting too much. I read somewhere that an EC of around 2.0 is good, and over 3.0 is a no-go. I tried to keep an eye out for any yellowing leaves or stunted growth, which could be signs of nutrient issues.
The Results
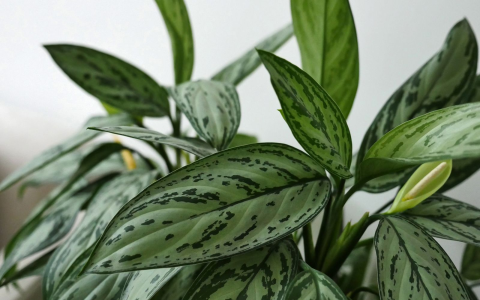
It’s been a few weeks now, and I’m happy to report that my Aglaonemas seem to be loving their new soil! They’re looking vibrant, and there’s even some new growth. I feel like a proud plant parent, seeing them thrive. I think the key was really getting that balance right between moisture retention and drainage. This mix seems to be doing the trick!
So, there you have it – my journey to creating the perfect soil mix for my Aglaonemas. It was a bit of trial and error, and a lot of learning, but it was totally worth it. Remember, every plant is different, so what works for me might need a little tweaking for you. Happy planting, everyone! Let me know how your experiments go, too!


