
Hey everyone, it’s your guy here again, back with another DIY project. Today, I wanted to share my experience making a concrete flowerpot. I saw some of these online for like, 25 bucks or more, and I thought, “Nah, I can do that myself for way less.” And you know what? I did, and it turned out pretty awesome, if I do say so myself.
Getting Started
So, first things first, I needed to gather my supplies. Concrete, obviously, is the main thing here. I didn’t want anything fancy, just regular old concrete mix. Then, I grabbed a couple of containers to use as molds. You can really use anything for this – old plastic buckets, bowls, even those cheap plastic planters from the dollar store. The key is to have a larger one for the outside and a smaller one for the inside to create the hollow space.
Mixing the Concrete
Next up, mixing the concrete. I just followed the instructions on the bag, adding water until it was like a thick oatmeal consistency. Not too runny, not too dry. I mixed it up in an old bucket I had lying around, using a stick I found in the yard.
Pouring and Setting
Once the concrete was mixed, I started pouring it into the bigger mold. I put some oil on the inside of the mold first, and on the outside of the small mold that was going in the middle. This makes it easier to get the concrete out later. I poured it about halfway up, then gently placed the smaller container inside, making sure it was centered. Then I filled up the rest of the space with concrete, tapping the sides of the mold to get rid of any air bubbles.
Waiting Game
Now came the hard part – waiting. I let the concrete set for about 48 hours, just to be safe. It was tough, I wanted to see the final product so bad! But patience is key, trust me.
Unmolding
After the longest 48 hours of my life, it was time to unmold. I carefully removed the inner container, which was surprisingly easy thanks to the oil. Then, I flipped the whole thing over and gently tapped the bottom of the outer mold until the concrete planter popped out. It was like magic!
Finishing Touches
My concrete planter looked pretty good, but I wanted to give it a bit more character. I used some sandpaper to smooth out any rough edges and give it a more finished look. You can also paint it, stain it, or add other decorations if you want. I decided to keep mine simple and natural.
The Final Result
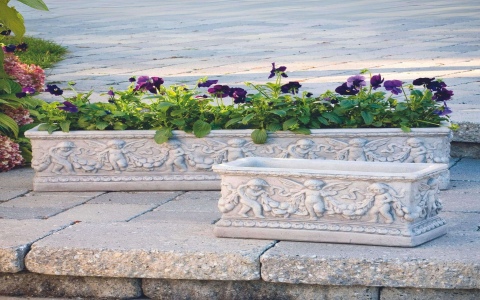
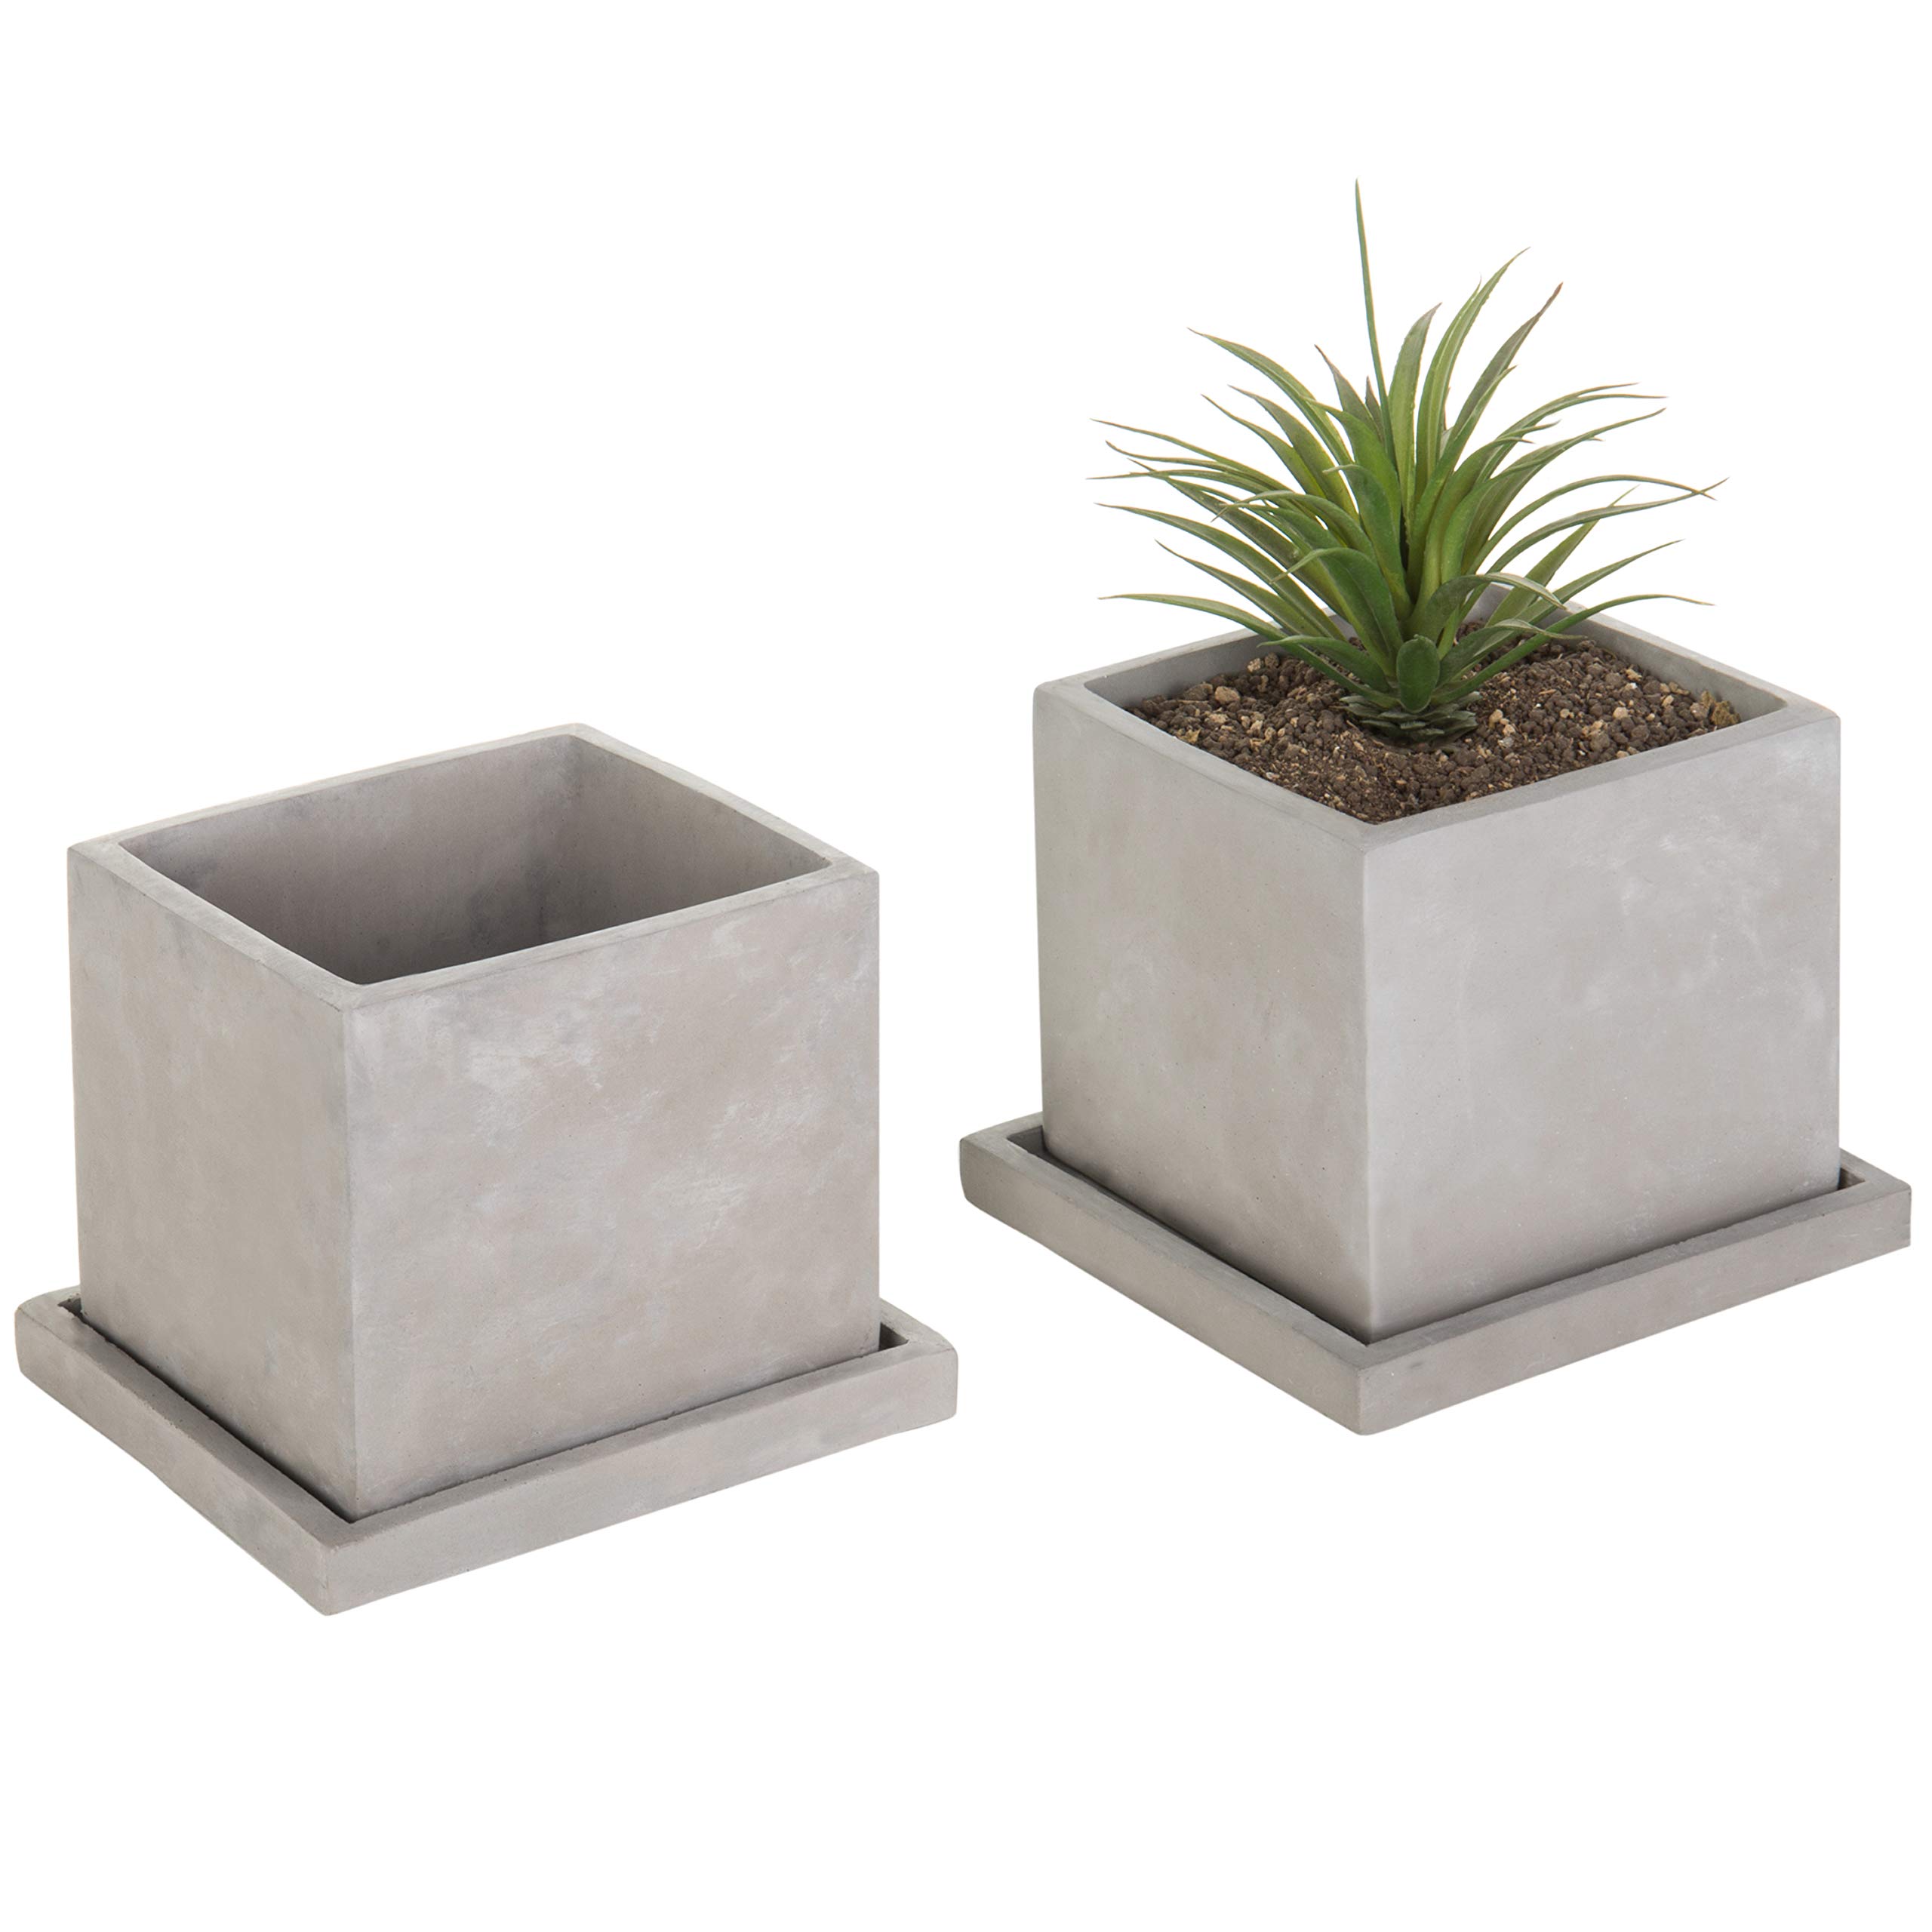
And there you have it, my homemade concrete flowerpot! I’m really happy with how it turned out. It’s sturdy, looks great, and cost me way less than buying one. Plus, I had a blast making it. It’s such a satisfying feeling to create something with your own hands.
Here are a few extra notes from my experience:

- Protect yourself: Concrete can be messy and harsh on your skin, so I wore gloves and old clothes.
- Work in a ventilated area: Concrete dust isn’t fun to breathe in, so I made sure to work outside.
- Be patient: Don’t rush the process. Let the concrete fully cure before unmolding.
So, if you’re looking for a fun and affordable DIY project, give this concrete flowerpot a try. You might surprise yourself with what you can create!


