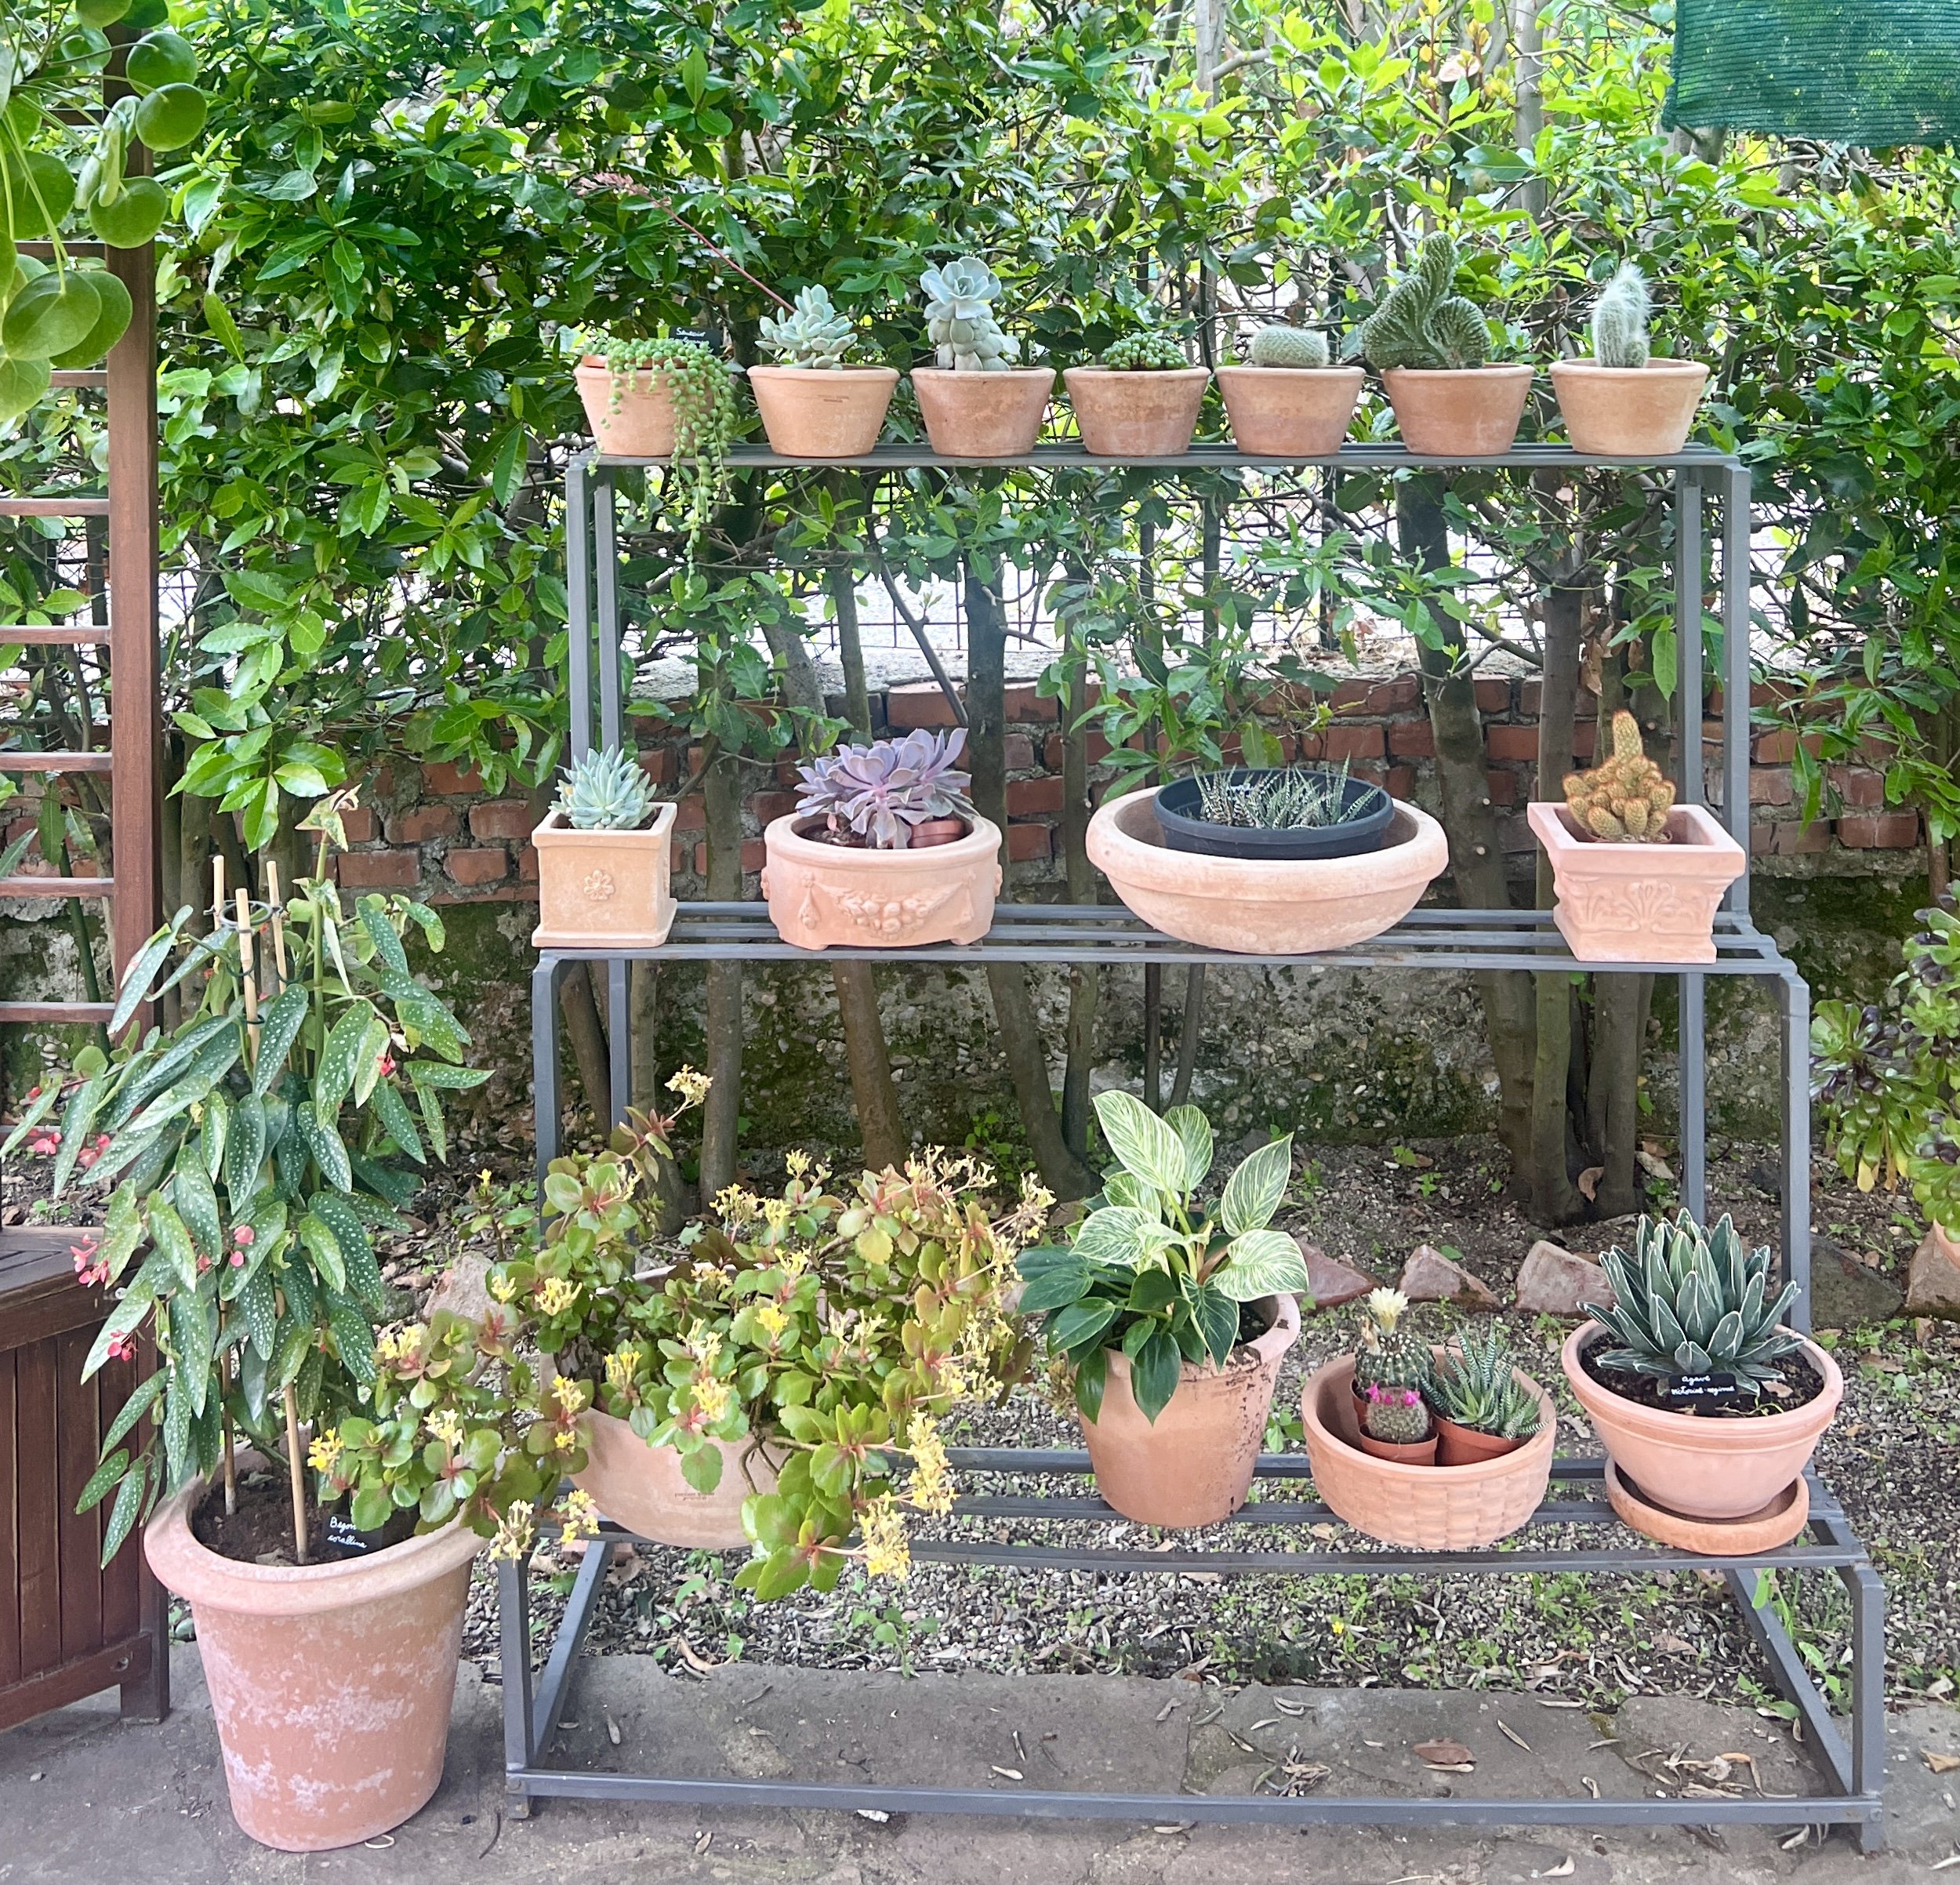
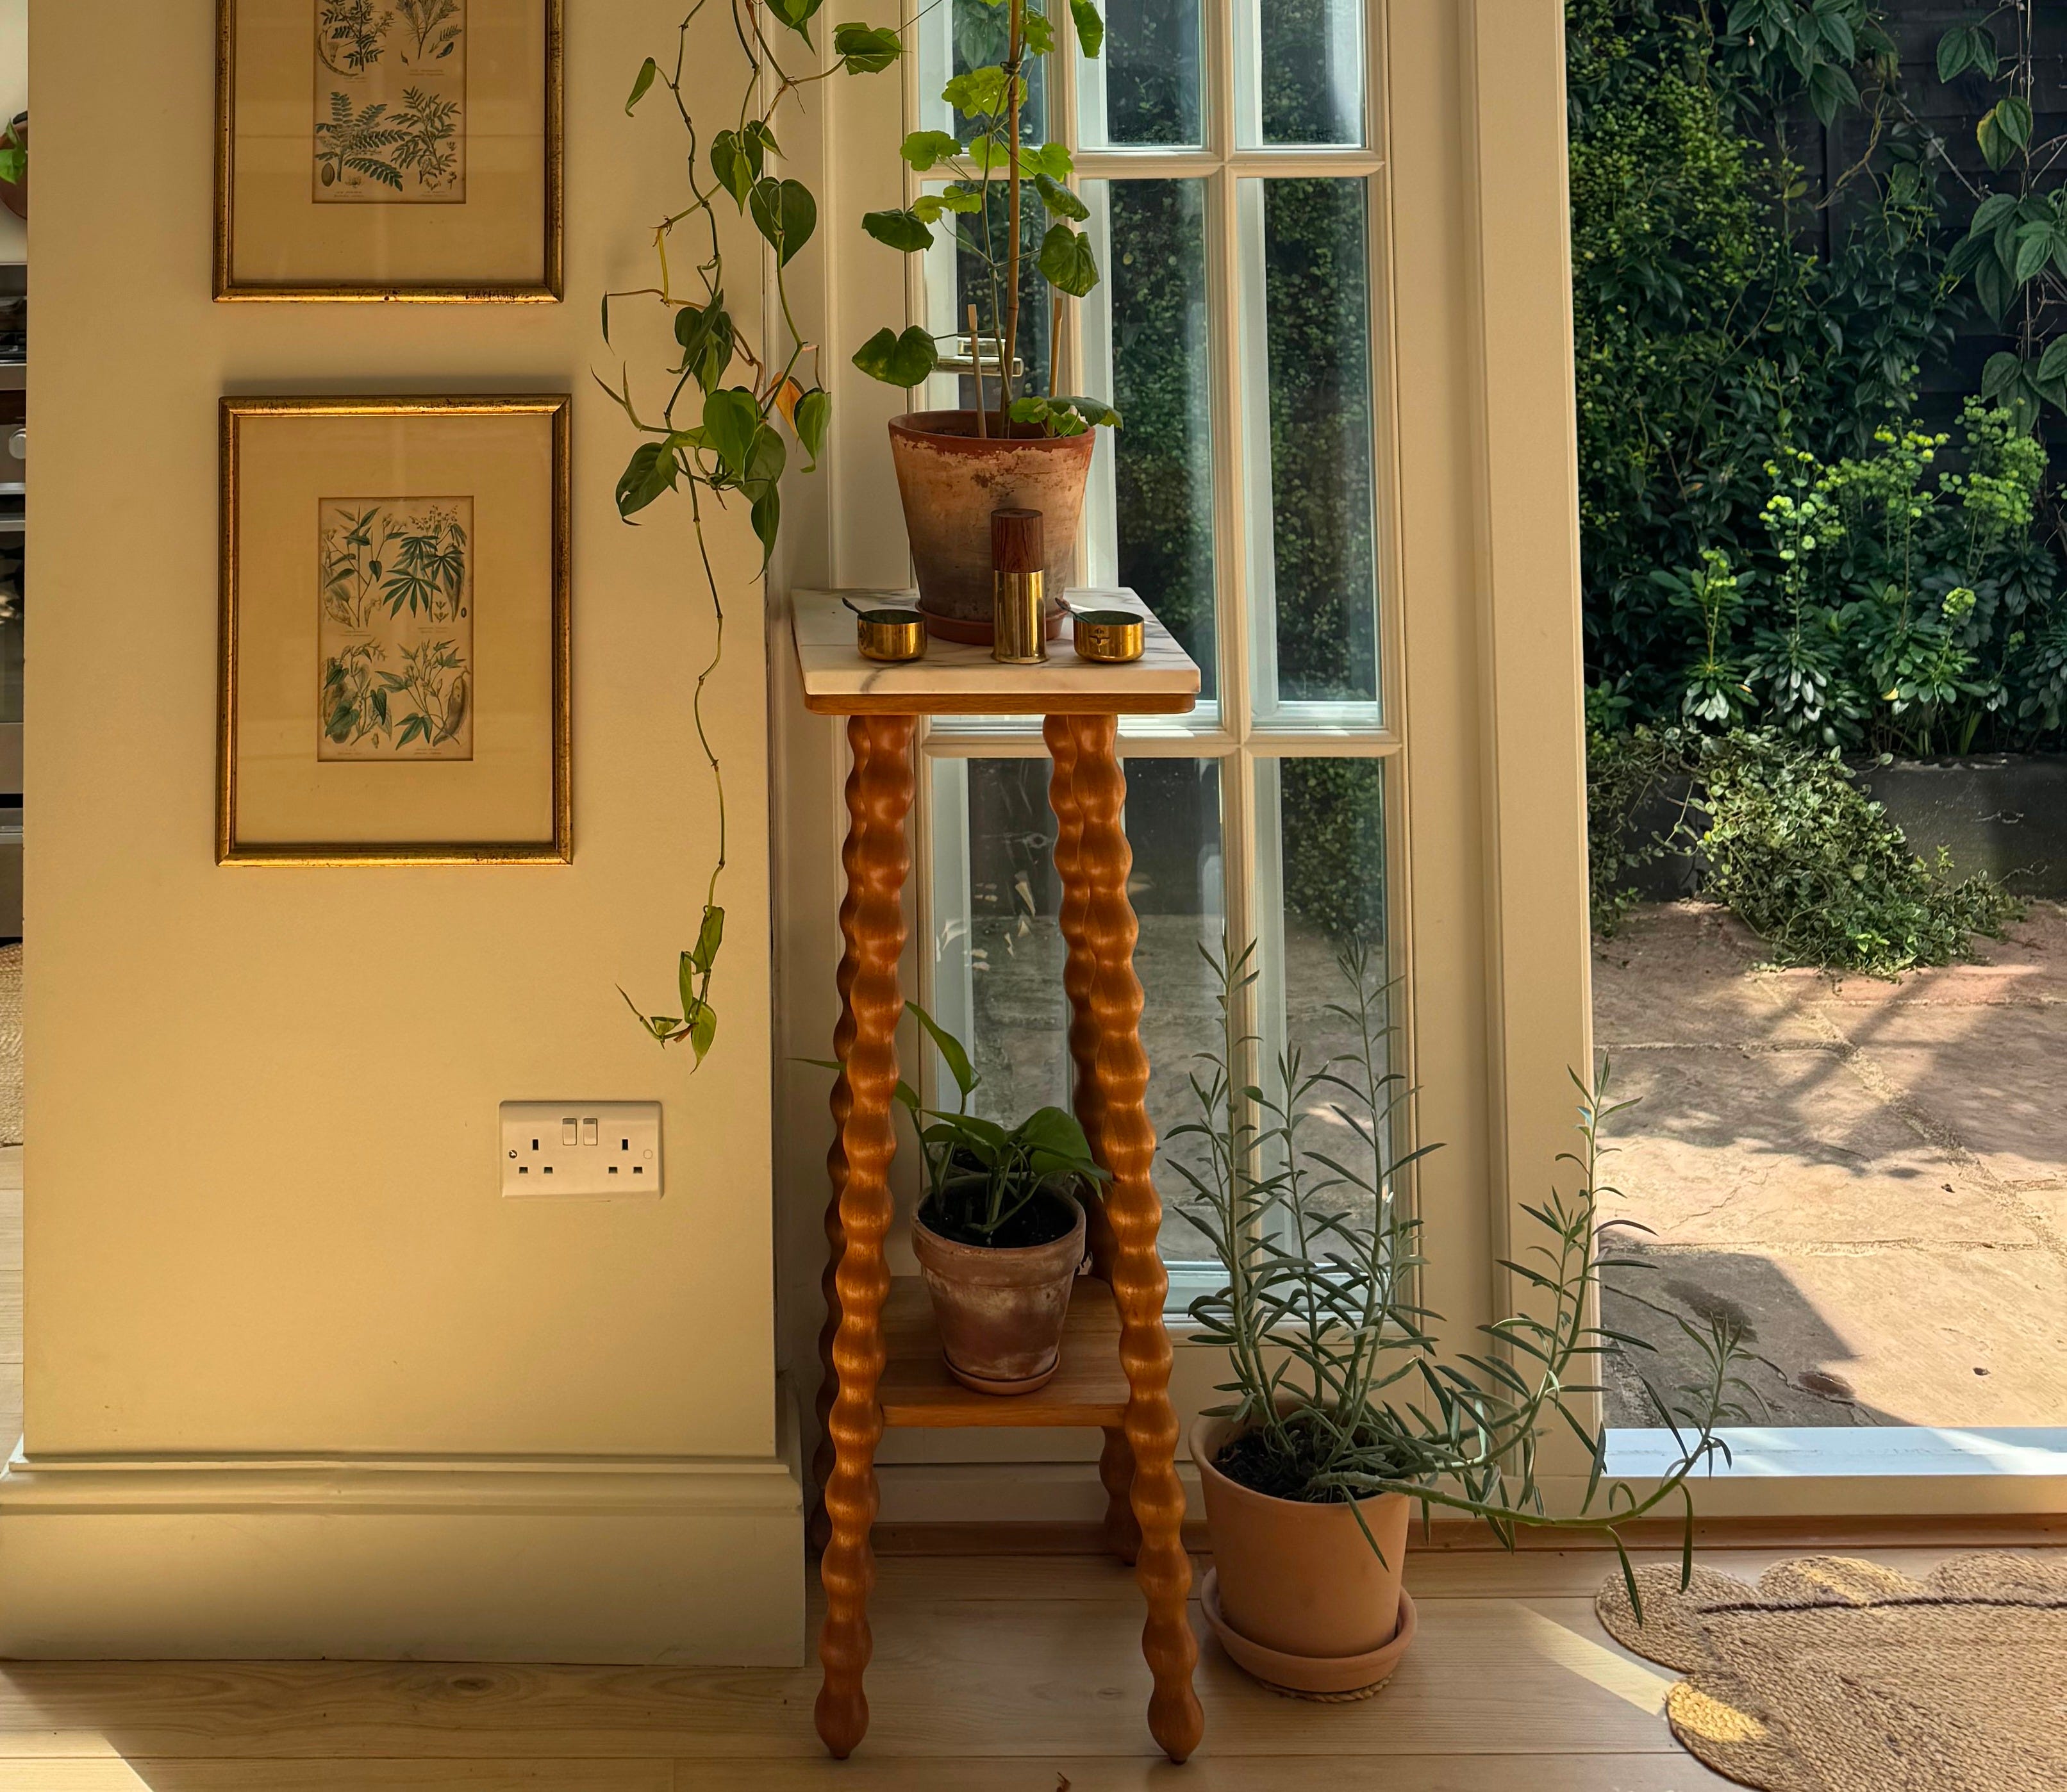
Alright, let me tell you about this little project I got myself into – making a terra cotta plant stand. You know how it is, you’ve got plants, and they need to go somewhere, right? And sometimes, the floor just isn’t cutting it, or you want a bit of height variation. Store-bought ones can be a bit pricey, or just not quite the look I’m after.
Getting the Idea and Gathering Supplies
So, I was rummaging around in the shed, as you do, and I saw my collection of terra cotta pots. I’ve always got a few spares, different sizes, some old, some new. And it hit me – why not use these? They’re sturdy, they’ve got that nice, earthy look, and well, I already had them!

Here’s what I figured I’d need:
- A few terra cotta pots of varying sizes. I thought one larger one for the base, maybe a medium one to go on top (upside down), and then a saucer or another pot for the actual plant to sit in.
- Some strong adhesive. I mean, something really heavy-duty, because I didn’t want my precious green pals taking a tumble. I found some construction adhesive that said it was good for ceramics and outdoor use. Perfect.
- Gloves, because that adhesive can be messy stuff.
- Something to clean the pots with – just a brush and some water.
The Actual Making Of It – Step by Step
First things first, I cleaned the pots. You don’t want any dirt or dust stopping that glue from doing its job. I gave them a good scrub and let them dry completely in the sun. This part’s more important than you’d think. I learned that the hard way with a wobbly shelf fix a while back – glue and dust are not friends.
Then, I started to plan the stack. I played around with a few combinations. Largest pot on the bottom, obviously, for stability. Then I tried a medium pot, rim-down, on top of that. Then a saucer on top of the medium pot’s base. Yeah, that looked pretty good. Simple, but effective.
Okay, gluing time. I put on my gloves. I applied a generous bead of adhesive to the rim of the largest pot. Then, I carefully placed the medium pot (upside down, so its flat bottom was facing up) onto the glue. Pressed it down firmly. The key here was making sure it was centered. I eyeballed it mostly, then used a small spirit level just to be sure it wasn’t leaning like the Tower of Pisa. It took a bit of wiggling.
I let that sit for a little bit, just to get a bit of a set, before moving on. The instructions on the glue said it grabs pretty quick, but I wasn’t taking chances.
Next up was the saucer. More glue, this time on the flat bottom of the upside-down medium pot. Then, placed the saucer on top, centered again, and pressed down. More checking with the spirit level. You know, you start these little projects thinking “this’ll be quick,” and then you find yourself really getting into making sure everything is just so. It’s kind of satisfying, actually.
The Waiting Game and The Result
And then, the hardest part: waiting. The glue needed a good 24 hours to cure properly, according to the tube. I really wanted to put a plant on it straight away, but I resisted. Made myself a cup of tea and found something else to tinker with.

The next day, I gave it a little wiggle. Solid as a rock! Or, well, as solid as stacked terra cotta pots can be. It felt really sturdy.
I found a nice trailing plant that had been looking for a new home, popped it on top, and voila! My very own, custom-made terra cotta plant stand. It gives just the right amount of height, and it has that lovely, natural look that goes so well with the plants themselves.
Honestly, it was a pretty straightforward project. Took a bit of patience for the drying, but the actual work was quick. And the best part? It cost me next to nothing since I used pots I already had. Plus, there’s that little bit of pride in saying, “Yeah, I made that.” It’s not fancy, but it does the job, and I quite like it. Definitely better than some of the flimsy plastic things I’ve seen around. Give it a try if you’ve got some spare pots!


