

Alright, so my place was starting to look a bit like a jungle floor, plants everywhere, but not really showcased, you know? Some were getting a bit lost in the shuffle, or not catching the light properly. I figured, I need some stylish plant stands. Not talking about anything super complicated, just something to lift them up a bit and make ’em look a bit more deliberate.
Figuring Out the Plan
First off, I didn’t go crazy with designs. I just wanted something simple, sturdy, and that wouldn’t overshadow the plants themselves. I kind of visualized a few basic shapes, maybe some with crossed legs, others just a simple elevation. I grabbed a few of my pots to get an idea of the sizes I’d need. No fancy blueprints here, just a rough idea in my head and maybe a quick scribble on a piece of scrap paper. The main thing was, they had to be easy to make with what I had or could get easily.
Gathering the Bits and Pieces
Next, I rooted through my shed. I’ve always got bits of wood left over from other little projects. Found some decent planks that looked like they’d do the trick. For other bits, I made a quick list:
- Wood (already had some, lucky me!)
- Screws (definitely needed more of these)
- Sandpaper (to smooth things out)
- Maybe some wood stain or paint
A quick trip to the hardware store sorted me out for the screws and a new block of sandpaper. I decided to hold off on paint or stain until I saw how the raw wood looked once assembled.
Getting Down to Business: The Making Of
Okay, this is where the fun started. I dragged my wood out into the garden – better to make a mess out there, right?
First, I measured and cut the pieces. This took a bit of time. You know how it is, measure twice, cut once… or sometimes measure twice, cut, then measure again and realize you need to trim a bit more. My old hand saw got a good workout. I wasn’t aiming for absolute perfection, just something that looked neat enough and would stand straight.
Once all the pieces were cut – legs, top supports, whatever else I’d vaguely planned – I started the assembly. For the cross-leg ones, I marked the halfway points and then just screwed them together. For the simpler boxy stands, it was just a case of making a basic frame and then attaching a top piece. I used my drill to make pilot holes first, makes driving the screws in much easier and stops the wood splitting, mostly. I did have one piece split a tiny bit, but nothing a bit of wood glue couldn’t sort out later.
After they were all put together, they looked a bit rough. So, out came the sandpaper. I spent a fair bit of time smoothing down all the edges and surfaces. It’s amazing what a difference a bit of sanding makes. Takes it from looking like a pile of wood to something a bit more finished.
The Finishing Touches
Once everything was smooth, I stood back and had a look. I actually quite liked the natural wood look for a couple of them. For the others, I decided to use some leftover dark wood stain I had. Just brushed it on, let it soak in, and then wiped off the excess. Gave them a nice, richer look, I thought.
I let them dry properly overnight. Patience is key here, even though I was itching to get my plants on them!
The Grand Reveal (to myself, mostly)
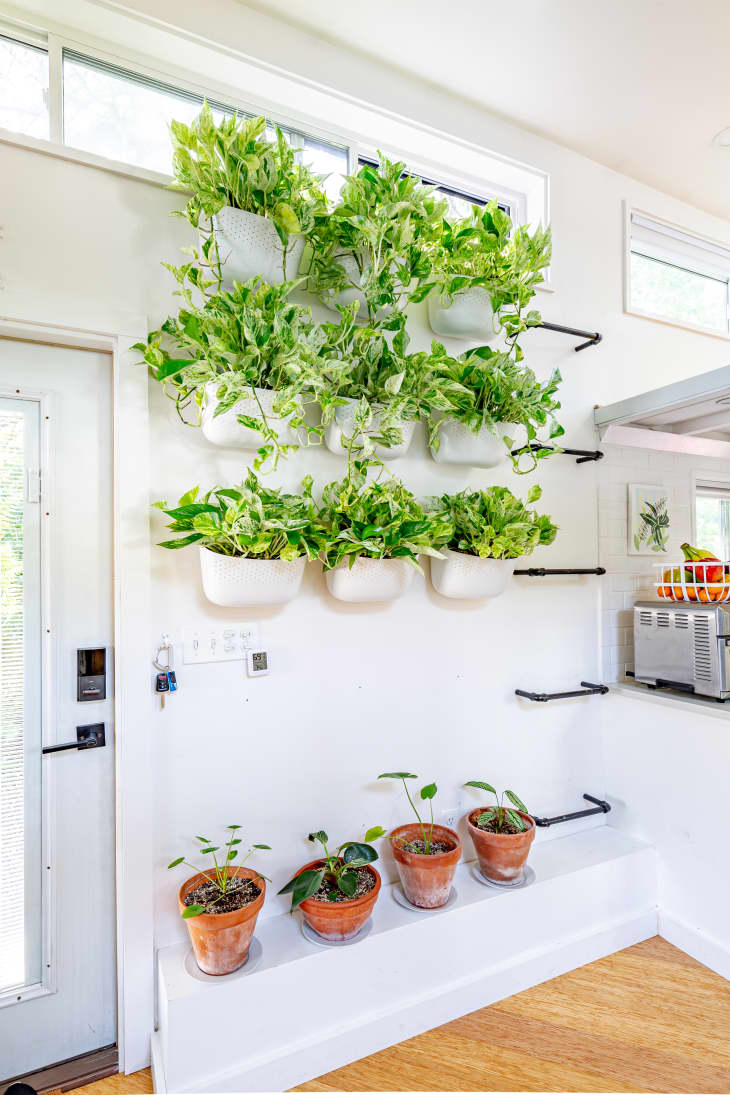
And then, the moment of truth! I brought them inside and started placing my plants. Wow, what a difference! It just made the whole room look a bit more put-together. The taller stands helped some of my trailing plants drape nicely, and the smaller ones just gave a bit of height to pots that were getting lost on shelves.
They’re not perfect, by any means. If you look closely, you’ll see where I wasn’t quite spot on with a cut, or where a screw isn’t perfectly flush. But you know what? I made them. And they do the job, and I think they look pretty good, in a rustic, homemade kind of way.
So yeah, that was my little adventure into making stylish plant stands. Didn’t cost much, used up some old materials, and I got exactly what I wanted. Pretty satisfying, all in all. Might even make a few more if I get any more plants… which is highly likely!


