
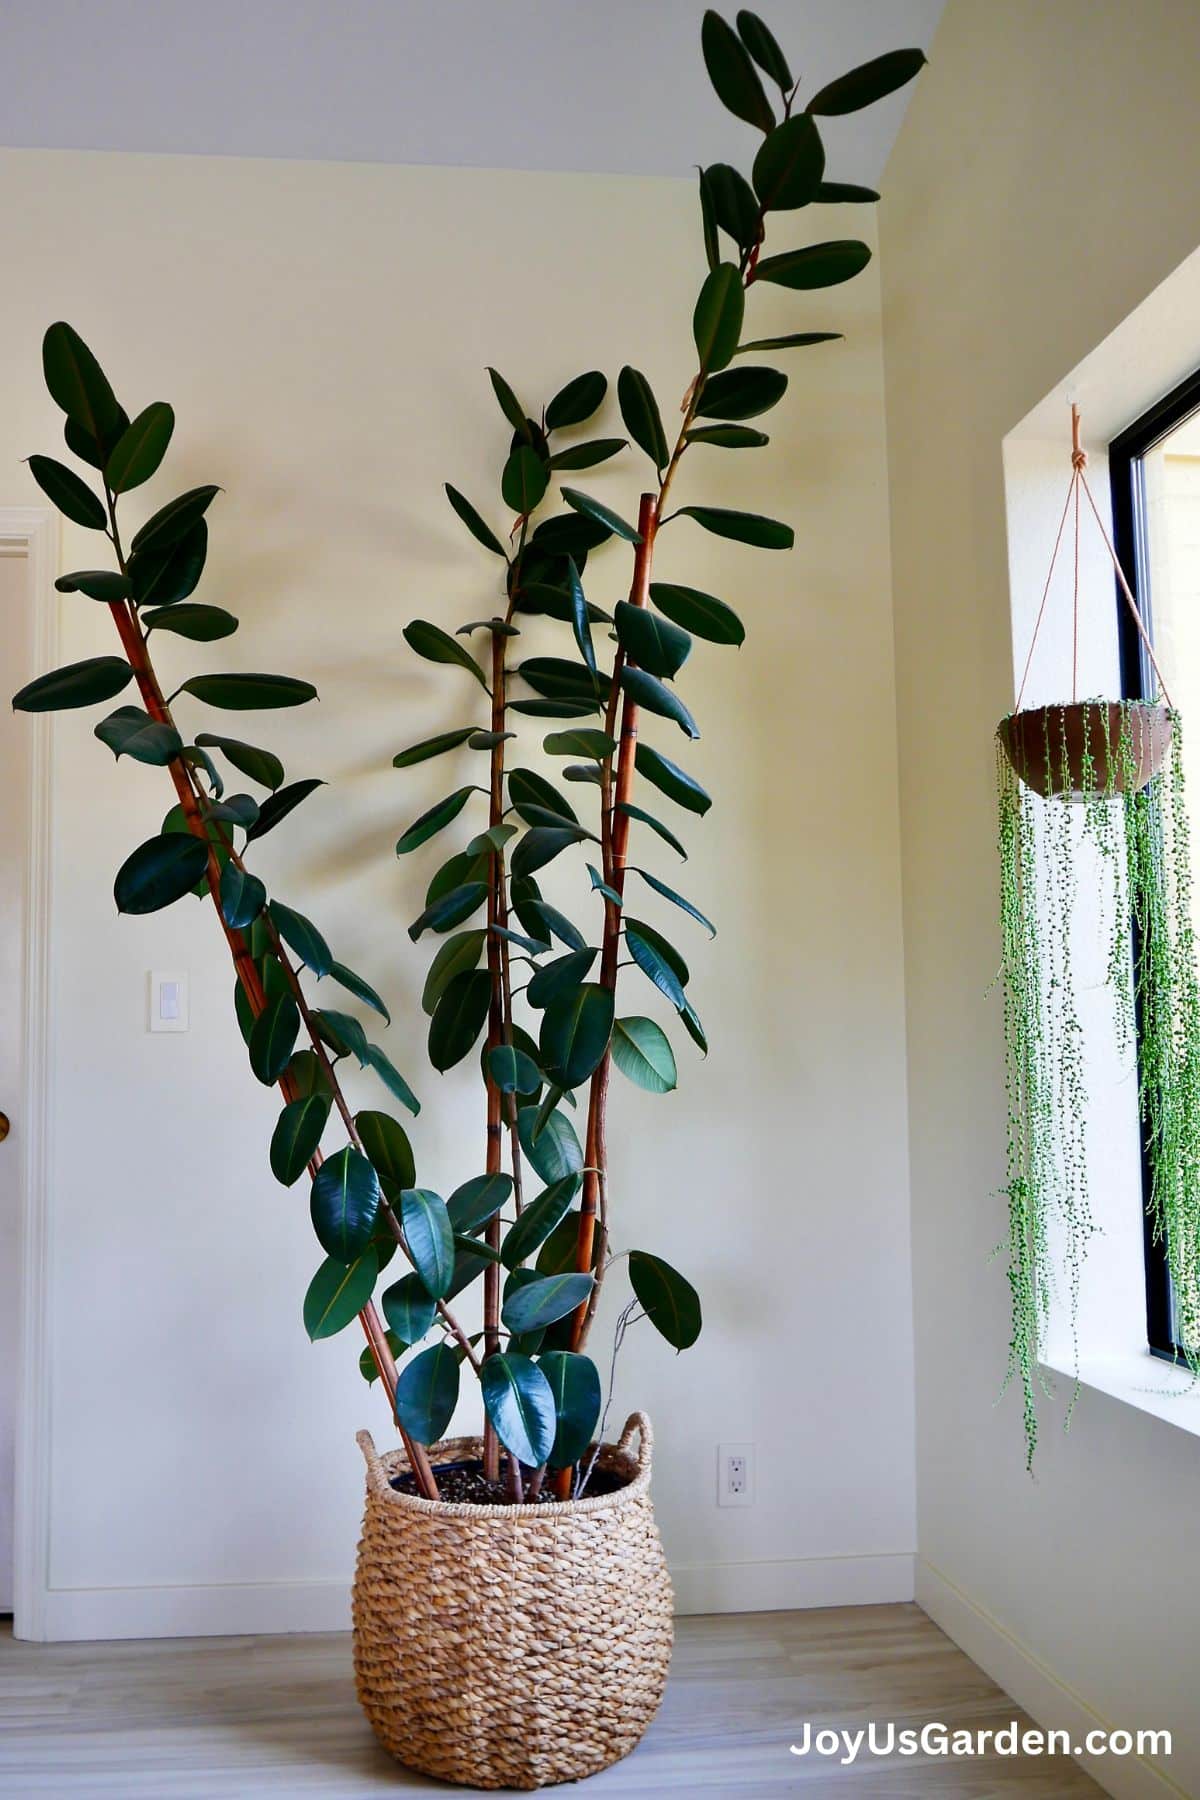
Okay, so today I finally got around to repotting my rubber tree. It’s been on my to-do list for, like, ages. The poor thing was probably screaming for more space, or at least, that’s what I told myself. It wasn’t looking terrible, but you know, it just had that vibe of needing a change of scenery, pot-wise.
Getting Started – The Prep Work
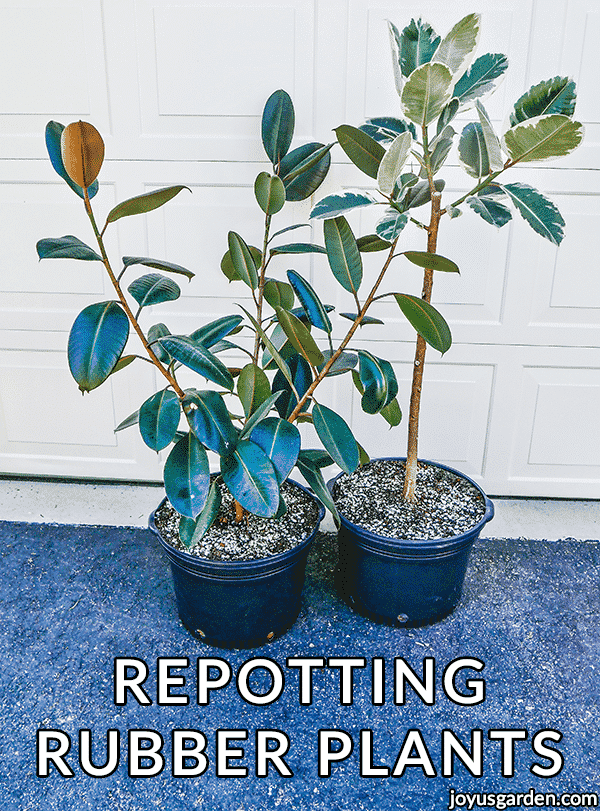
First things first, I had to gather all my stuff. This always sounds easier than it is. I needed a new pot, obviously. I found one a while back that I thought would be good – a bit bigger than its current one, nothing too fancy. Important: drainage holes! Learned that lesson the hard way with a previous plant, may it rest in peace.
Then, the soil. I just grabbed a bag of regular indoor potting mix. I’ve seen people get all technical about soil composition, mixing this and that, but honestly, I just go for the pre-mixed stuff. Less hassle. I also grabbed my trusty little trowel and a pair of gloves because, well, dirt.
The Main Event – Out with the Old, In with the New
Alright, so the first real step was getting the rubber tree out of its old pot. This can be a bit of a struggle sometimes. I laid the pot on its side and tried to gently wiggle the plant out. It was a bit stubborn, not gonna lie. Had to give it a few good tugs. I was trying to be careful not to rip all the roots, you know? Eventually, it slid out. Phew.
Once it was out, I took a look at the roots. They were definitely starting to circle the bottom of the old pot, so yeah, good call on the repotting. I tried to loosen them up a bit with my fingers, just gently, to encourage them to spread out in the new pot. Some old soil fell away, which is fine.
Next, I prepped the new pot. I put a layer of fresh potting mix at the bottom. How much? I just eyeballed it, enough so that when I placed the rubber tree in, the top of its root ball would be an inch or two below the rim of the new pot. You don’t want to bury it too deep, or plant it too high.
Then came the slightly awkward part of holding the plant centered in the new pot with one hand while scooping in fresh soil with the other. I just started filling in around the root ball, patting the soil down gently as I went. Not too compact, just enough to get rid of big air pockets. I filled it up until the soil level was pretty much where it was in the old pot, maybe a tiny bit higher to account for settling.
Finishing Touches and Cleanup
Once it was all snug in its new home, I gave it a good watering. Watered it until I saw some coming out of the drainage holes at the bottom. This helps the soil settle and gives the roots a good drink after all that disturbance.
And then, of course, the cleanup. Repotting is a messy business, no two ways about it. There was soil on the floor, on the table… everywhere. But hey, that’s part of the fun, right? Or so I tell myself.
So yeah, that’s how I repotted my rubber tree. It’s sitting in its new, slightly bigger pot now. Hopefully, it’s happier. You never quite know with plants, they can be a bit dramatic sometimes. But I did my best. Now we just wait and see if it thrives. Fingers crossed!
- Chose a slightly larger pot.
- Used fresh indoor potting mix.
- Gently loosened the old root ball.
- Watered thoroughly after repotting.
It wasn’t rocket science, just took a bit of time and made a bit of a mess. But totally worth it if it means a healthier plant in the long run. I’ll keep an eye on it for the next few weeks. Hopefully, it settles in well!


