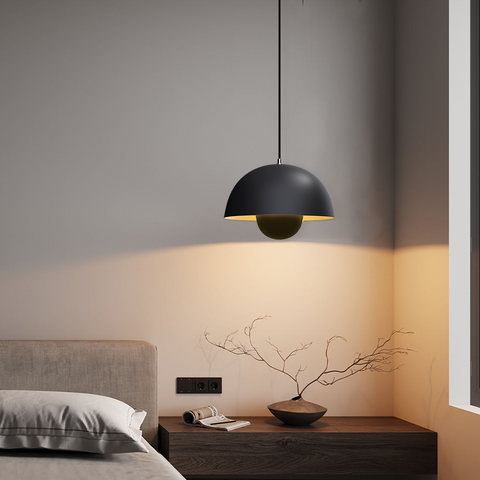
Alright, so I had this old flowerpot just sitting there, gathering dust in the shed. You know how it is, you keep things thinking “I’ll use this someday.” Well, someday finally rolled around. I thought, why not try and make something a bit different, something useful? And then it hit me – a flowerpot lamp! Sounds a bit quirky, right? But I figured it could look pretty cool.
So, the first thing I had to do was actually pick the right pot. I had a few, but one terracotta one seemed just the right size. Not too massive, not too tiny. Gave it a good clean, brushed off all the old dirt and cobwebs. It was looking better already.

Then came the bit I was slightly dreading – drilling a hole in the bottom. Man, pottery can be tricky. I didn’t want to crack the whole thing and ruin it before I even started. So, I got my drill, picked a masonry bit, and just went super slow. Taped the area first, a little trick I picked up. It helps stop the drill bit from wandering and reduces chipping. Took my time, applied gentle pressure, and eventually, pop! A nice clean hole right in the center for the cable. Phew, major hurdle overcome.
Next up, I rummaged through my box of electrical bits. You always end up with spare parts if you tinker enough. I found a standard E27 light fitting, a decent length of flex cable, a plug, and an inline switch. Always good to have a switch, saves fumbling for the wall socket.
Wiring this stuff isn’t rocket science, but you gotta be careful. Stripped the ends of the wires, connected them to the terminals in the lampholder – live to live, neutral to neutral. Made sure everything was tight and no stray strands were poking out. Did the same for the switch and the plug. I always double-check my wiring. No room for mistakes with electricity, you know?
Okay, so with the electrics sorted, it was time to put it all together. I fed the cable through the hole I’d drilled in the pot. This was a bit fiddly, trying to get it through without snagging. Then I had to fix the lampholder inside the pot. I wanted it to sit near the top, so the bulb wouldn’t be buried too deep. I used a couple of large washers and a nut on the threaded part of the lampholder to clamp it securely to the bottom of the pot – well, the inside bottom which is now the top of the lamp. Made sure it was good and snug.
I thought about painting the pot, maybe a bright color or something. But honestly, the natural terracotta had a nice rustic charm to it. So, I just gave it another wipe down. Sometimes simple is best, eh?
Then for the moment of truth. I screwed in an LED bulb – one of those nice warm white ones. Important to use LED, I reckon, because they don’t get too hot, which is good when it’s inside a flowerpot. Wouldn’t want to cook anything!
Plugged it in, held my breath for a second (just kidding, mostly), and flicked the switch. And boom! Let there be light! It actually worked, and it looked pretty neat. The light cast a nice warm glow upwards and a bit out through the top.

I was pretty chuffed with how it turned out, to be honest. It’s a unique little lamp, made from something that was just going to waste. Took me a good part of an afternoon, with all the faffing about, but it was a satisfying little project. Plus, it cost next to nothing, just the bits I had lying around.
If I were to do another one, I might try a glazed pot, see how the light reflects differently. Or maybe a bigger pot for a floor lamp. Who knows? For now, this little flowerpot lamp has found a nice spot in the living room. It’s a good talking point when people come over, too. “You made that from a flowerpot?” Yep, sure did.


