
Alright, let me tell you about my little adventure with personalized gardening gloves. It started pretty simply, actually. I was just tired of the same old boring gloves you get at the store. You know the ones – plain, functional, and utterly forgettable. I’d misplace them, or they’d get mixed up if anyone else was helping out, which, let’s be honest, isn’t often, but still!
Why Even Bother?
So, there I was, staring at another pair of mud-caked, generic gloves, and I thought, “There’s got to be a way to make these a bit more… me.” I’m out in my garden trying to make things beautiful, so why should my gear be so dull? Plus, a little bit of personality never hurt anyone, right? I figured it would be a fun little project, something to do on a rainy afternoon.
The Initial Fumbles
My first idea? Oh boy. I thought, “I’ll just grab some acrylic paints and go to town!” Seemed logical. I had some old paints lying around from a long-forgotten craft phase. So, I grabbed a fairly newish pair of cotton gloves, laid them out, and started dabbing on some bright yellow flowers. Looked pretty good wet, I have to say. I was feeling quite pleased with myself. Then they dried. Crack. The paint made the fabric stiff, and the moment I tried to flex my fingers, the beautiful yellow petals started to flake off. Not exactly the durable, garden-ready masterpiece I’d envisioned. It was more like a tragic, brittle failure.
That first attempt was a bit of a letdown, I won’t lie. I almost just gave up and resigned myself to boring glove land forever. But then, that stubborn part of me kicked in. I’m not one to be defeated by a pair of gloves and some flaky paint!
Round Two: A Bit More Thought
Okay, so I realized I needed materials that would actually work with fabric and could handle a bit of rough and tumble. I did a tiny bit of poking around online – nothing too serious, just enough to get some ideas. Fabric markers seemed promising, and I also thought about iron-on patches. Embroidery? Too much work for gloves that are going to end up covered in dirt, I decided. I wanted personality, not a museum piece.
So, here’s what I actually gathered for my successful attempt:
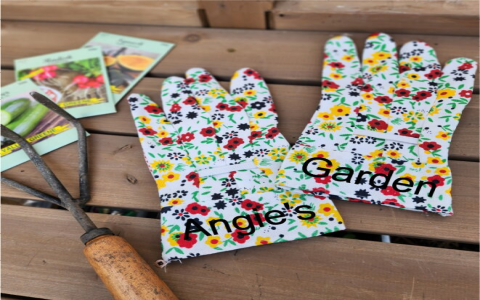
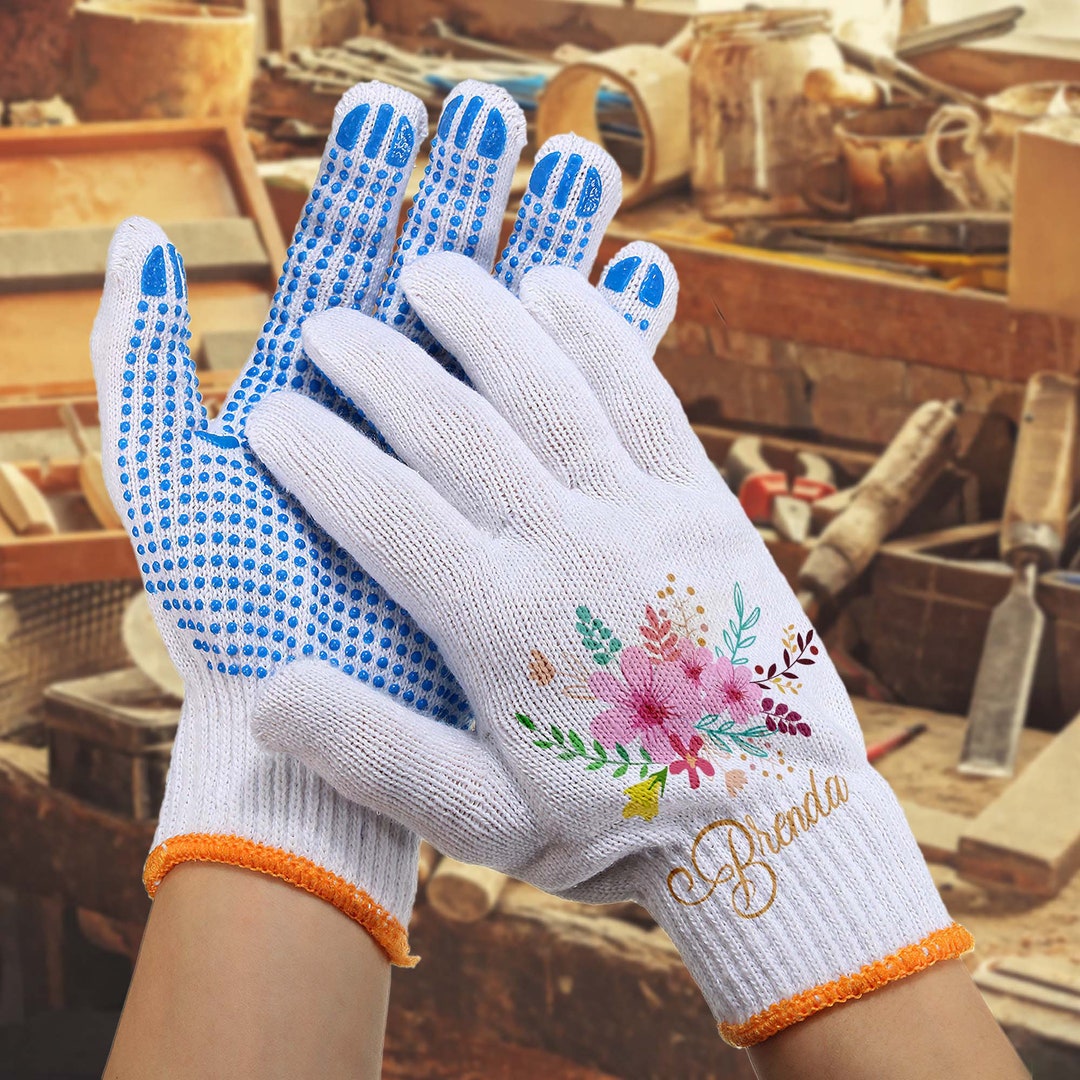
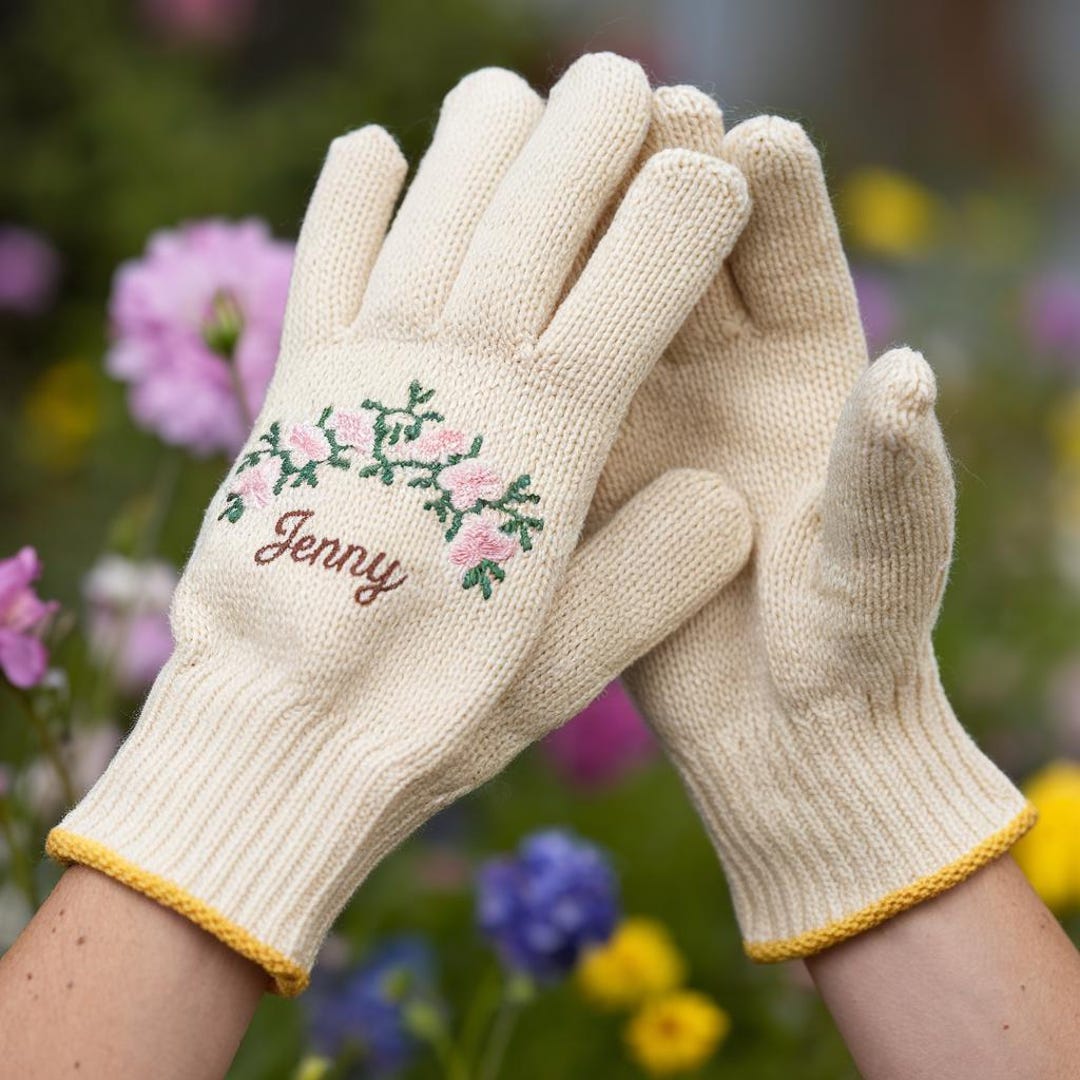
- A decent pair of fabric gardening gloves – I chose a light-colored pair so the colors would pop. Make sure they’re clean! I washed mine first.
- Fabric markers – the kind that are permanent once heat-set.
- Some fun iron-on patches I found at a craft store. Little bees and flowers, very fitting!
- An iron and an ironing board.
- Some scrap paper or cardboard to put inside the gloves while working.
The Actual Process – What I Did
First things first, I washed and thoroughly dried the gloves. You don’t want to be drawing on dirt, trust me. Once they were ready, I slipped some thin cardboard inside each glove. This was super helpful because it gave me a flat, stable surface to draw on and stopped the markers from bleeding through to the other side.
Then, I started with the fabric markers. I decided on a fairly simple vine pattern snaking up the back of the hands and fingers. I didn’t go too crazy with intricate details because, well, they’re gloves! I kept it bold and clear. I just drew freehand, nothing too precious. The key was to press firmly enough for the color to take, but not so hard that it bled everywhere. It took a bit of practice on a scrap piece of fabric first, which I highly recommend.
After the marker part was done and had dried for a bit (I followed the instructions on the marker pack, which usually say to let it air dry for a few hours), it was time for the patches. This was the easy part! I positioned my little bee patches on the cuffs, covered them with a thin cloth (like a piece of an old t-shirt), and pressed down with a hot iron according to the patch instructions. Hold it there, don’t wiggle the iron too much. Did that for each patch.
The final step for the markers was heat-setting. Again, following the marker instructions, this usually involves ironing them. I turned the gloves inside out where I could, or just ironed over the design with a pressing cloth on top. This makes the color permanent and washable – very important for gardening gloves!
The Big Reveal (to Myself)
And you know what? They turned out great! The colors from the markers were vibrant, the patches added a bit of cute, tactile fun, and most importantly, they still felt like flexible, usable gloves. Not stiff, not cracking. Success!
I’ve been using them for a few weeks now. They’ve been through mud, thorns, and a couple of washes, and the design is holding up beautifully. It’s such a small thing, really, but pulling on my gloves, the ones I jazzed up myself, just adds a little extra joy to my gardening routine. Plus, I can spot them a mile away if I leave them lying on the grass.
It was a bit of trial and error, especially that first paint disaster, but I got there. It’s funny, I started this just to make my gloves less boring, and I ended up really enjoying the process of figuring it out and making something unique with my own hands, even before I got my hands in them to do the actual gardening. Who knew personalizing gloves could be its own little rewarding project, eh? Now I’m eyeing my watering can… that could use some flair too!


