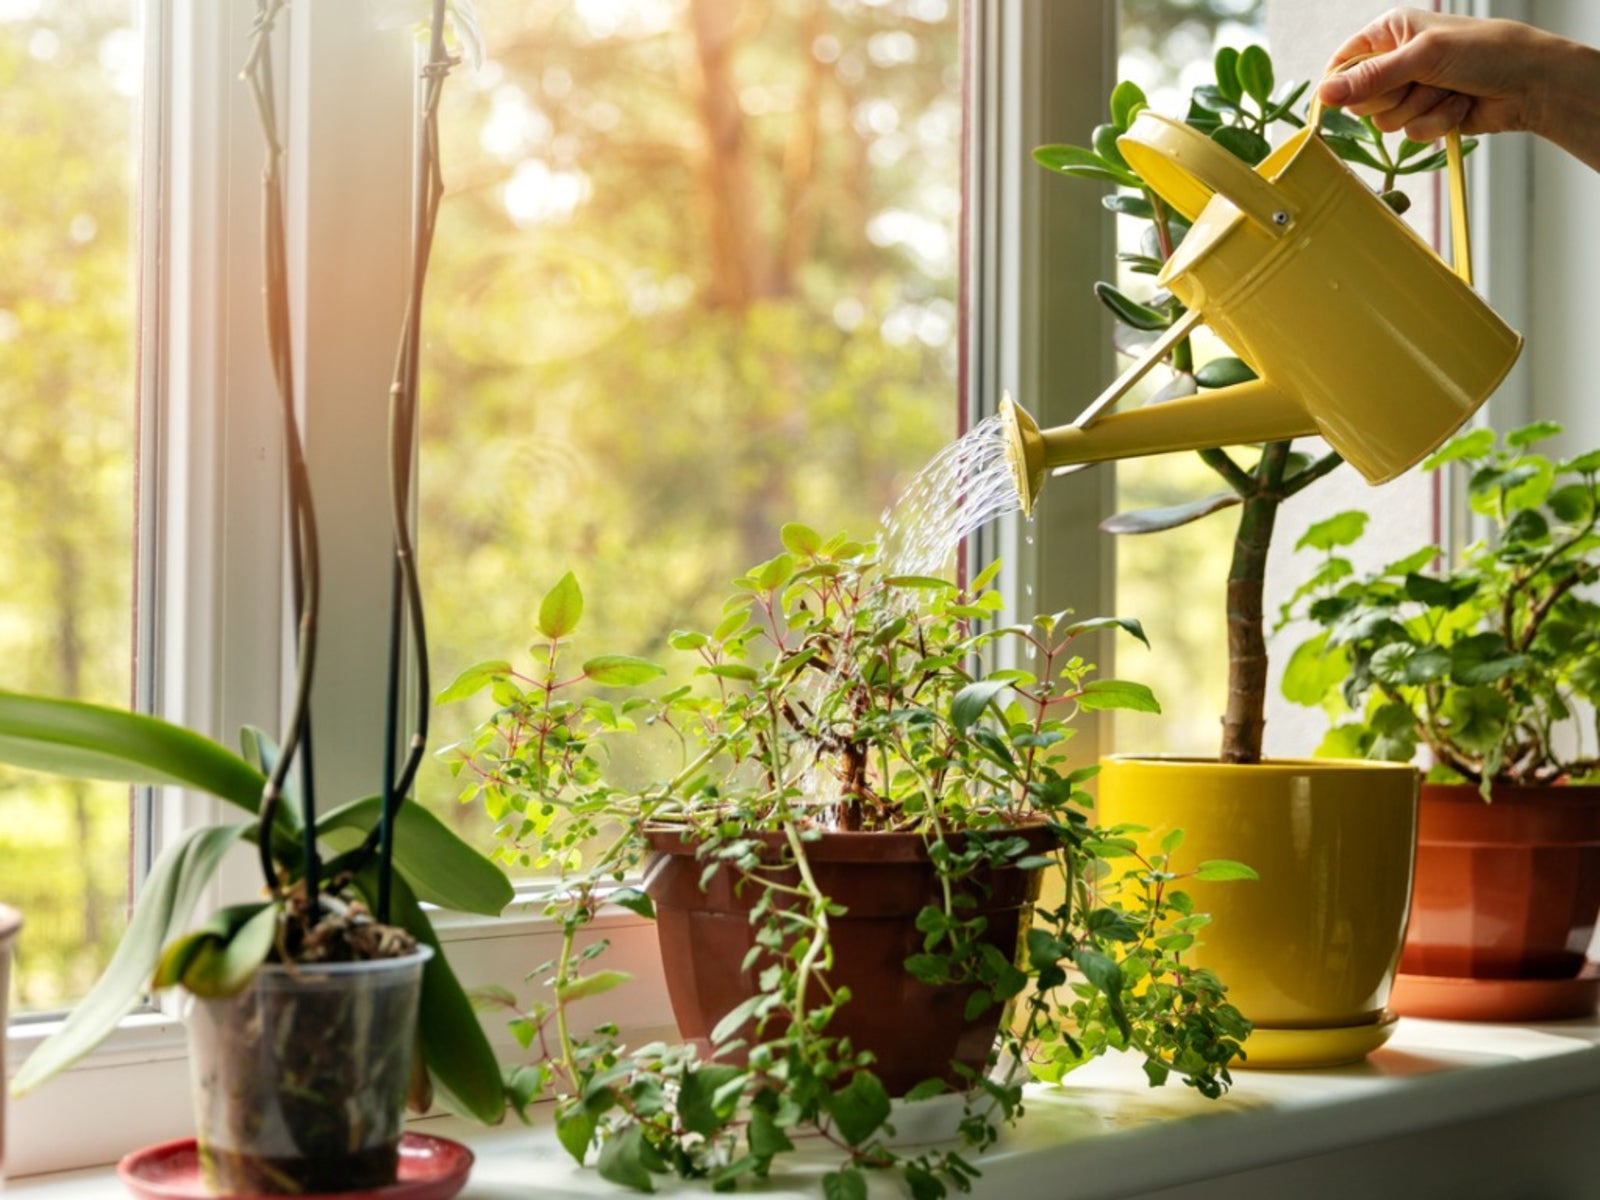
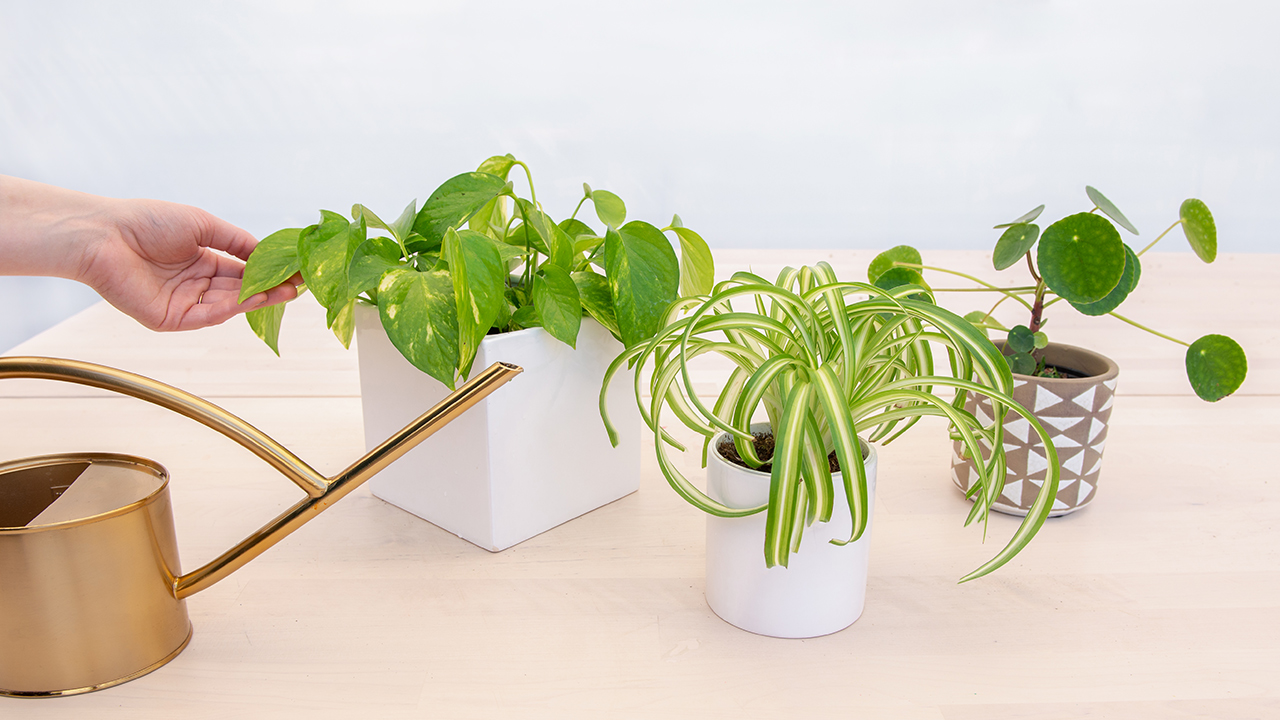
So, I was looking at my plants the other day, right? And they were looking decidedly thirsty. My old plastic watering can was, well, let’s just say it had seen far better days. Cracked, leaky, you know the type. A bit of an eyesore, really. Then my gaze landed on this old vase, one of those that’s been sitting in the back of a cupboard for ages.
It was a perfectly decent ceramic vase, a bit dusty, but solid. You know the kind – you get them as a gift, or pick them up thinking “this will be useful,” and then they just sit there. And a thought popped into my head: why not turn this vase into a watering can? Seemed like a perfectly good idea at the time. A bit of upcycling, a bit of a project.

Getting Down to Business
I didn’t have a grand, detailed plan, to be honest. My general idea was pretty simple: make a hole, attach some sort of spout. What could go wrong? Ha! Famous last words in many a DIY project, I tell ya.
First things first, I gave the vase a good cleaning. Years of dust don’t make for a good start. Then, I went hunting in my shed for potential spout material. I unearthed a short length of copper pipe that looked like it would do the trick. It was just lying there, leftover from some long-forgotten plumbing fix.
The next part was the one I was slightly dreading: drilling the hole in the ceramic. I’ve had my share of experiences with drilling tricky materials, and ceramics can be unforgiving. One wrong move and you’ve got a pile of shards instead of a project.
- I picked out a special drill bit designed for tile and glass. Crucial, that.
- I marked a spot for the spout – not too low that it would be hard to fill, not too high that I’d leave too much water at the bottom.
- Then, taking a deep breath, I started drilling. Very slowly, with minimal pressure. I kept a little water on the drilling spot to keep things cool and reduce dust. It felt like it took an age.
To my immense relief, the drill went through cleanly without any cracks! That was a big hurdle overcome. I felt pretty chuffed with myself at that point, I must admit.
Fashioning the Spout and Testing
With the hole successfully drilled, I took the copper pipe and carefully bent it into a gentle curve to form the spout. I wanted a nice, controlled pour, not just a gush of water. Attaching it securely and, more importantly, making it watertight, was the next challenge.
I used a strong, waterproof epoxy adhesive. Applied it generously around the base of the copper pipe where it met the vase, both inside and out, to be sure. Then came the waiting game for it to cure properly. Patience isn’t always my strong suit when I want to see if something works, but I forced myself.
Once it was fully cured, it was time for the first test. I filled it up with water, a little nervously. And… success! It poured beautifully. But, hold on. After a minute, I noticed a tiny, almost imperceptible seep around the spout joint. Just a bead of moisture, but enough to be annoying. Drat.

So, I drained it, dried it thoroughly, and applied a bit more sealant, really working it into the join. Another round of waiting. This is the reality of these little projects, isn’t it? A bit of trial and error. It’s rarely perfect on the first go, no matter what those slick videos online might show you.
The Final Result
After the second application of sealant had cured, I tested it again. This time, bone dry! The water flowed perfectly from its new copper spout, and the vase itself felt good to hold and pour from. It actually looked quite smart, in a rustic, homemade kind of way. Much more character than any cheap plastic can.
So, that’s the story of my vase watering can. It wasn’t a groundbreaking piece of engineering, just a simple solution to a simple need, using what I had on hand. It kept me occupied, saved an old vase from a life of dusty obscurity, and now my plants get watered in style. It’s functional, it’s unique, and I made it. Can’t ask for much more from a weekend potter, can you? These little projects, they’re good for the soul, I reckon.


