
Alright, so I’ve been meaning to share this little project I tackled the other day. Ended up making a pretty neat flowerpot table lamp, if I do say so myself. It all started ’cause I had this old terracotta pot just sitting around, gathering dust. And I thought, why not try and make something useful out of it, eh?
First things first: What I needed
So, I rummaged through my shed. I knew I had a basic lamp kit stashed away somewhere from a sale years ago. You know, the kind with a cord, a socket, and a switch. Found that, thankfully. The main star, of course, was the flowerpot. Just a standard one, nothing fancy. I also grabbed:
- A drill with a masonry bit (this was important, I learned).
- Some washers and a nut that would fit the threaded part of the lamp socket.
- A light bulb, obviously.
That was pretty much it for the core stuff. I like to keep things simple.
Getting down to business: The making of
The first real step was getting a hole in the bottom of that pot. This is where I was a bit nervous. Terracotta can be a bit brittle, you know? I took it real slow with the drill. Started with a smaller bit to make a pilot hole, then moved to the bigger one that was just about the size of the lamp socket’s threaded base. Luckily, no cracks! Phew.
Once the hole was there, clean and tidy, I threaded the lamp cord up through it from the bottom. Then, from the inside of the pot, I put a washer over the threaded part of the socket, pushed it through the hole, added another washer on the outside (bottom of the pot), and then tightened it all down with the nut. This made sure the socket was held firmly in place. You don’t want that thing wobbling about.
Wiring up the socket to the cord was pretty straightforward. Those kits usually come with simple instructions, just match the wires, screw ’em in. I made sure everything was snug and secure. Safety first, even with a simple lamp, right?
Then, I attached the switch to the cord, picking a spot that felt convenient for reaching when it’s on a table. This usually just involves carefully slitting the outer insulation of the cord (not the individual wires!), and then clamping the switch mechanism onto the wires. Most switches are designed to pierce the insulation and make contact.
The grand reveal (to myself, mostly)
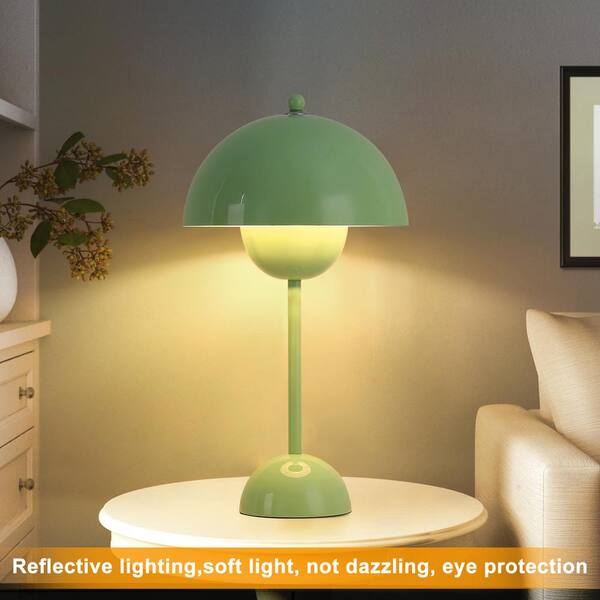
With everything connected, it was time for the moment of truth. I screwed in a bulb – just a nice warm LED one, nothing too powerful. Plugged it in, flipped the switch, and bam! Light! It actually worked, and it looked pretty cool. The pot gives it this nice, earthy, rustic kind of vibe. I didn’t even bother with a lampshade; I kind of like the look of the exposed bulb with the pot, makes it a bit industrial-chic, or something like that.
It’s now sitting on my side table, and honestly, I’m quite chuffed with it. It’s amazing what you can do with a bit of imagination and stuff you might already have lying around. Plus, there’s that satisfaction of making something with your own hands. Can’t beat that, can ya?
So yeah, that was my flowerpot table lamp adventure. Maybe it’ll inspire someone else to look at their old pots a bit differently!


