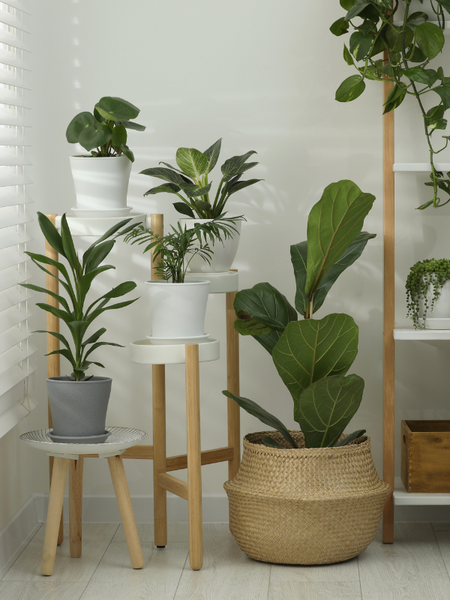
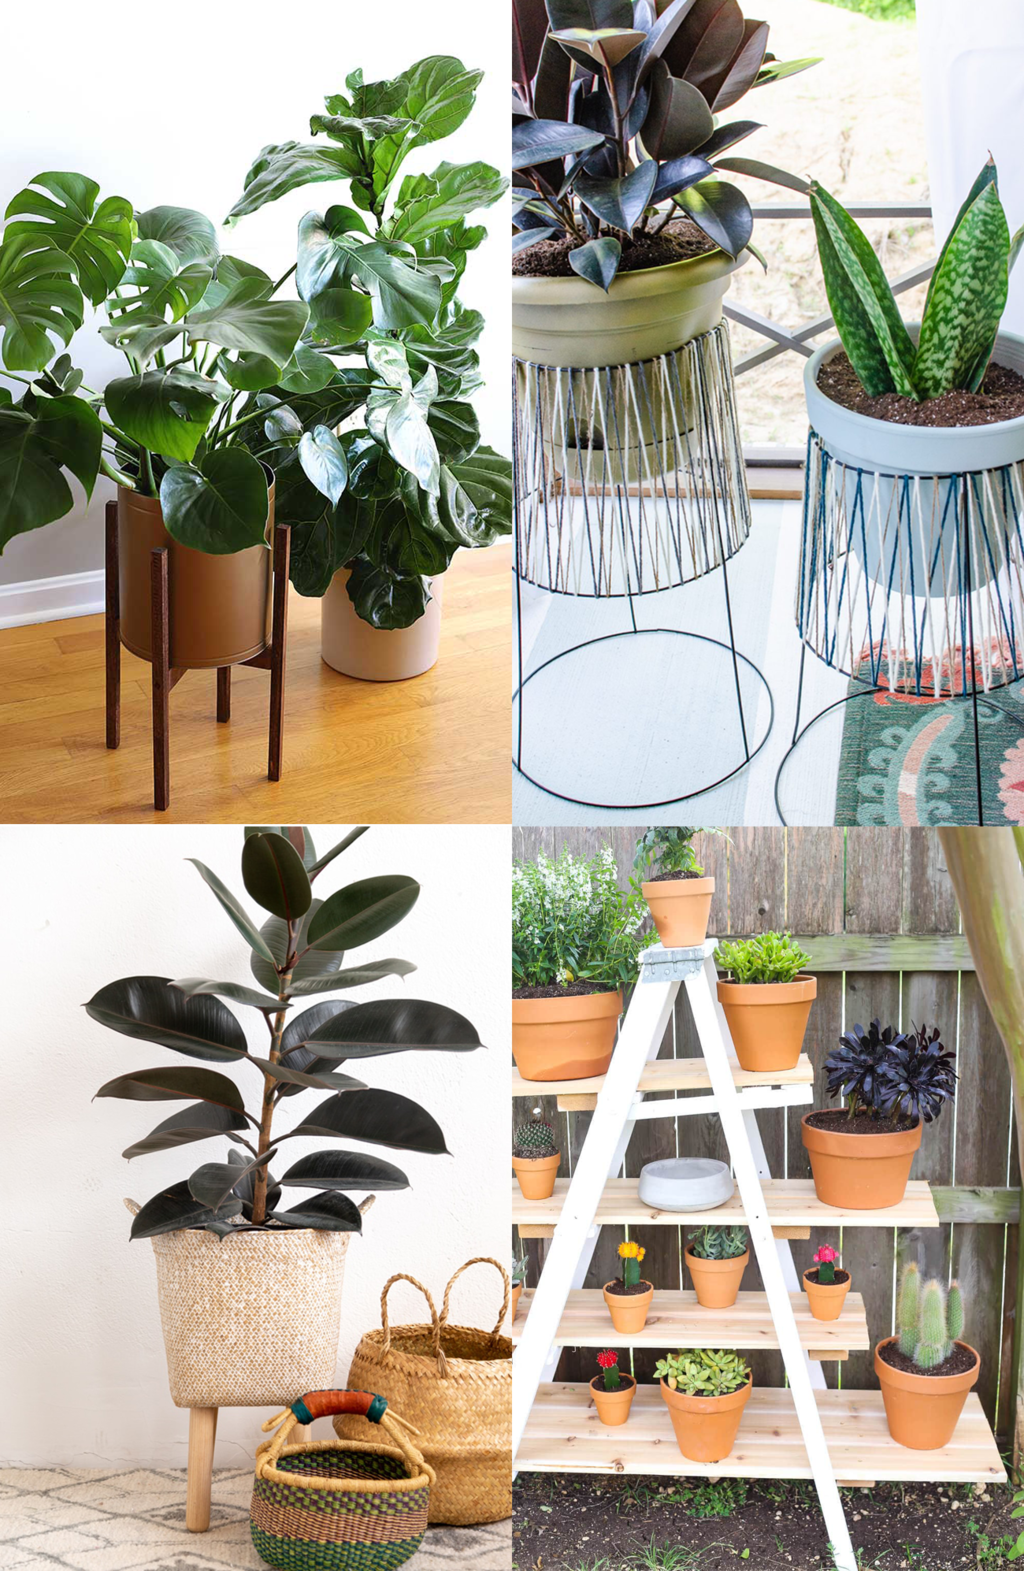
Okay, so my living room plants were getting kinda messy, just sitting on the floor and windowsill. Looked cluttered. I decided I needed a proper stand, something clean, you know, modern.
Getting Started
First thing, I looked around online, got some ideas. Didn’t want anything too fancy. Simple lines, maybe some wood, maybe a bit of metal, but wood seemed easier to DIY. I pictured something tiered, maybe two levels, nothing huge. Just enough to lift a couple of pots off the ground and give them some air.

I didn’t draw up complicated plans or anything. Just sketched a rough idea on a notepad: two square-ish platforms, one higher than the other, connected by simple legs. Decided pine wood would be fine, easy to find and work with.
Hitting the Store and Prep
Went down to the local hardware place. Grabbed some pre-cut pine boards, the kind that are about an inch thick. Also picked up some square wooden dowels for the legs. Needed screws too, wood screws obviously, and sandpaper. Thought about paint, but decided to just use a clear coat finish to keep the natural wood look.
- Pine boards (enough for two tops)
- Square wooden dowels (for legs and supports)
- Wood screws
- Sandpaper (medium and fine grit)
- Clear coat spray
Back home, I measured out the pieces based on my rough sketch. The tops were easy, just cut two squares from the boards. The legs needed to be different lengths for the tiered effect. Measured those out on the dowels. Used a simple handsaw for cutting. It wasn’t perfectly straight, but good enough for me.
Putting it Together
Next, sanding. This part is important, even if it’s boring. I sanded all the cut edges smooth. Started with medium grit paper, then finished with fine grit. Wiped off all the dust afterwards.
Assembly was pretty straightforward. I laid out the pieces for the lower level first. Attached the legs to the bottom of the first square top using wood screws. Drilled pilot holes first so the wood wouldn’t split – learned that the hard way on a previous project. Flipped it over. Solid.
Then, figured out where the second, higher tier would sit. Attached its shorter legs to the second square top. Then I had to connect this higher tier to the lower one. I used some leftover dowel pieces as cross supports between the legs of the two tiers for extra stability. More screws, more pilot holes. It felt a bit wobbly at first, so I tightened everything up and added an extra screw here and there.
Finishing Up
Once it was all screwed together and felt sturdy, I took it outside. Laid down some newspaper and sprayed it with the clear coat. Did a couple of thin layers, letting it dry in between. This just protects the wood a bit from water spills and stuff.

After it was fully dry, I brought it inside. Found the perfect spot near the window. Put my spider plant on the top tier and the snake plant on the bottom. Instantly looked better. Cleaner, more organized. Didn’t take too long, maybe an afternoon’s work. Pretty happy with how this simple modern stand turned out, just using basic tools and materials.


