
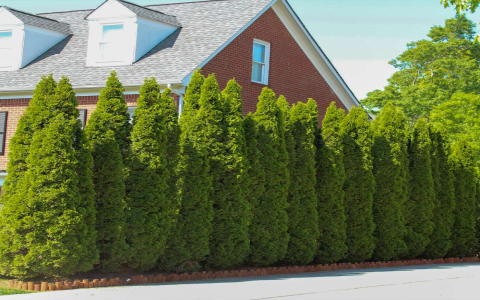
So, the arborvitaes in my yard. They were getting a bit, let’s say, enthusiastic. You know how it is. You plant these nice, neat little trees, and then you blink, and they’re threatening to take over the whole front path. Mine were definitely heading in that direction, looking shaggy and just… big. Too big.
The Decision Point
It wasn’t just the size. Some branches were poking out at weird angles, making the whole row look untidy. And I spotted a few brown patches deep inside one of them, which always makes me a bit nervous. Figured it was time to roll up my sleeves and get to work before they really became a problem. Can’t let things get out of hand, right?
My Approach: Tools and First Steps
Okay, so I got out my gear. Nothing fancy. Just my trusty bypass pruners for the smaller stuff and a pair of loppers for anything a bit thicker. I don’t really like using hedge shears on arborvitaes; I feel like you lose the natural shape and can end up with a lot of dead surface stuff later on. Just my experience.
First thing I always do is just stand back and look. Really look. What’s the overall shape? What’s bothering me the most? Where are the problem spots? You can’t just go in blind, hacking away. That’s how you end up with a mess.
I started with the easiest bits: dead or broken branches. Found a few of those, mostly lower down. Snipped them off clean, right back to a healthy stem or the main trunk. That already made a bit of a difference, visually.
Getting into the Real Pruning Work
Then, the more involved part. The main thing with arborvitaes, and this is super important, is that you generally can’t cut them back into the old wood – that brown, bare area you see if you spread the green foliage apart. It just won’t sprout new growth from there. So, if you cut too hard, you’ll have permanent bald spots. Learned that one the hard way on a different conifer years ago, and I’m not making that mistake again.
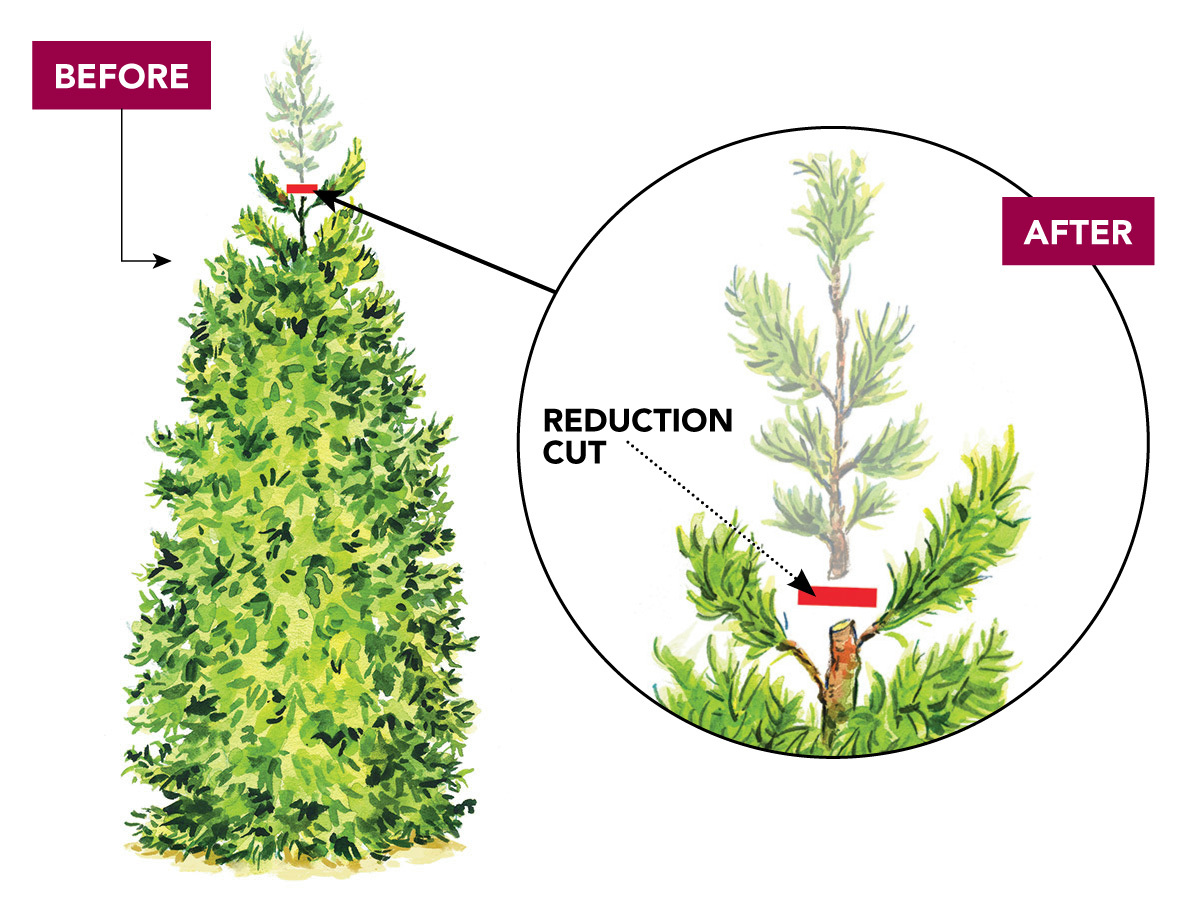
So, my strategy was all about light, selective trimming. I focused on shortening the branches that were sticking out too far, trying to bring them back in line with the general shape of the tree. I always make my cuts just above a little green side shoot. This way, the cut is kind of hidden, and the side shoot can take over as the new leader for that bit of branch.
I also looked for any branches that were crossing or rubbing against each other. That can create wounds and invite trouble. If I found any, I’d choose one to remove, usually the weaker or more poorly placed one.
For the one that had some browning inside, I gently parted the foliage to get a better look. Removed the dead stuff, and then thinned out a few of the green branches around that area, just to improve air circulation. Hoping that helps it green up a bit better. Sometimes, they just get too dense in the middle.
It’s a slow process, this kind of pruning. Snipping here, stepping back, looking, snipping there. Not a rush job. I spent a good couple of hours on the row of them.
The Aftermath and My Thoughts
Clean-up took a while, as it always does. Ended up with a decent pile of trimmings. But once that was done, and I stood back to look at the result? Yeah, much better.
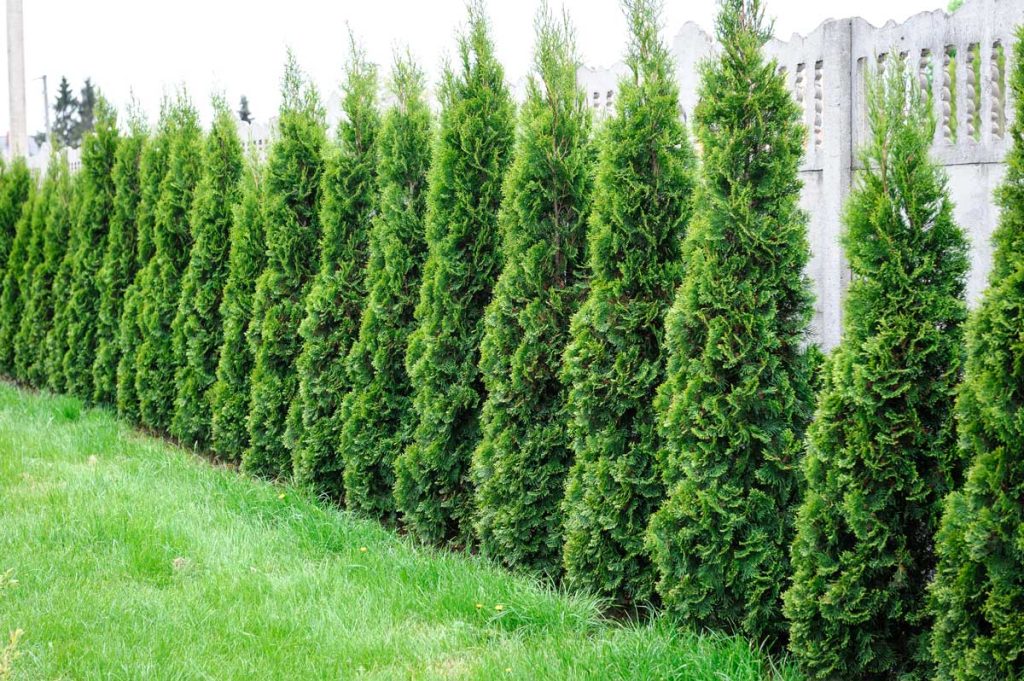
They don’t look radically different, which is good. They just look… tidier. Neater. More defined. And hopefully, a bit healthier with the dead stuff gone and more air getting in. They’re still dense enough for privacy, which is what I want them for, but they’re not quite so unruly.
My main takeaway, or reminder to myself, really, is that consistent, light pruning is way better for these guys than letting them go for years and then trying to do a massive renovation. It’s less stressful for the plant, and frankly, less stressful for me. A little bit each year, or every other year, seems to be the way to go. That’s what’s worked for me, anyway.


