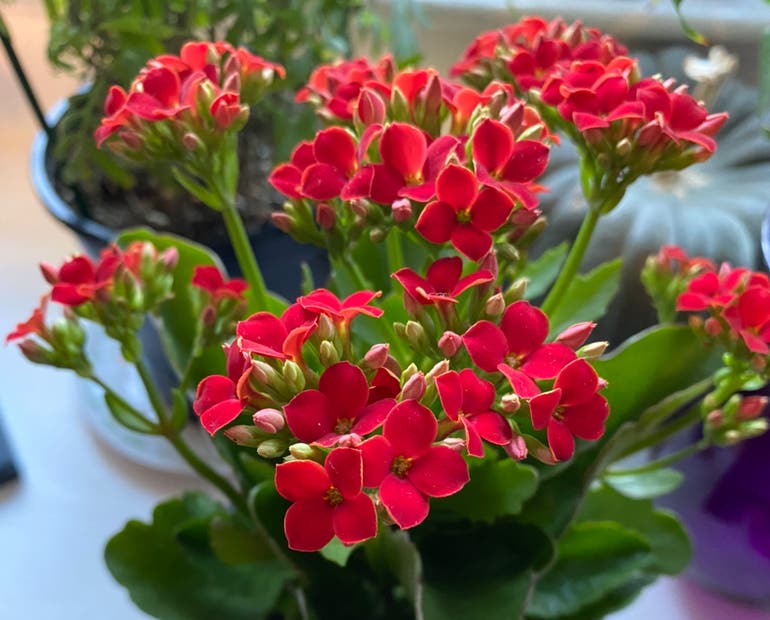
Alright, so let me tell you about my Kalanchoe plants. For a while there, they were looking, well, a bit sad. You know how they can get all leggy and sparse if you don’t give them a bit of attention? Yeah, mine were definitely heading in that direction. Flowers were few and far between, and mostly they just looked stretched out. I figured, something’s gotta change, right?
Getting Started with the Snip
So, I decided it was time to get my hands dirty, or rather, get the pruners out. I wasn’t aiming for anything super professional, just wanted to give them a good refresh. First things first, I grabbed my sharpest, cleanest pair of shears. I always try to make sure they’re clean; don’t want to introduce any funk to the plants. I looked at my main Kalanchoe, the one that was looking the most like it needed a serious haircut.

I basically just started by looking for any parts that were obviously dead or dying. Brown leaves, shriveled stems – those were the easy targets. Snip, snip, gone. It already felt a bit better, like I was clearing out the clutter.
Shaping Things Up
Then, I moved on to the leggy bits. You know, those long stems with just a few leaves at the very end? I wasn’t shy about it. I decided to cut them back quite a bit. My thinking was, this should encourage them to branch out and get bushier, instead of just reaching for the sky with nothing much to show for it. I tried to make the cuts just above a leaf node, which is just a fancy way of saying right above where a leaf or a set of leaves is growing out from the stem. I heard that helps new growth pop out there.
- I identified the overly long stems.
- I located a healthy set of leaves further down the stem.
- I made my cuts about a quarter-inch above that.
I also took off any spent flower stalks. No point in the plant wasting energy on those anymore. The goal was to redirect all that energy into making new, healthy leaves and hopefully, more blooms down the line.
The Aftermath and What I Did Next
Okay, I’ll admit, right after I was done, the plants looked a bit… bare. It can be a little shocking at first! You go from a gangly plant to a much smaller, stubbier version. But I had faith. I’ve done this before with other plants, and usually, they bounce back stronger.
With all the cuttings, I didn’t want to just toss them. Kalanchoes are pretty good at rooting, so I picked out some of the healthier stem pieces, let them dry out for a day or two – you know, so the cut end callouses over a bit – and then I stuck them into some fresh potting mix. Fingers crossed I’ll have a few new baby plants soon!
For the mother plants, I just put them back in their sunny spot and made sure to water them appropriately, not too much, especially after a big prune. Now, it’s a waiting game. But honestly, even just a few days later, I felt like they looked tidier. It’s been a couple of weeks now, and I’m starting to see tiny new leaves emerging. Success, I think! It’s always satisfying to see them respond well. So yeah, that was my Kalanchoe pruning adventure. Definitely worth doing if your plants are getting a bit out of hand.


