
Alright, let’s talk about those groundbreaking ceremony shovels. Had to sort these out for an event not too long ago, and it was a bit more involved than I first thought.
Figuring Out the Shovel Situation
So, the big day was coming up. We needed shovels for the photo op, you know, the classic “first dig” moment. My first thought was, “Easy, grab some shovels.” But then it hit me – these couldn’t be just any old shovels from the garage. They needed to look… official. Shiny, maybe?
I started looking into it. Do you rent these things? Do you buy them? Renting seemed okay, but then you worry about returning them on time, what condition they’re in, all that. Buying seemed simpler upfront, even if it meant we’d own a bunch of fancy shovels afterwards.
Decided to buy. Seemed like less hassle overall, maybe we could even use them again someday. Or maybe not.
Getting the Actual Shovels
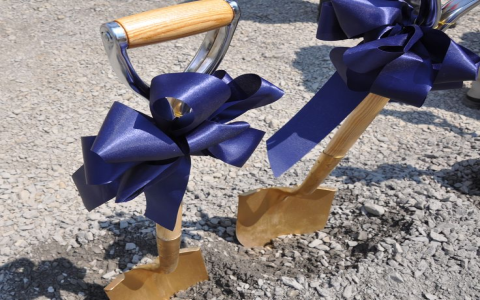
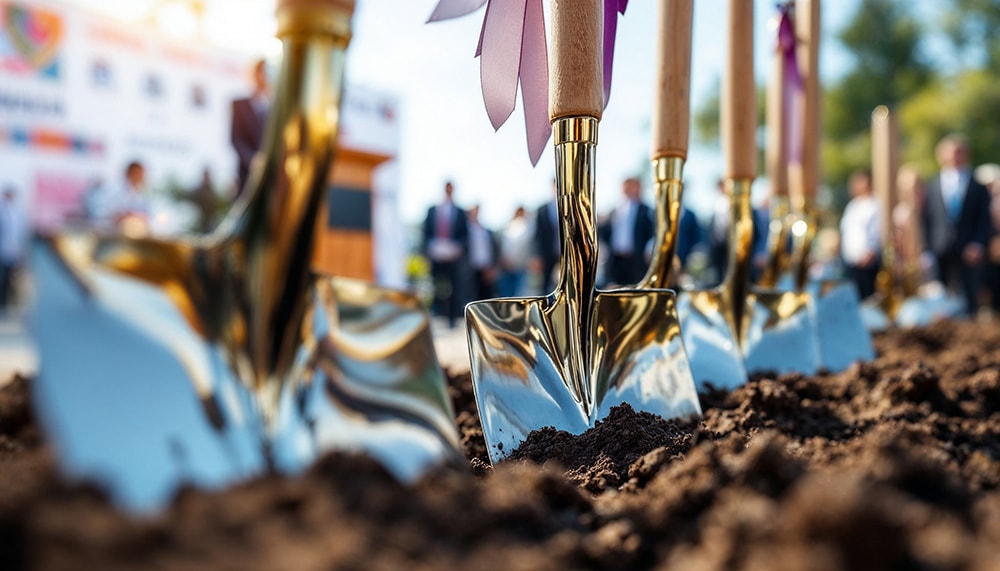
Okay, buying it is. Went online, searched around. Found these chrome-plated ones. Looked pretty sharp in the pictures. Didn’t want the fake gold ones, thought chrome looked a bit classier, less cheesy. Checked the handles – needed decent wood ones, not cheap plastic.
How many? Counted the key people involved. Added a couple extra just in case. Ended up ordering ten of them. Clicked buy, put in the company card.
- Found a supplier online.
- Picked the chrome finish with wood handles.
- Ordered ten units.
- Waited for delivery.
The boxes arrived a few days later. Big, long boxes. Unpacked every single one. They looked good, mostly. A bit dusty from the warehouse or shipping, so they weren’t quite photo-ready yet.
Prep Work Before the Ceremony
This was the part I didn’t really think about initially. Couldn’t just hand out dusty shovels. So, I spent a good hour or so wiping them all down, polishing the chrome bits with a soft cloth until they really gleamed. Wanted them looking perfect for the pictures.
Then, someone had the idea to add ribbons. Okay, fine. Got some ribbons in the company colors, spent another chunk of time tying neat little bows on each handle. Honestly, it did make them look more festive, I guess.
The prep took longer than expected. Polishing and tying ribbons on ten shovels isn’t quick work.
The Ceremony and After
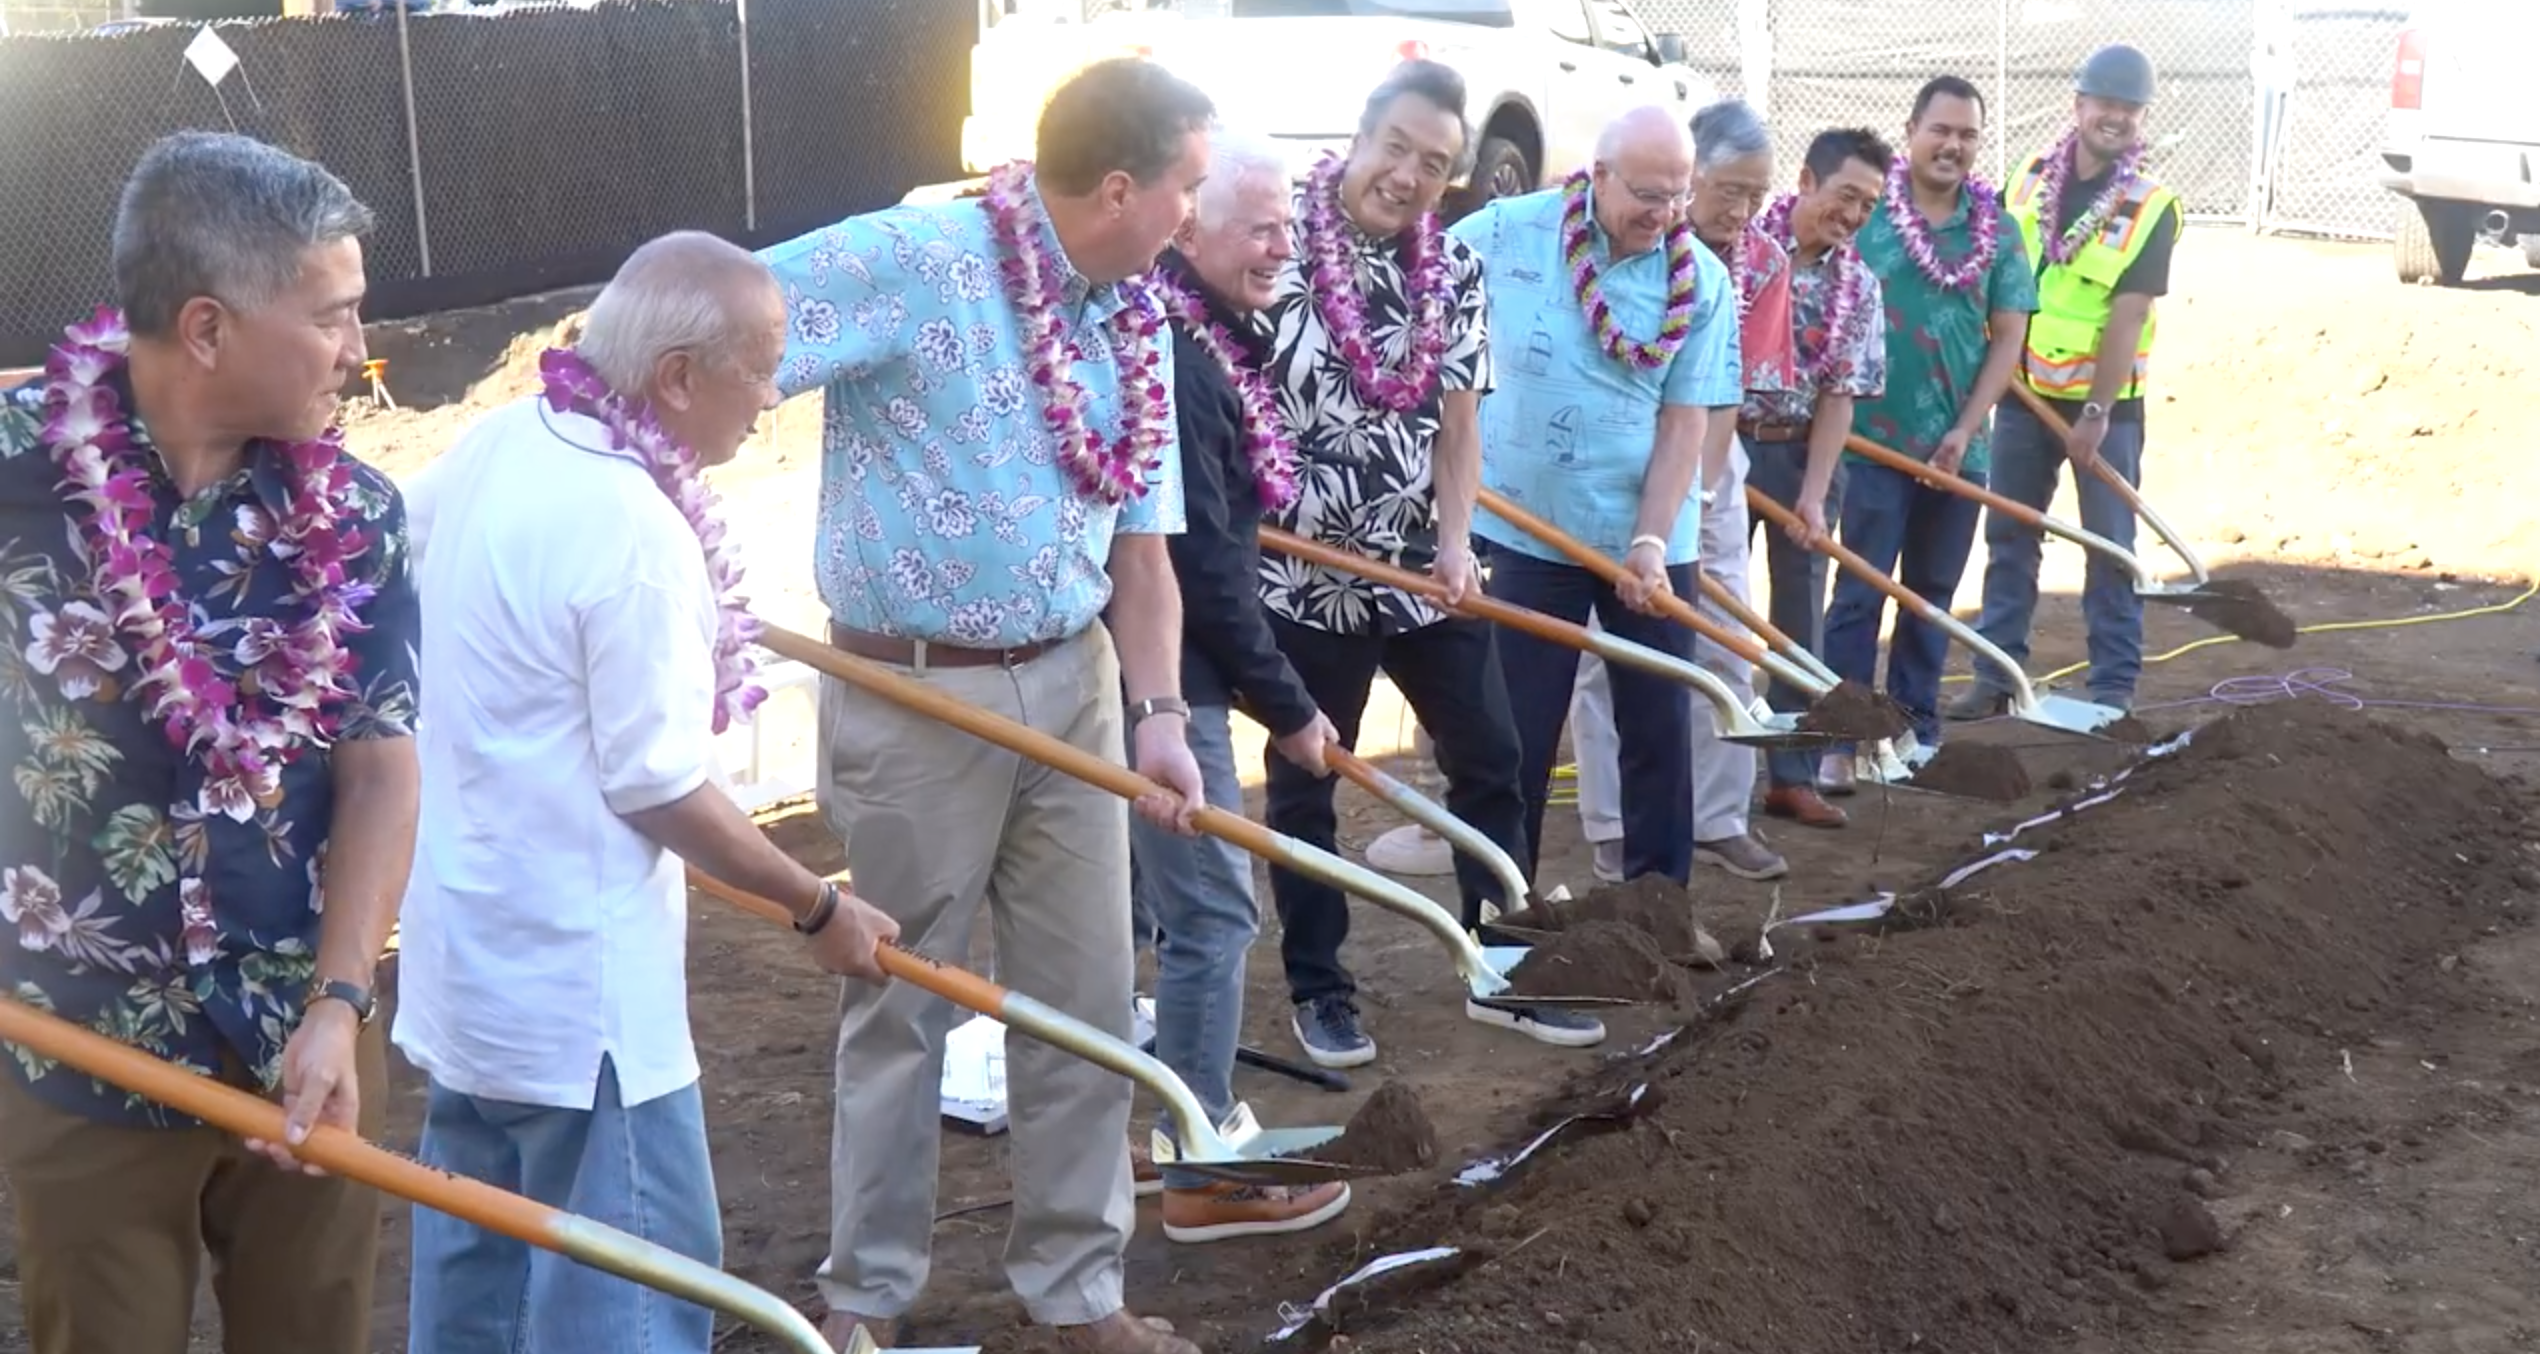
On the day, we got to the site early. Laid out the shovels near the designated patch of dirt. Made sure they were lined up nicely, easy for the speakers and VIPs to grab.
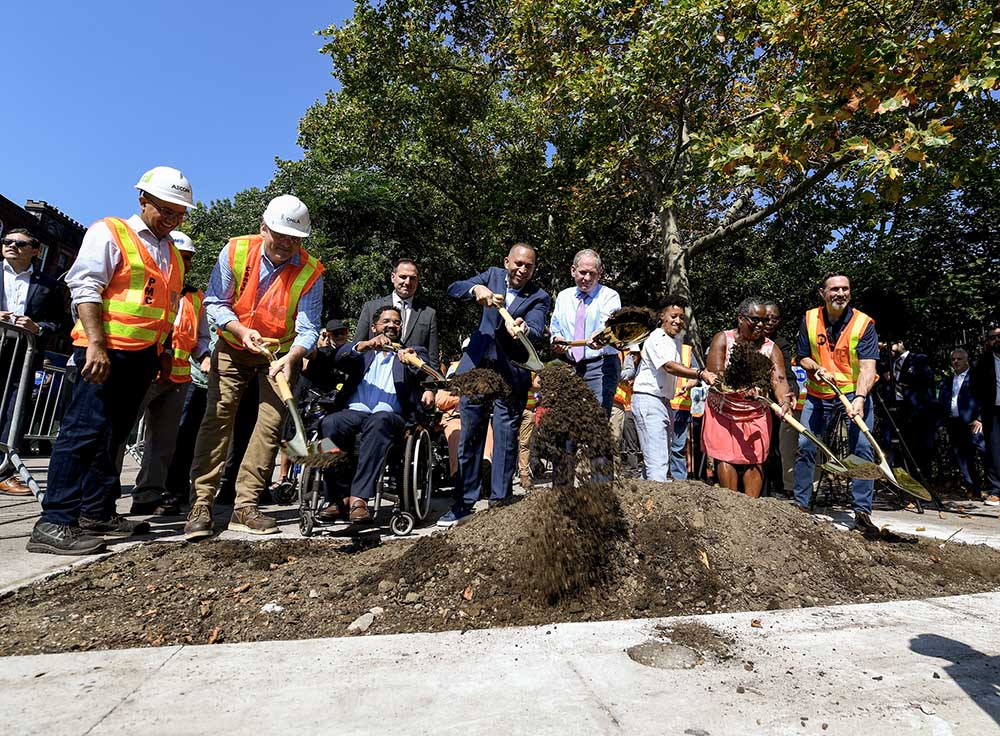
The moment came, handed them out. Everyone grabbed a shovel, posed, did the little scoop of dirt. Click, click, click went the cameras. The shovels looked good, did their job.
Then, ceremony over. Everyone puts the shovels down. Now they’re all dirty. Figures. Had to gather them all up carefully, trying not to bang them against each other and scratch that nice chrome finish I’d spent time polishing.
Back at the office, guess who got to clean ten dirty shovels? Yep. Took a while to get the mud off properly without wrecking them. Used cloths, a bit of water. Let them dry.
Final Thoughts
So now we own ten very shiny, slightly used groundbreaking shovels. They’re sitting in a storage closet. Will we use them again? Who knows. Maybe? They take up a surprising amount of space.
Looking back, maybe renting wasn’t such a bad idea after all. Someone else deals with the cleaning and storage. But hey, we got it done. The pictures looked good, the event went smoothly. Just remember if you’re doing this, factor in the time for unpacking, polishing, maybe ribbon-tying, and definitely the post-ceremony cleanup and storage. It’s not just about the ten seconds of digging.


