
Okay, here we go! Here’s how I tackled making some clearance plant stands.
Alright, so I was browsing the clearance section at my local hardware store the other day, you know, just seeing what kind of trouble I could get into, and I spotted a bunch of wooden pieces marked way down. Immediately, I thought, “Plant stands!” I mean, my succulents are overflowing, and I needed a cheap and cheerful way to display them.
First things first, I grabbed a few different sizes of these wooden squares and rectangles. They were all different thicknesses and wood types, but honestly, I wasn’t being picky. This was a clearance project, after all! The goal was to use what I could find and keep the cost down.
Back at home, I laid everything out on my garage floor. I started visualizing how I wanted the stands to look. I knew I wanted some taller ones and some shorter ones, so I started pairing up the wood pieces. Basically, I was just messing around until I saw something I liked.
Next came the fun part: assembly! I grabbed my trusty wood glue and started gluing the pieces together. For the taller stands, I used longer rectangular pieces as the legs and glued them to the underside of the square tops. I made sure to use clamps to hold everything in place while the glue dried. This is super important, otherwise, your stands will be wobbly!
For the shorter stands, I used smaller square pieces as legs, just to give the plants a little lift. I even got creative and glued a couple of the smaller squares together to make thicker, sturdier legs.
Once the glue was completely dry (I let them sit overnight just to be safe), I started sanding everything down. The wood was a bit rough and splintery in places, so I wanted to smooth it out. I used a medium-grit sandpaper first, then followed up with a fine-grit sandpaper to get a nice, smooth finish.
After sanding, it was time to add some color! I had some leftover outdoor paint from another project, so I decided to use that. I gave each stand a couple of coats of paint, letting it dry completely between coats. I chose a neutral color that would complement my plants and my patio furniture.
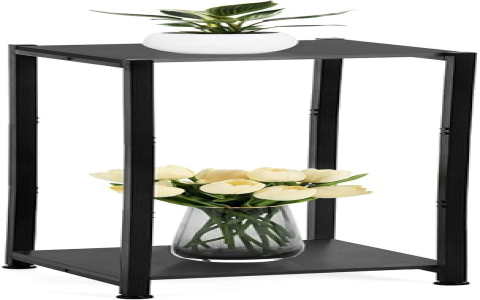
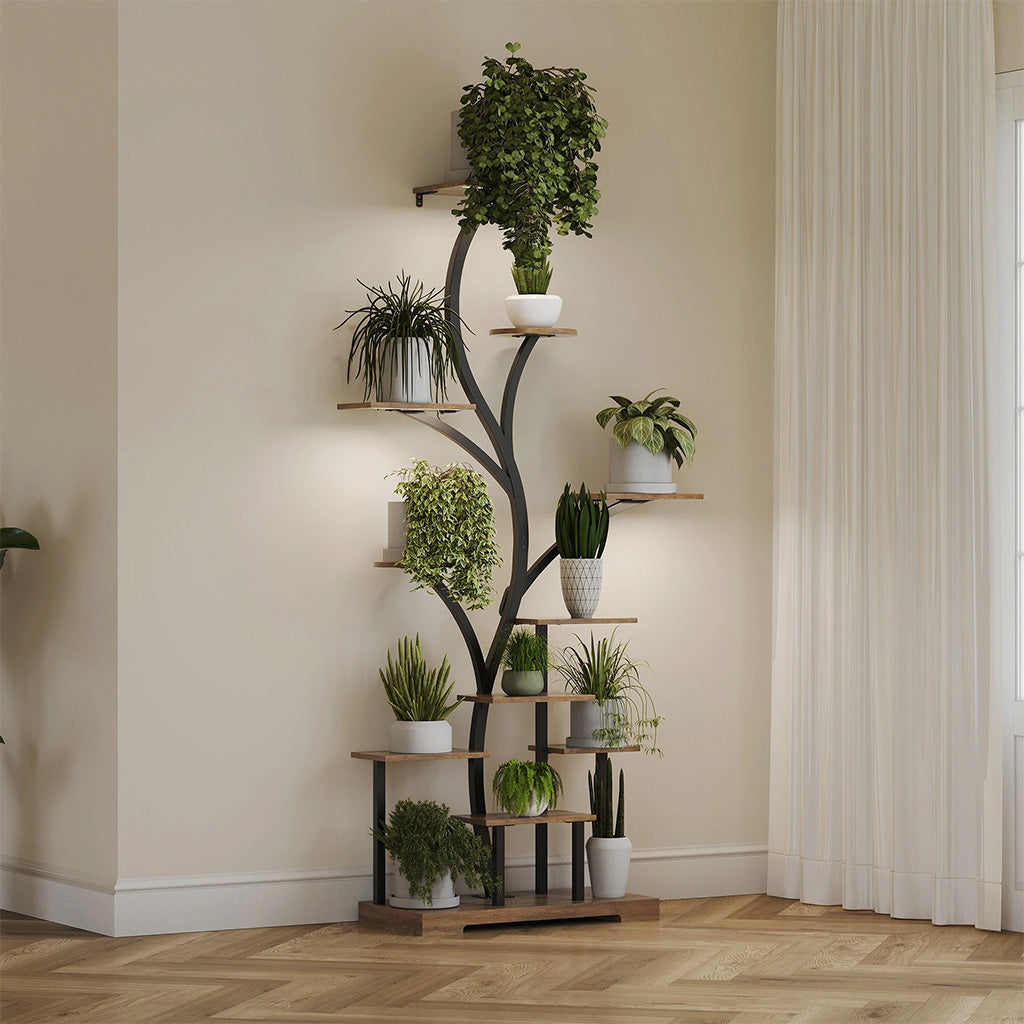
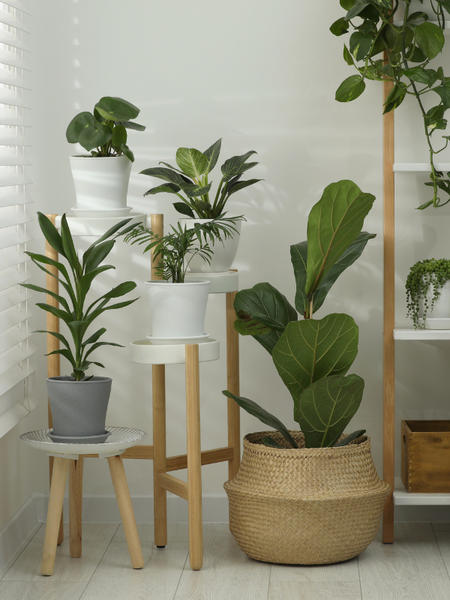
Finally, the moment of truth! I brought the plant stands outside and started arranging my succulents on them. I was really happy with how they turned out! They added some much-needed height and dimension to my plant collection, and they were a super cheap and easy project.
- Materials: Clearance wooden pieces, wood glue, clamps, sandpaper, paint.
- Tools: Sandpaper, paintbrushes, clamps.
Honestly, this was a great way to use up some scrap materials and add some personality to my patio. Plus, it was a fun afternoon project. If you’re looking for a cheap and easy way to display your plants, I highly recommend giving this a try!


