
Okay, here’s my take on pruning amaryllis, blog-style!
My Amaryllis Pruning Adventure
Alright folks, lemme tell ya ’bout my amaryllis. It bloomed like crazy, absolutely gorgeous red flowers. But, like all good things, the bloom time had to end. And that’s when I knew, it was time to get out the pruners!
First thing I did, I waited. Yep, waited until ALL the flowers were totally done. Drooping, sad-looking… the whole shebang. I didn’t wanna jump the gun and cut anything off early. Patience is key, ya know?
Then, I grabbed my trusty pruning shears. I gave ’em a quick wipe down with some rubbing alcohol, just to be safe. Don’t want no nasty bacteria messin’ with my plant. Safety first!
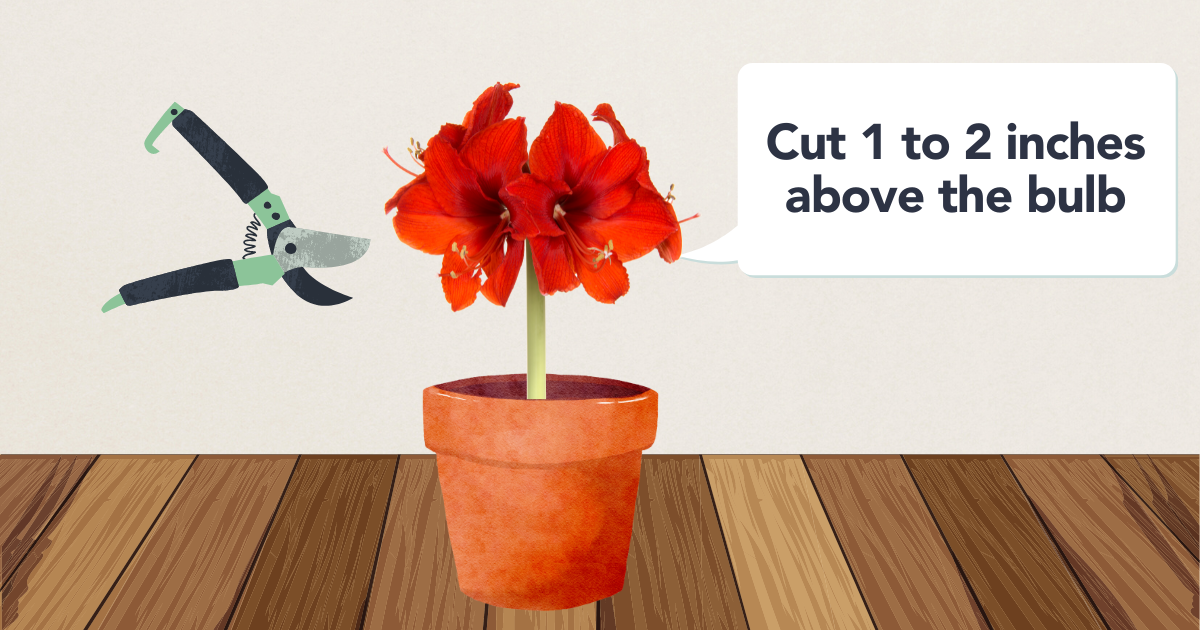
Next up, the big chop! I located the flower stem, followed it down to where it comes out of the bulb. And then snip! I cut that sucker right off at the base. Nice and clean. I made sure not to damage any of the leaves while I was at it.
After that, I inspected the leaves. I noticed a few were looking a little yellow and sad. So, I snipped those off too, right at the base. Gotta get rid of any dead weight.
Now, the bulb itself was lookin’ a little crowded. Some of the papery outer layers were starting to peel. I gently removed any loose or dead-lookin’ stuff. Just tidying up, you know?
Once I was done pruning, I moved the pot to a cooler, darker spot. Amaryllis bulbs need a rest period after blooming. I plan to let it chill there for a few months, and cut back on the watering too. Almost like letting it go dormant.
Then, come springtime, I’ll start watering it again and move it back into a sunny spot. And hopefully, it’ll give me another show of beautiful blooms next year!

Honestly, pruning the amaryllis wasn’t as scary as I thought it would be. Just a little bit of snipping here and there, and a whole lotta patience. Now, fingers crossed it blooms again!


