
Alright, so I got this itch the other day. You know how you see those cool, old-looking watering cans in garden shops or photos? The ones that look like they’ve been around forever? Well, I wanted one for my porch plants, but the ones I saw were either too pricey or just didn’t feel right. So, I thought, why not try making one myself?
Finding the Bits and Pieces
First thing was getting the main body. I didn’t want to buy anything new, that’d defeat the purpose. Rummaged around in the shed for a bit. Found an old metal canister, maybe used to hold oil or something? It was sturdy, good size. Perfect. Gave it a good scrub, inside and out. Had some gunk in there, took a while with soap and a wire brush.
Then, I needed parts for the spout and the handle. Found some scrap metal tubing, kinda thin, maybe from an old chair frame? And a thicker piece of bent metal rod that looked like it could become a handle. The ‘rose’ part, the sprinkler head, that seemed tricky. I decided to use the lid off a smaller tin can and planned to poke holes in it later.
Putting It All Together
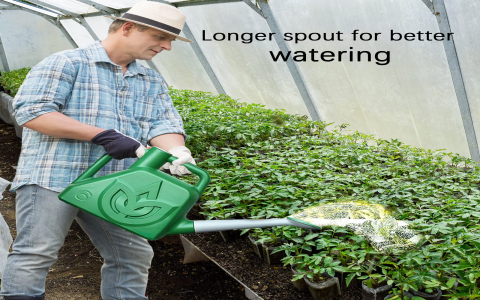
Okay, this was the fun, messy part. Getting that spout on wasn’t easy.
- I cut the tubing to the length I wanted for the spout, angled one end to fit flush against the can.
- Drilled a hole in the side of the main can where the spout would go.
- Now, attaching it… I don’t have welding gear. So, I used a strong, waterproof epoxy putty. Slathered it around the join, inside and out, making sure it was sealed tight. Let that cure properly.
- Did a similar thing for the handle. Bent the metal rod a bit more to get a good grip shape, then used more epoxy putty to stick it to the top and back of the can. Had to prop it up while it dried so it stayed in place.
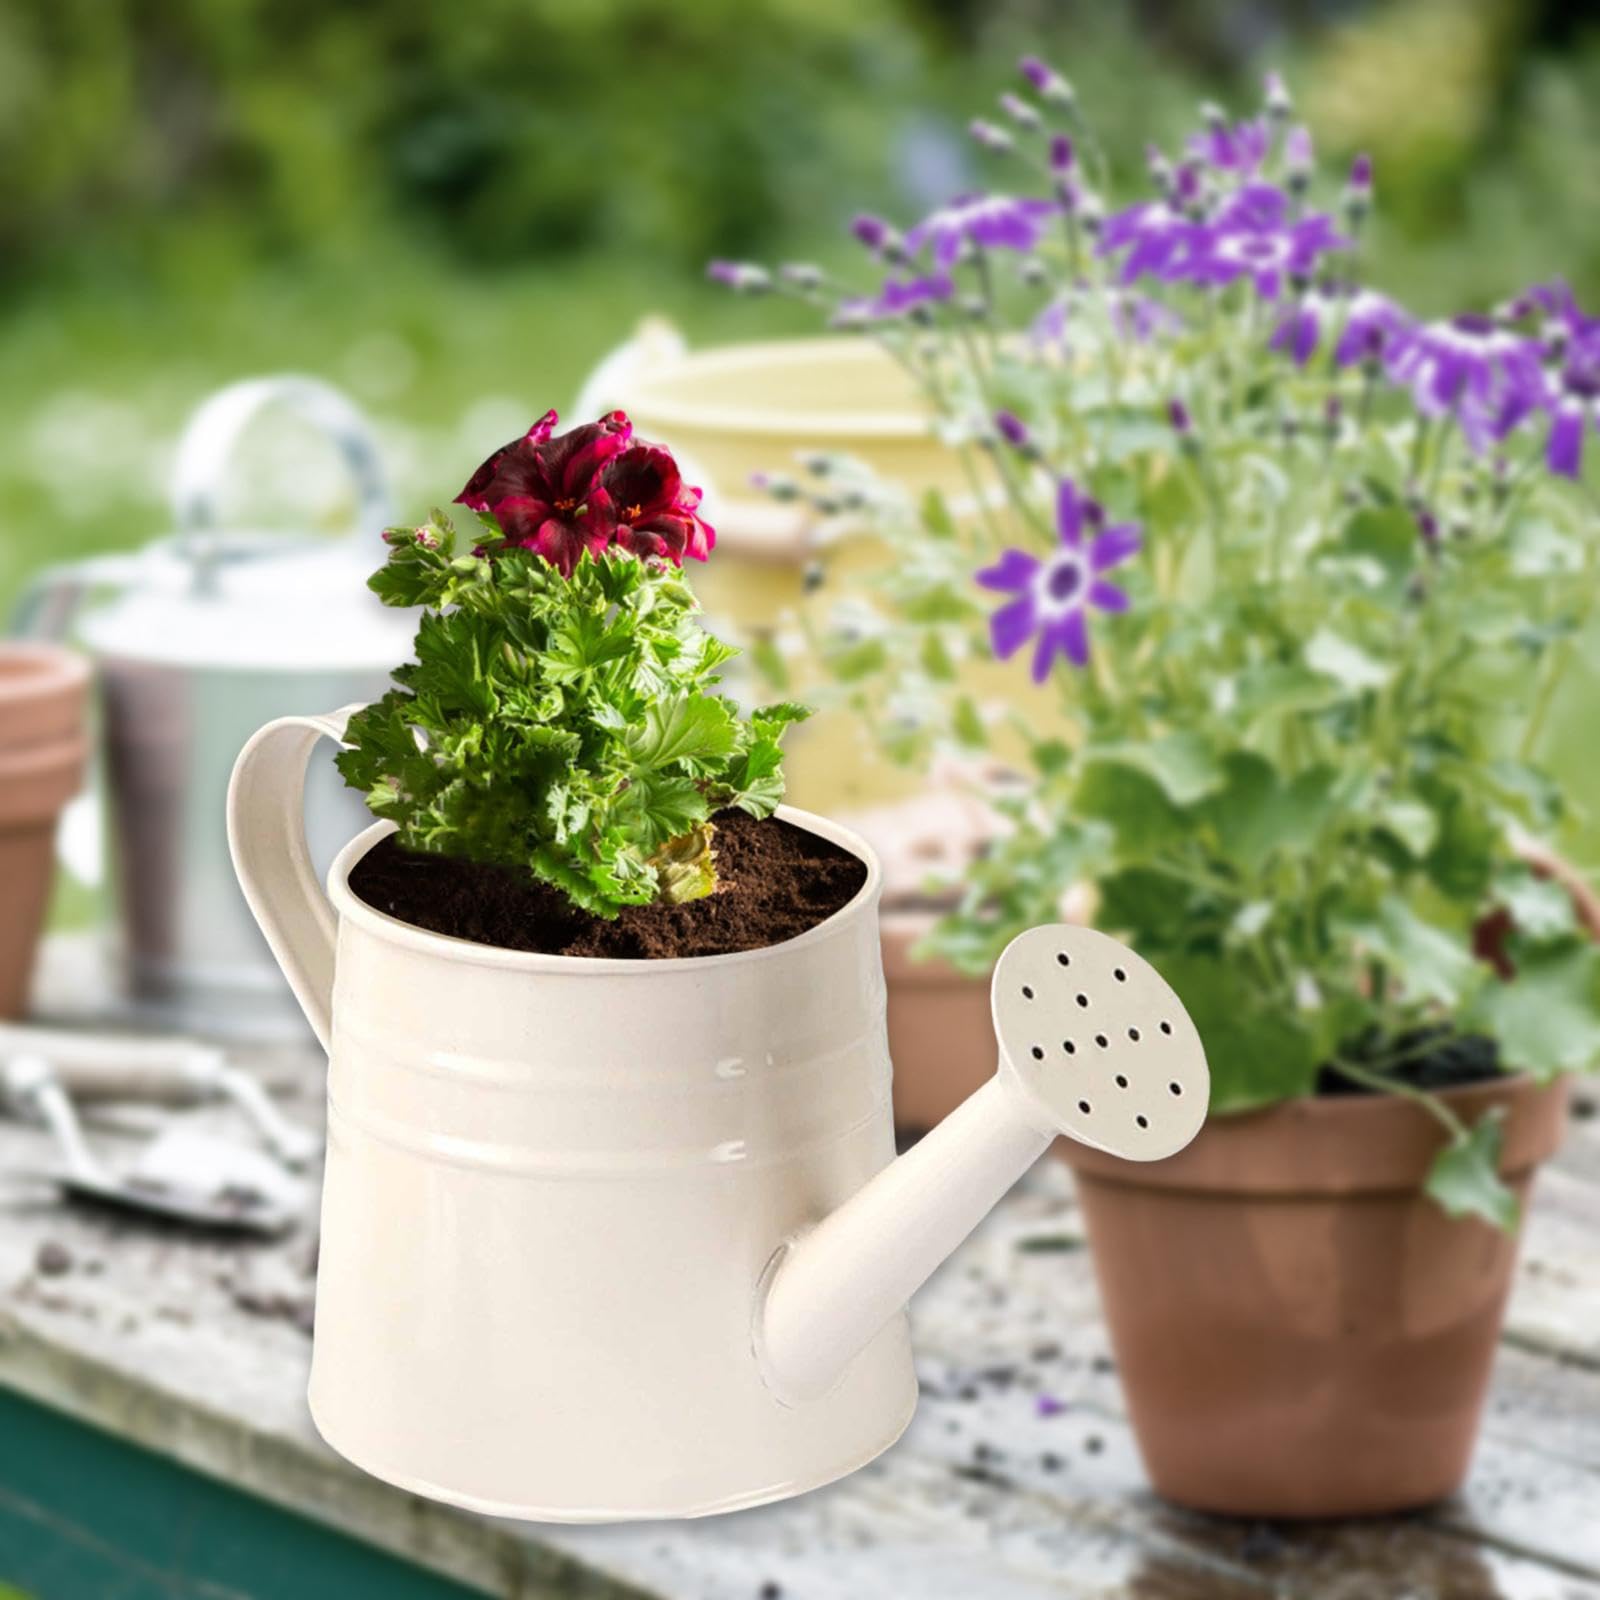
- For the rose, I took that small tin lid, hammered it slightly dome-shaped. Then, I carefully drilled a bunch of small holes in it using my smallest drill bit.
- I needed a way to attach the rose to the spout. Found a little screw-on bottle cap that fit snugly inside the end of my spout tube. Glued that in. Then glued the drilled tin lid onto the outside of that bottle cap. It’s not super traditional, but it works!
Making it Look ‘Rustic’
It looked… functional. But not rustic. So, the final step was the finish. I didn’t want shiny metal. I grabbed some dark grey spray paint I had left over. Gave the whole thing, handle, spout and all, a light coat. Let it dry.
Then, the ‘aging’ process. This is where you gotta get creative. I took some sandpaper, roughed up the edges, the handle, anywhere it might naturally get worn. Wiped some areas with a damp cloth while the paint was still a bit soft to create streaks. I even mixed a tiny bit of brown paint with water, dabbed it on in spots, and quickly wiped most of it off to look like old rust spots. It’s all about layering and making it look imperfect.
The Final Result
And… done! It actually looks pretty convincing. It holds water, doesn’t leak (phew!), and sprinkles nicely through the homemade rose. It’s got that weathered, used look I was going for. Took an afternoon, used mostly junk I already had. Honestly, pretty pleased with how it turned out. It feels much better using something I put together myself, you know? It’s sitting on my porch now, doing its job. Definitely adds that little touch I was looking for.


