
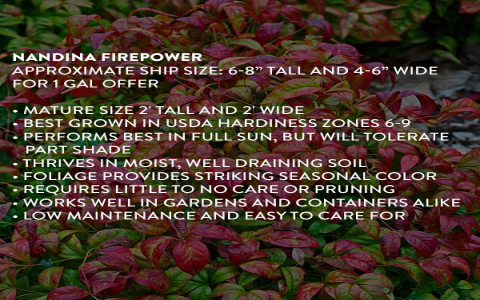
Alright folks, so today I’m gonna walk you through my experience tackling a nandina shrub that was getting a little outta hand. It’s one of those tasks I’d been putting off, but finally bit the bullet. Let’s get into it!
First things first, I grabbed my tools. I’m talking gloves (essential, trust me), my trusty pruning shears, and a small hand saw for the thicker branches. Oh, and a bucket to toss the clippings into – keeps things tidy.
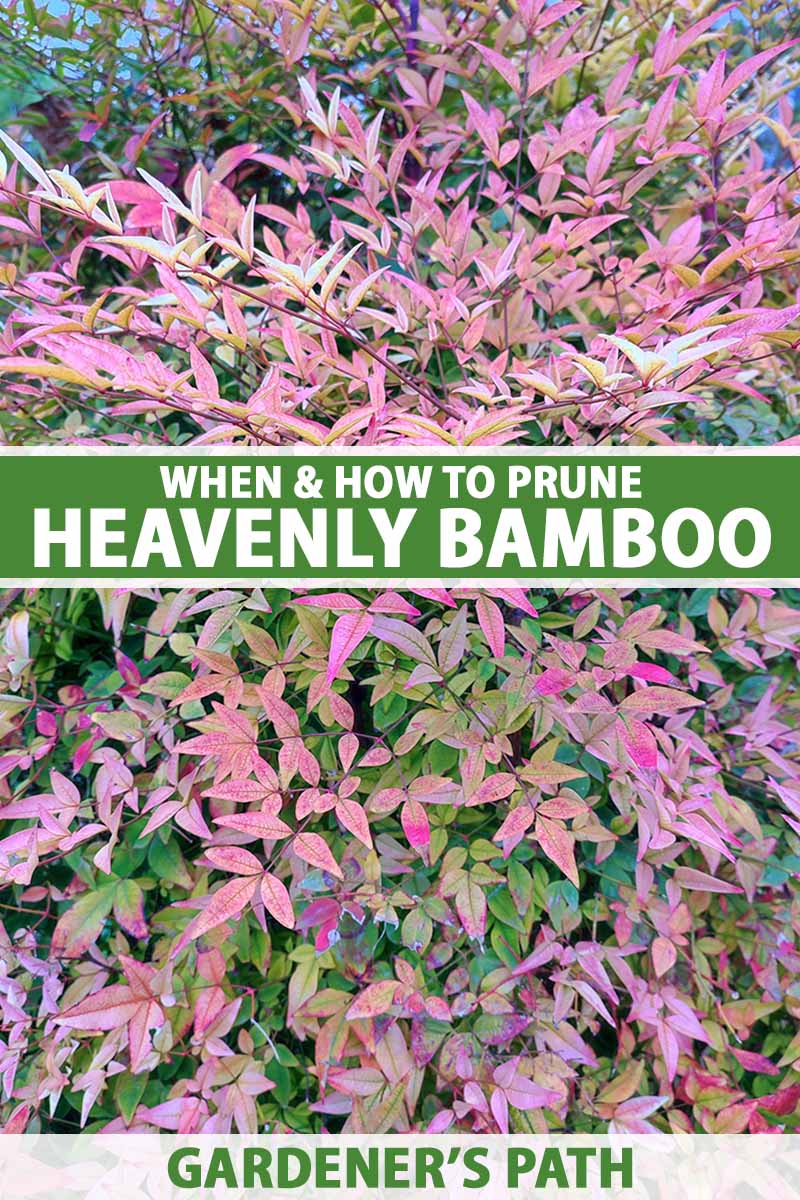
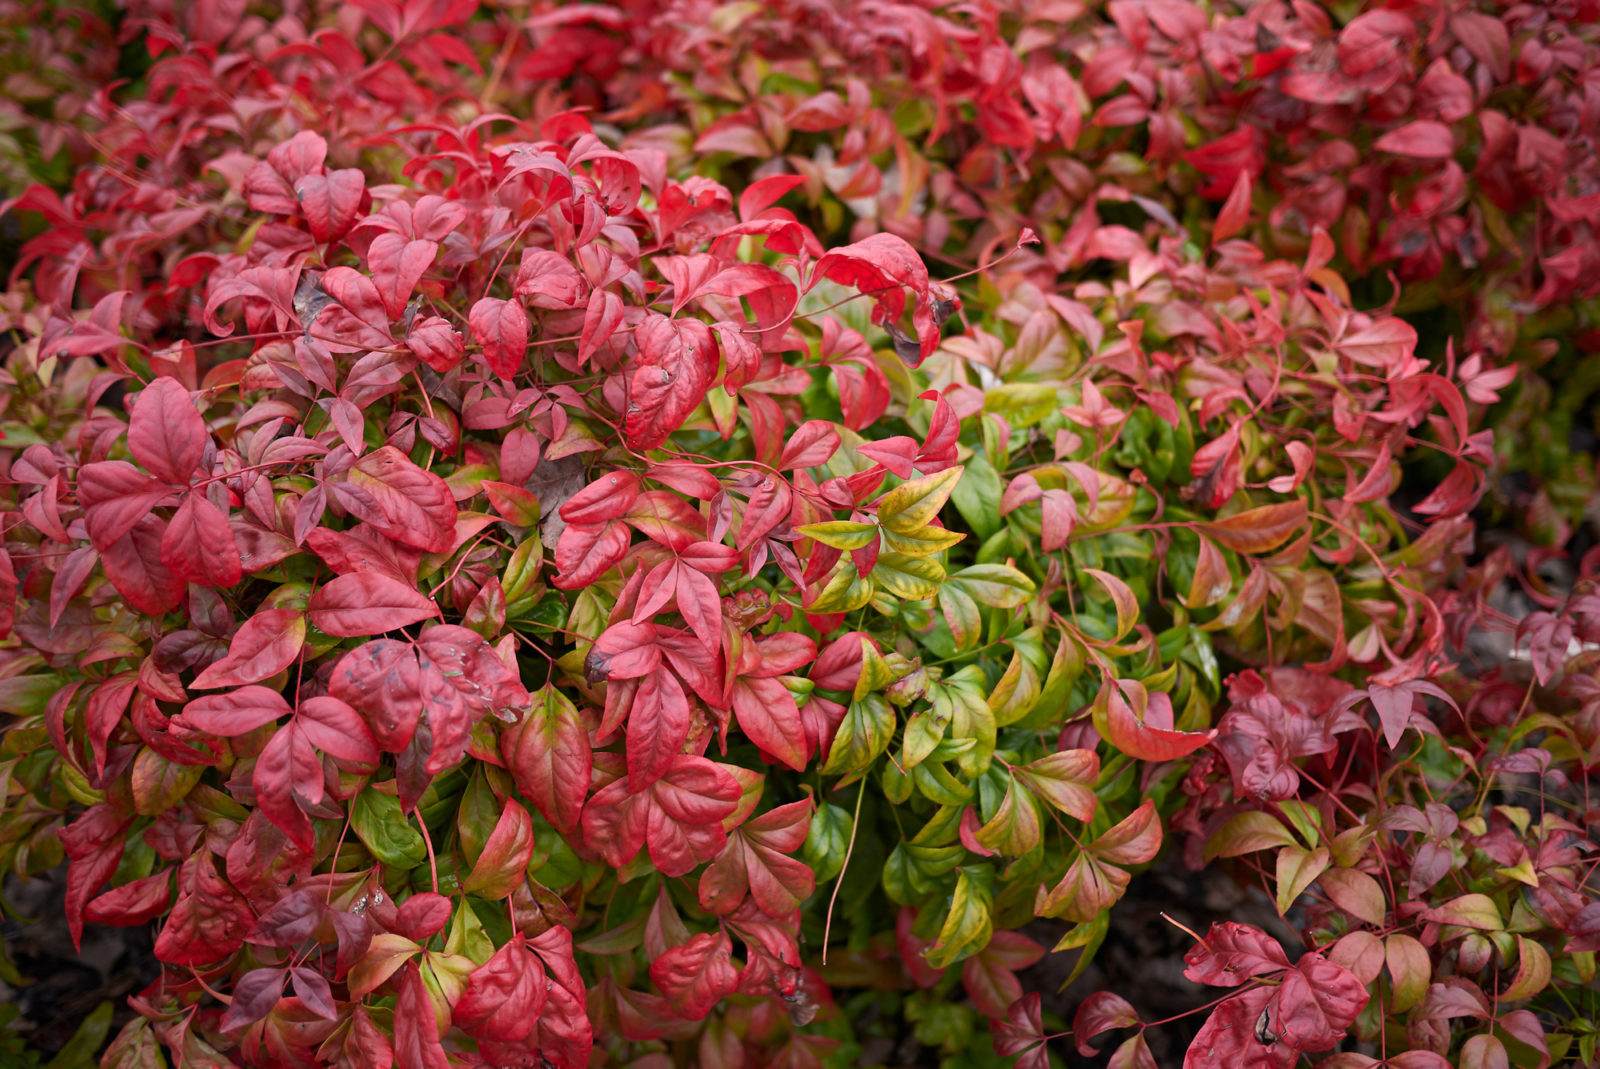
Before I even touched the plant, I took a good look. This nandina had a bunch of dead canes sticking up, and the overall shape was just… messy. The goal was to remove the dead stuff and thin it out so it looked a little healthier and less like a wild beast.
I started with the dead canes. These are usually pretty easy to spot – they’re brown, brittle, and snap easily. I cut them right down to the base of the plant. This instantly made a big difference.
Next up, I started thinning out the living stems. Nandinas tend to sucker and get really dense. I focused on removing some of the older, thicker stems, cutting them back to the ground. This encourages new growth from the base and opens up the plant to more sunlight and air circulation.
Now, here’s where it got a little tricky. Some of the stems were pretty thick. That’s where the hand saw came in. Just be careful and take your time with those bigger cuts. You don’t want to tear the bark or damage the surrounding stems.
As I was pruning, I kept stepping back to check the overall shape. You don’t want to go overboard and end up with a weird-looking plant. The idea is to create a more natural, flowing shape.
One thing I always try to do is remove any crossing branches. These can rub together and create wounds, which can lead to disease. Plus, they just look cluttered.
After I’d removed a good amount of material, I took one last look and did a bit of fine-tuning. Snipped off a few stray stems here and there, just to even things out.
The final step was cleaning up all the clippings. I tossed them into the bucket and then emptied it into my compost pile. Waste not, want not!
All in all, it took me about an hour to prune the nandina. It wasn’t a particularly difficult job, but it made a huge difference in the plant’s appearance. It looks healthier, less crowded, and much more visually appealing. I’m hoping it will put on some nice new growth in the spring.
Key takeaways:
- Remove dead canes first.
- Thin out older, thicker stems to encourage new growth.
- Remove crossing branches.
- Step back frequently to check the shape.
So, if you’ve got a nandina that’s looking a little overgrown, don’t be afraid to give it a trim. It’s a pretty forgiving plant, and you’ll be surprised at how much of a difference a little pruning can make!


