
Alright, let me tell you about my little experiment with soil wetter this past season. My garden beds, especially the ones near the edge of the patio, were just terrible. Bone dry most of the time, even after I watered them. It felt like the water just sat on top or ran right off the sides. Super frustrating, you know? I’d spend time watering, thinking I’m doing good, and then the plants still looked thirsty and stressed out.
I tried a few things first. Forking the soil a bit to loosen it up, adding some compost top dressing. That helped a little, but didn’t really solve the core problem, especially when we hit a dry spell. The water just wasn’t getting down to the roots where it needed to be. Felt like I was just throwing water away half the time.
Trying Out the Soil Wetter Stuff
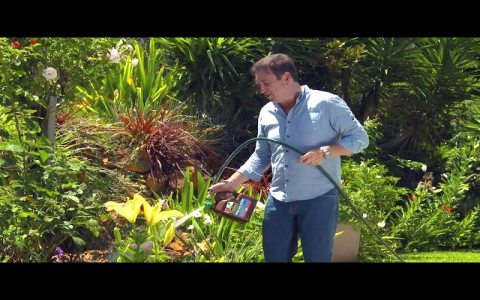
So, I was wandering through the garden section at the local hardware store, kind of grumbling to myself about the dry spots. Saw these bottles labeled ‘Soil Wetter’ or ‘Wetting Agent’. Honestly, I was skeptical. Sounded a bit like snake oil to me. But I figured, what have I got to lose at this point? The plants were looking sad anyway. So I grabbed a bottle of the liquid kind. Wasn’t too expensive, which helped convince me to give it a shot.
Back home, I read the label. Pretty simple instructions, really. Basically, mix a certain amount with water in a watering can or sprayer. I decided to use my big watering can for the garden beds.
Here’s what I did, step-by-step:
- Filled up the watering can, maybe about two gallons worth.
- Measured out the amount of soil wetter liquid according to the bottle – it wasn’t much.
- Poured it into the can and gave it a good stir with a stick I found.
- Then I just walked over to those problem areas, the really dry, water-repellent spots in the beds.
- Slowly and deliberately, I watered those specific areas with the mixture. Tried to get an even soaking.
- I made sure the soil was already a little damp before applying, like the bottle suggested, so I did a quick pre-watering the day before.
Did It Actually Work?
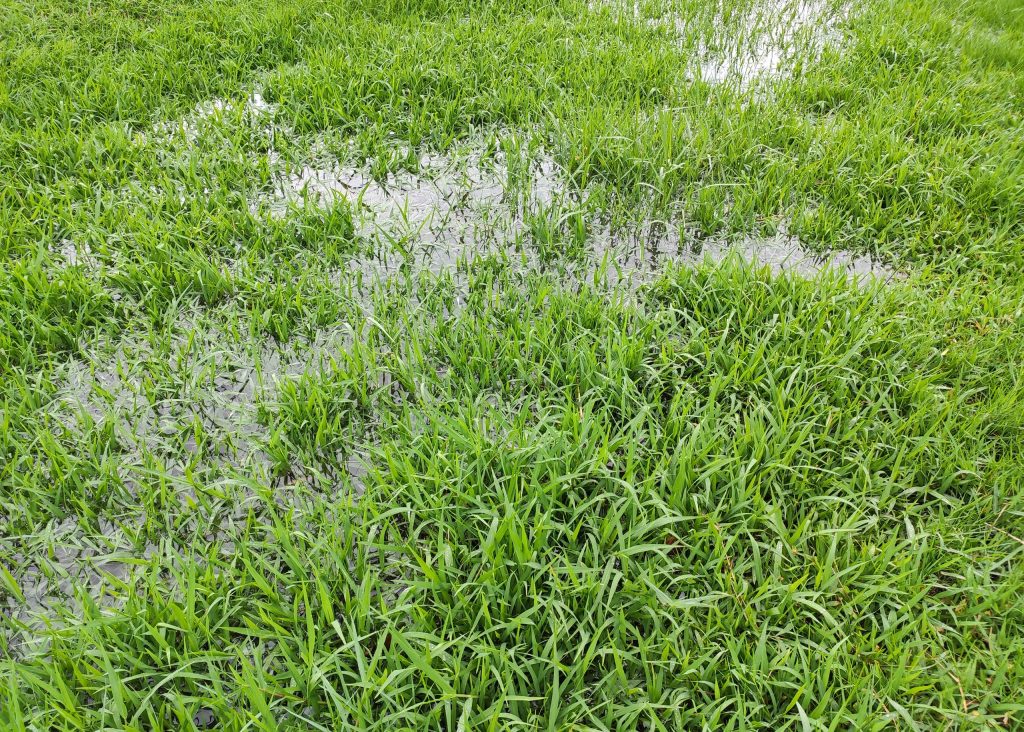
Okay, so right after applying it, I didn’t see some magical transformation. The soil just looked wet, like usual. But the real test was the next time I watered, maybe two days later. And honestly? Yeah, it seemed to make a difference. The water didn’t pool up nearly as much. It looked like it was actually soaking into the soil instead of just sitting on the surface or running off.
Over the next few weeks, I kept an eye on those spots. They definitely seemed to hold moisture better than before. The plants in those areas perked up a bit too. They didn’t look quite as stressed between waterings. It wasn’t a miracle cure, mind you. The soil is still what it is. But the wetter definitely helped the water penetrate better.
So, my verdict? It was worth trying. It didn’t solve all my soil problems overnight, but it made a noticeable improvement in how the water soaked in on those stubborn dry patches. I ended up applying it again later in the summer when things got really dry again. Seems like a useful tool to have in the shed, especially for problem spots with water-repellent soil. Just a simple thing I tried that actually seemed to help out a bit.


