Enchanting Floral Gardening: Nature's Palette
  • Flowers & Plants
  • Gardening Knowledge
    • Light
    • Watering
    • Fertilizing
    • Pruning
    • Soil
    • Repotting
    • Temperature
  • Pests & Diseases
  • Flower Fertilizers & Pesticides
  • Gardening Tools
    • Flowerpot
    • Gardening Scissors
    • Gardening Gloves
    • Shovel
    • Watering Can
    • Gardening Stand
No Result
View All Result
Enchanting Floral Gardening: Nature's Palette
No Result
View All Result
Home Flower Fertilizers & Pesticides

Fruit and Flower Fertilizer Guide: Get Blooms All Season!

jim by jim
2025-04-16
in Flower Fertilizers & Pesticides
0
Fruit and Flower Fertilizer Guide: Get Blooms All Season!
Share on FacebookShare on Twitter

Alright folks, gather ’round! Today I’m spillin’ the beans on my little experiment with making fruit and flower fertilizer at home. It’s messy, it’s stinky, but boy, does it work!

So, it all started when I noticed my tomato plants were lookin’ a little sad. Yellow leaves, not much fruit… you know the drill. I was tired of buyin’ those expensive fertilizers at the store, plus, I wanted somethin’ more natural. That’s when I stumbled upon the idea of fruit and flower fertilizer.
Related articles

How to Apply Organic Fruit Tree Pesticide Step by Step Guide

Navigator Pesticide Problems Solved Easy Tips for Pest Control

Fruit and Flower Fertilizer Guide: Get Blooms All Season!

First things first: gathering the goods. I raided my kitchen for scraps. We’re talkin’ banana peels (a must-have!), apple cores, orange peels, any kinda fruit leftovers. I even tossed in some wilted flowers from my garden – the roses that were past their prime, some deadheaded petunias, you get the picture.

Next up, the container. I grabbed an old, beat-up plastic bucket. You could use a trash can, a big pot, whatever you’ve got lying around. Just make sure it has a lid! Trust me on this one; you’ll thank me later.

Then came the layering. This is where it gets a bit like making lasagna, only smellier. I started with a layer of soil at the bottom of the bucket. Then, I piled in a bunch of my fruit and flower scraps. After that, another layer of soil. I just kept repeating this – soil, scraps, soil, scraps – until the bucket was almost full.

Adding the “magic” ingredient: water. I poured in enough water to make everything damp, but not soaking wet. You don’t want a swamp in there. Just enough moisture to get the decomposition process going.

Now, the waiting game. I put the lid on the bucket and tucked it away in a corner of my yard where it wouldn’t offend the neighbors too much. This part requires patience, which, I’ll admit, isn’t my strongest suit. I let it sit for a good month, maybe even a little longer.

Every week or so, I’d give it a stir with an old shovel. This helps aerate the mixture and speed things up. And let me tell ya, that’s when you really get a whiff of what’s brewin’ in there. Phew! But hey, no pain, no gain, right?

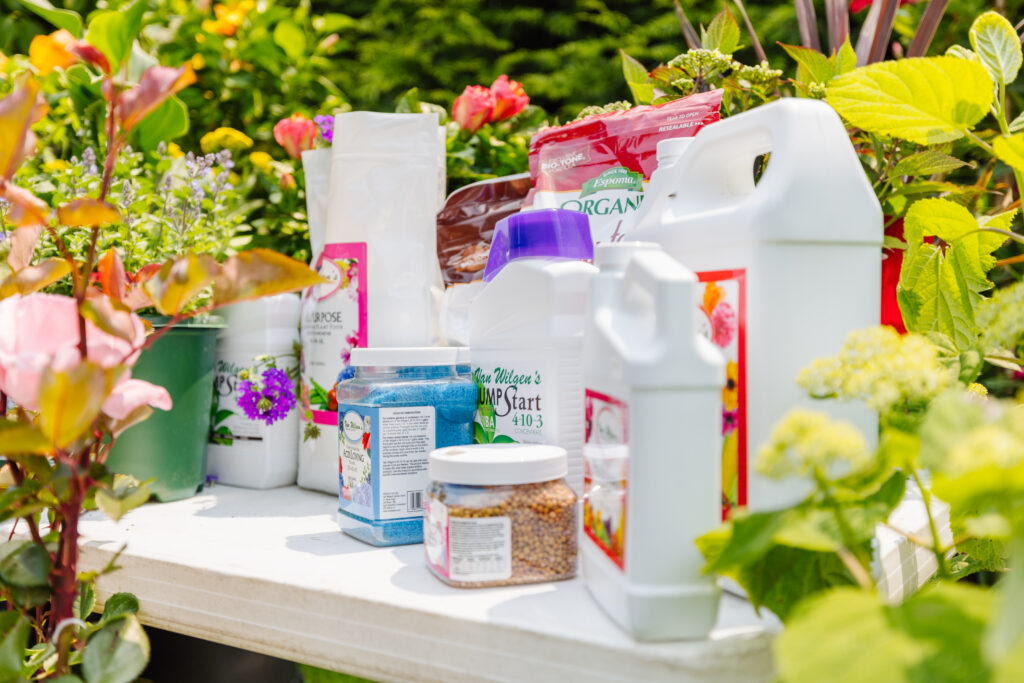
The moment of truth: harvesting the fertilizer. After about a month, the mixture started to look like dark, rich compost. The fruit and flower scraps were mostly broken down. It was time to strain it. I used an old colander lined with cheesecloth to separate the liquid from the solids.
Fruit and Flower Fertilizer Guide: Get Blooms All Season!

The liquid is the real gold here. That’s your concentrated fertilizer. I diluted it with water – about one part fertilizer to ten parts water – and used it to water my tomato plants and other flowers.

What about the solids? Don’t toss ’em! I mixed them into the soil around my plants as a slow-release fertilizer. They’re full of nutrients and help improve the soil structure.

The results? Let me tell you, my tomato plants went wild! They were greener, healthier, and produced way more fruit than they ever had before. My flowers were also brighter and more vibrant. I was seriously impressed.

Lessons learned:

  • Don’t overwater the mixture. It’ll get too soggy and smelly.
  • Be patient! It takes time for the decomposition process to work its magic.
  • Dilute the fertilizer before using it. You don’t want to burn your plants.
  • Find a good spot to store the bucket where the smell won’t bother you (or your neighbors).

So there you have it! My DIY fruit and flower fertilizer adventure. It’s cheap, it’s easy, and it’s good for the environment. Plus, it’s kinda fun to see your kitchen scraps turn into plant food. Give it a try, and let me know how it goes!

jim

jim

Related Posts

How to Apply Organic Fruit Tree Pesticide Step by Step Guide

How to Apply Organic Fruit Tree Pesticide Step by Step Guide

by bloommelody
2025-07-26
0

Here’s exactly what I did last Tuesday when my peach trees started lookin’ like bug buffets. Noticed all chewed up leaves and sticky sap everywhere –...

Navigator Pesticide Problems Solved Easy Tips for Pest Control

Navigator Pesticide Problems Solved Easy Tips for Pest Control

by bloommelody
2025-07-20
0

My Backyard Bug Battle Begins Woke up last Tuesday to absolute carnage in my veggie patch. Tiny holes everywhere in my tomato leaves, aphids having a...

Where To Put Pesticide Signs? 4 Must Know Spots For Safety!

Where To Put Pesticide Signs? 4 Must Know Spots For Safety!

by nnxt
2025-07-20
0

Alright folks, buckle up. Had a real wake-up call last week messing with pesticides around the yard. Stuff’s nasty, right? Gotta be safe. Thought slapping up...

Best caterpillar pesticides for gardens? Top 5 picks reviewed today!

Best caterpillar pesticides for gardens? Top 5 picks reviewed today!

by jim
2025-06-25
0

I spotted them last Tuesday, crawling on my prized kale plants. Those little green caterpillars were chewing holes through every leaf. Right then I knew I...

Is demon pesticide for fleas safe? (What you should know before using it with pets and kids)

Is demon pesticide for fleas safe? (What you should know before using it with pets and kids)

by nnxt
2025-06-15
0

Okay, so let me tell you about my war with fleas and how this ‘Demon Pesticide’ stuff basically saved our sanity. It got so bad at...

Next Post
Lighted Christmas Cactus: The best guide for beginners

Lighted Christmas Cactus: The best guide for beginners

Fall is Best for Pruning Annabelle Hydrangeas? Find Out

Fall is Best for Pruning Annabelle Hydrangeas? Find Out

Flower Liquid Fertilizer: What is it & How to Use it Right

Flower Liquid Fertilizer: What is it & How to Use it Right

CATEGORIES

  • Fertilizing
  • Flower Fertilizers & Pesticides
  • Flowerpot
  • Flowers & Plants
  • Gardening Gloves
  • Gardening Knowledge
  • Gardening Scissors
  • Gardening Stand
  • Gardening Tools
  • Light
  • Pests & Diseases
  • Pruning
  • Repotting
  • Shovel
  • Soil
  • Temperature
  • Watering
  • Watering Can

RECOMMENDED

Best Hoya Krimson Queen Care Tips for Healthy Growth
Gardening Knowledge

Best Hoya Krimson Queen Care Tips for Healthy Growth

2024-12-13
Sick Fig Tree? See Fig Tree Diseases Photos & Find Help!
Pests & Diseases

Sick Fig Tree? See Fig Tree Diseases Photos & Find Help!

2025-02-07
Enchanting Floral Gardening: Nature's Palette

Gardening is actually easy

94339887ba0b48118d17e18d1112938b
1704070288593363160_7_ainote_new
pexels-photo-298246
pexels-david-bartus-43782-714918
roses-bouquet-congratulations-arrangement-68570
u=1477108710,1302668665&fm=253&fmt=auto&app=138&f=JPEG
Elevating Your Gardening Stand: Cultivating a Sanctuary of Wellness and Harmony
pexels-photo-931179
17071874890767616772_3_ainote_new
pexels-photo-85773
  • About
  • Advertise
  • Privacy & Policy

© 2025 Bloom Melody - https://www.bloommelody.com

No Result
View All Result
  • Flowers & Plants
  • Gardening Knowledge
    • Light
    • Watering
    • Fertilizing
    • Pruning
    • Soil
    • Repotting
    • Temperature
  • Pests & Diseases
  • Flower Fertilizers & Pesticides
  • Gardening Tools
    • Flowerpot
    • Gardening Scissors
    • Gardening Gloves
    • Shovel
    • Watering Can
    • Gardening Stand

© 2025 Bloom Melody - https://www.bloommelody.com