

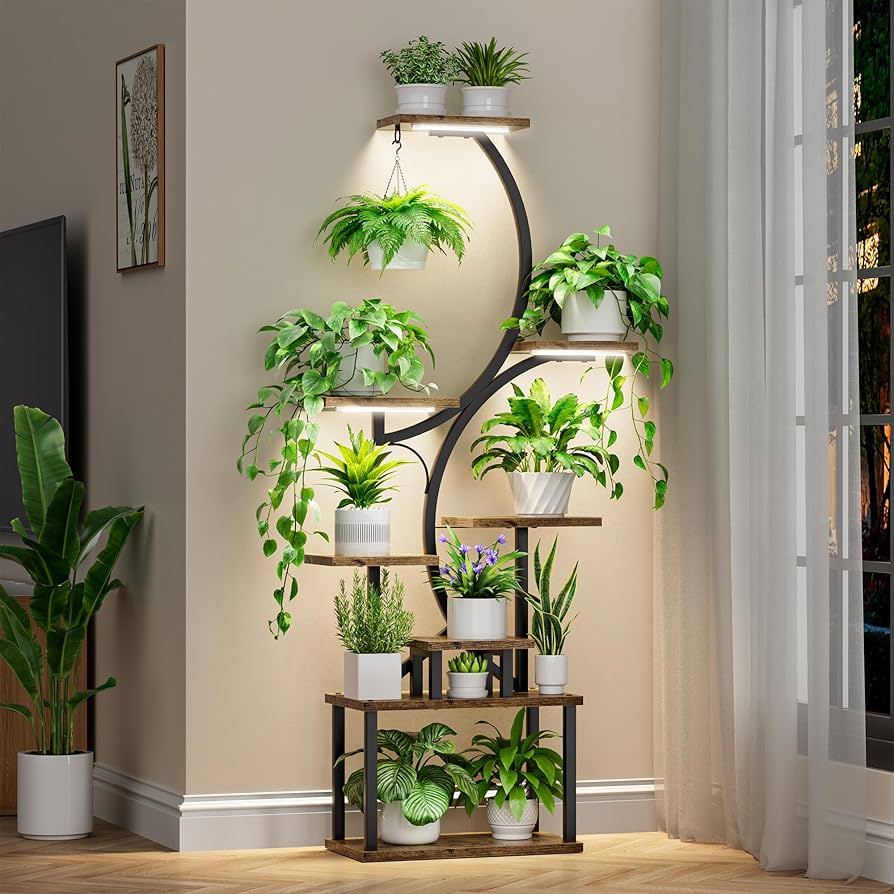
Okay, so I figured my plants needed a bit more help, especially during the gloomier months. They just weren’t getting enough sun inside, looking kinda sad, you know? So I thought, right, let’s build a proper little station for them, something with its own light. An indoor plant stand with a grow light seemed like the perfect project.
Getting Started – The Idea
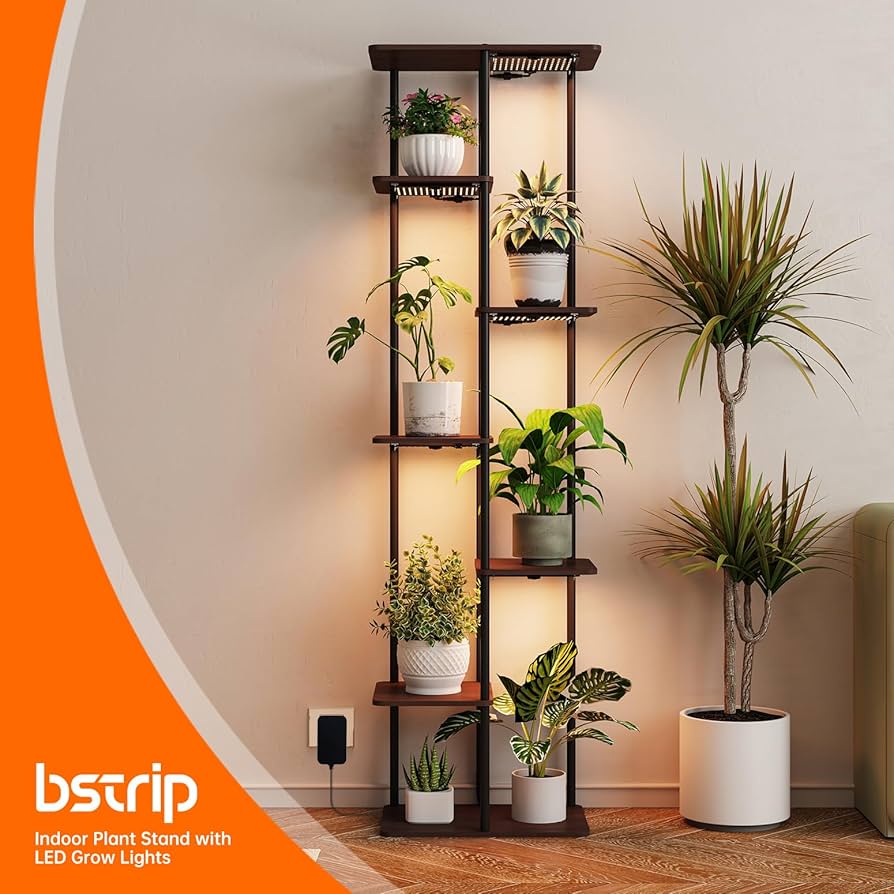
First off, I didn’t want anything too fancy or complicated. Just needed a spot to put maybe three or four pots, stacked sorta vertically to save space. And the light needed to be easy to position right above them. I looked at some ready-made ones online, but they were either too flimsy or crazy expensive. Nah, I reckoned I could put something together myself, make it sturdy.
Gathering the Bits and Pieces
So, I went down to the hardware store. Didn’t need much.
- Some basic pine boards. Cheap and easy to work with. I got a couple of longer ones for the uprights and shorter ones for the shelves.
- A handful of wood screws.
- Sandpaper, ’cause nobody likes splinters.
- Oh, and the grow light itself. I picked up one of those LED strip lights designed for plants. Didn’t want anything too powerful that would run up the electric bill. Found one that I could just clamp or screw onto something.
- Needed a simple timer plug, too. Didn’t want to have to remember to turn it on and off every single day.
That was pretty much it for materials. Kept it simple.
Putting it All Together
Alright, construction time. I measured out the pieces first. Cut the longer boards to the height I wanted the stand to be. Then cut the shorter pieces for the shelves. Gave everything a quick sand down to smooth the edges.
Assembling it was pretty straightforward. I basically made two ladder-like sides with the long boards and short shelf supports. Then I attached the actual shelf boards onto the supports. Used wood screws for everything. Had a bit of a wobble at first, not gonna lie. Had to go back and tighten things up, maybe add an extra screw here and there to make it solid. Getting the shelves level took a bit of fiddling, used a spirit level to make sure they weren’t slanted.
Once the basic stand structure was solid, I moved on to the light. This was easier than I thought. The LED strip light I bought had little mounting brackets. I decided to attach it to the underside of what would be the “top” part of the frame, aiming it down over the shelves. Just drilled a couple of small pilot holes and screwed the brackets in place. Clipped the light strip in. Easy peasy.
Setting It Up and Final Touches
With the stand built and the light attached, I found a good spot for it near a power outlet. Plugged the grow light into the timer, and then plugged the timer into the wall. Set the timer for about 12 hours on, 12 hours off. Figured that was a good starting point for the plants.
Then came the fun part: arranging the plants! Put my neediest ones closest to the light on the top shelves, and the ones that are a bit more tolerant on the lower shelf. Had to adjust the position of a couple of pots so the leaves weren’t touching the light strip directly.
So, How’s it Working?
Honestly, it turned out pretty well! It’s nothing fancy to look at, just plain wood, but it’s sturdy and does the job. The plants seem much happier. I’ve noticed some new growth, and the leaves look perkier. The timer is a lifesaver, totally takes the guesswork out of it. It wasn’t a massive project, just took an afternoon, really. Feels good to have built something practical that’s actually helping my little green buddies thrive indoors. Definitely worth the effort.


