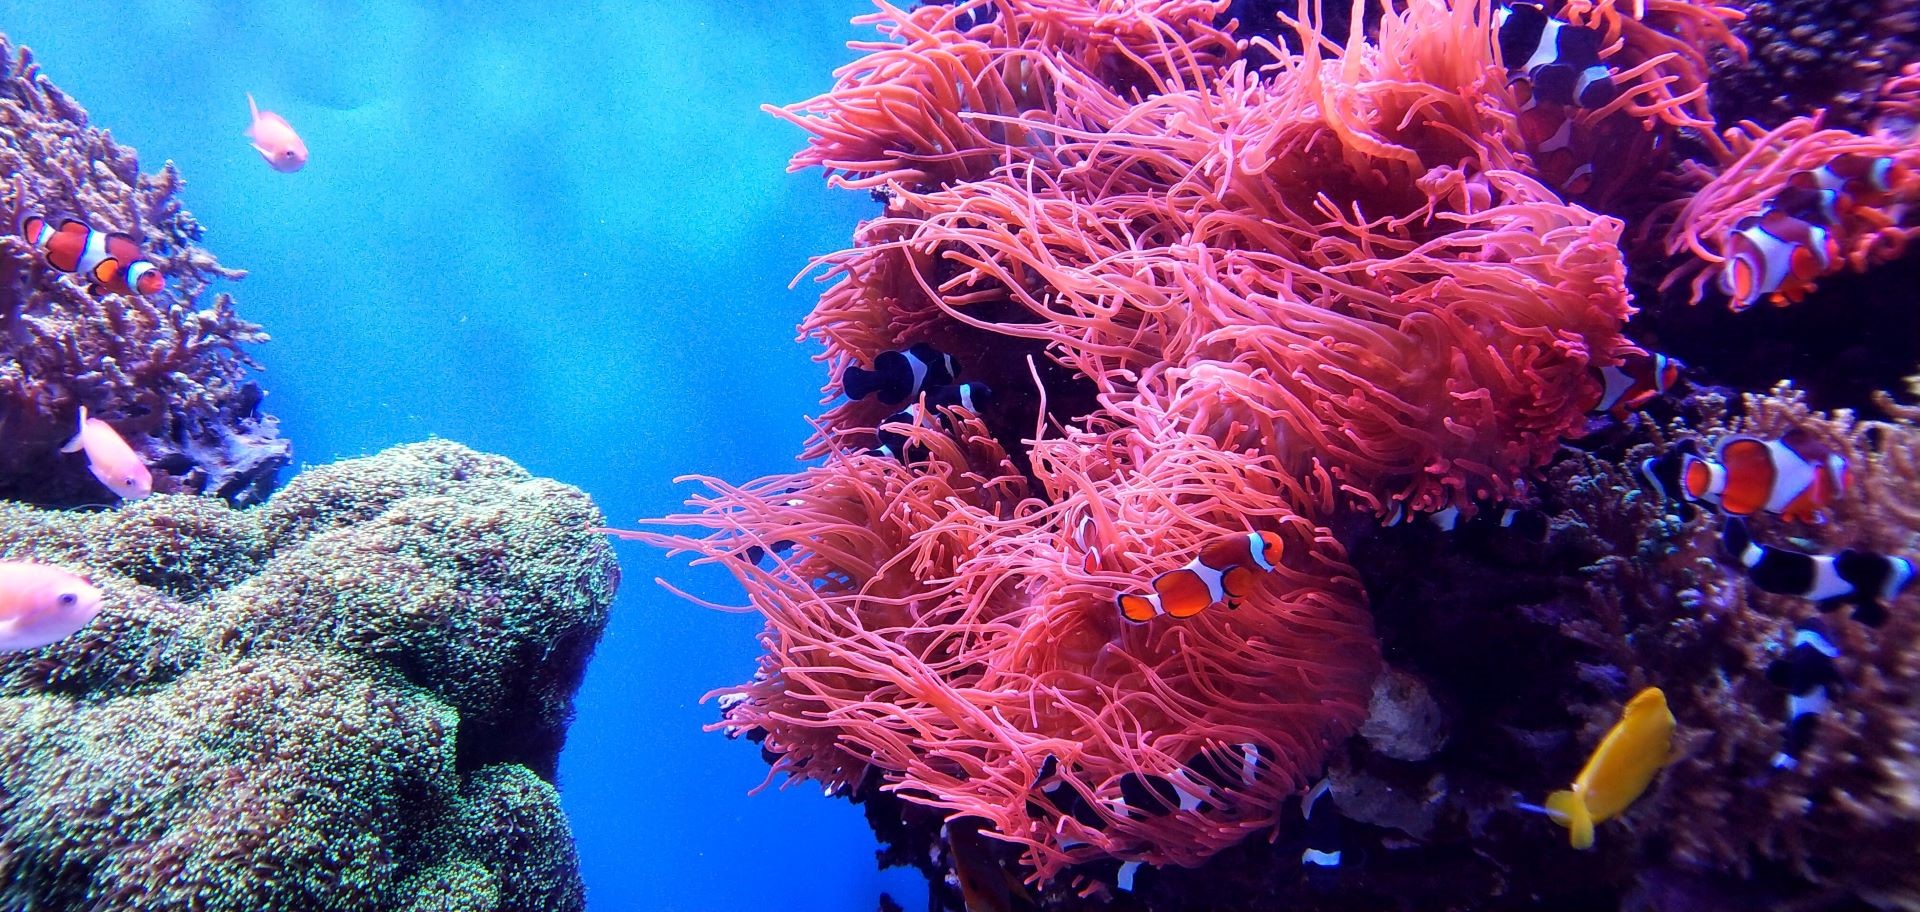
So, the other day, I was looking at my corals, and some of them just weren’t looking too hot. I figured, maybe there are some pests bugging them. Time to do something about it!
Dipping Time
First things first, I gathered my supplies. I got:

- Some coral dip—I used Coral Rx, but there are other good ones out there.
- Two small containers—one for the dip and one for rinsing.
- RO/DI water—gotta use the good stuff for our coral buddies.
- Turkey baster—for blasting the corals.
- Gloves—because safety first, and some of this stuff can be irritating.
Next, I mixed the coral dip according to the instructions on the bottle. It’s usually just a few drops per gallon of water, but always double-check. I poured some RO/DI water into the first container and added the dip.
The Dip Process
I gently took one of the corals I wanted to treat and place it in the dip solution.I made sure it was fully submerged.
Then, the waiting game. I let it soak for about 5-10 minutes, again, following the dip instructions. While it was soaking, I used the turkey baster to gently blast the coral with the dip solution. This helps to dislodge any pests that might be hiding in the crevices.
Rinse and Repeat
After the soak, I moved the coral to the second container filled with clean RO/DI water. I gave it another good blast with the turkey baster to rinse off any remaining dip and, hopefully, any pests that came loose.
I repeated this process for each coral I wanted to treat. It is a important step.

Back to the Tank
Finally, I carefully placed the corals back in my display tank. I made sure to put them back in a similar spot where they were before, so they wouldn’t get stressed out by a sudden change in lighting or flow.
The Aftermath
I kept a close eye on the corals for the next few days to see how they were doing. I watched them, to get the result.
This whole dipping process can be a bit stressful for the corals, but it’s often necessary to keep them healthy and pest-free.


