
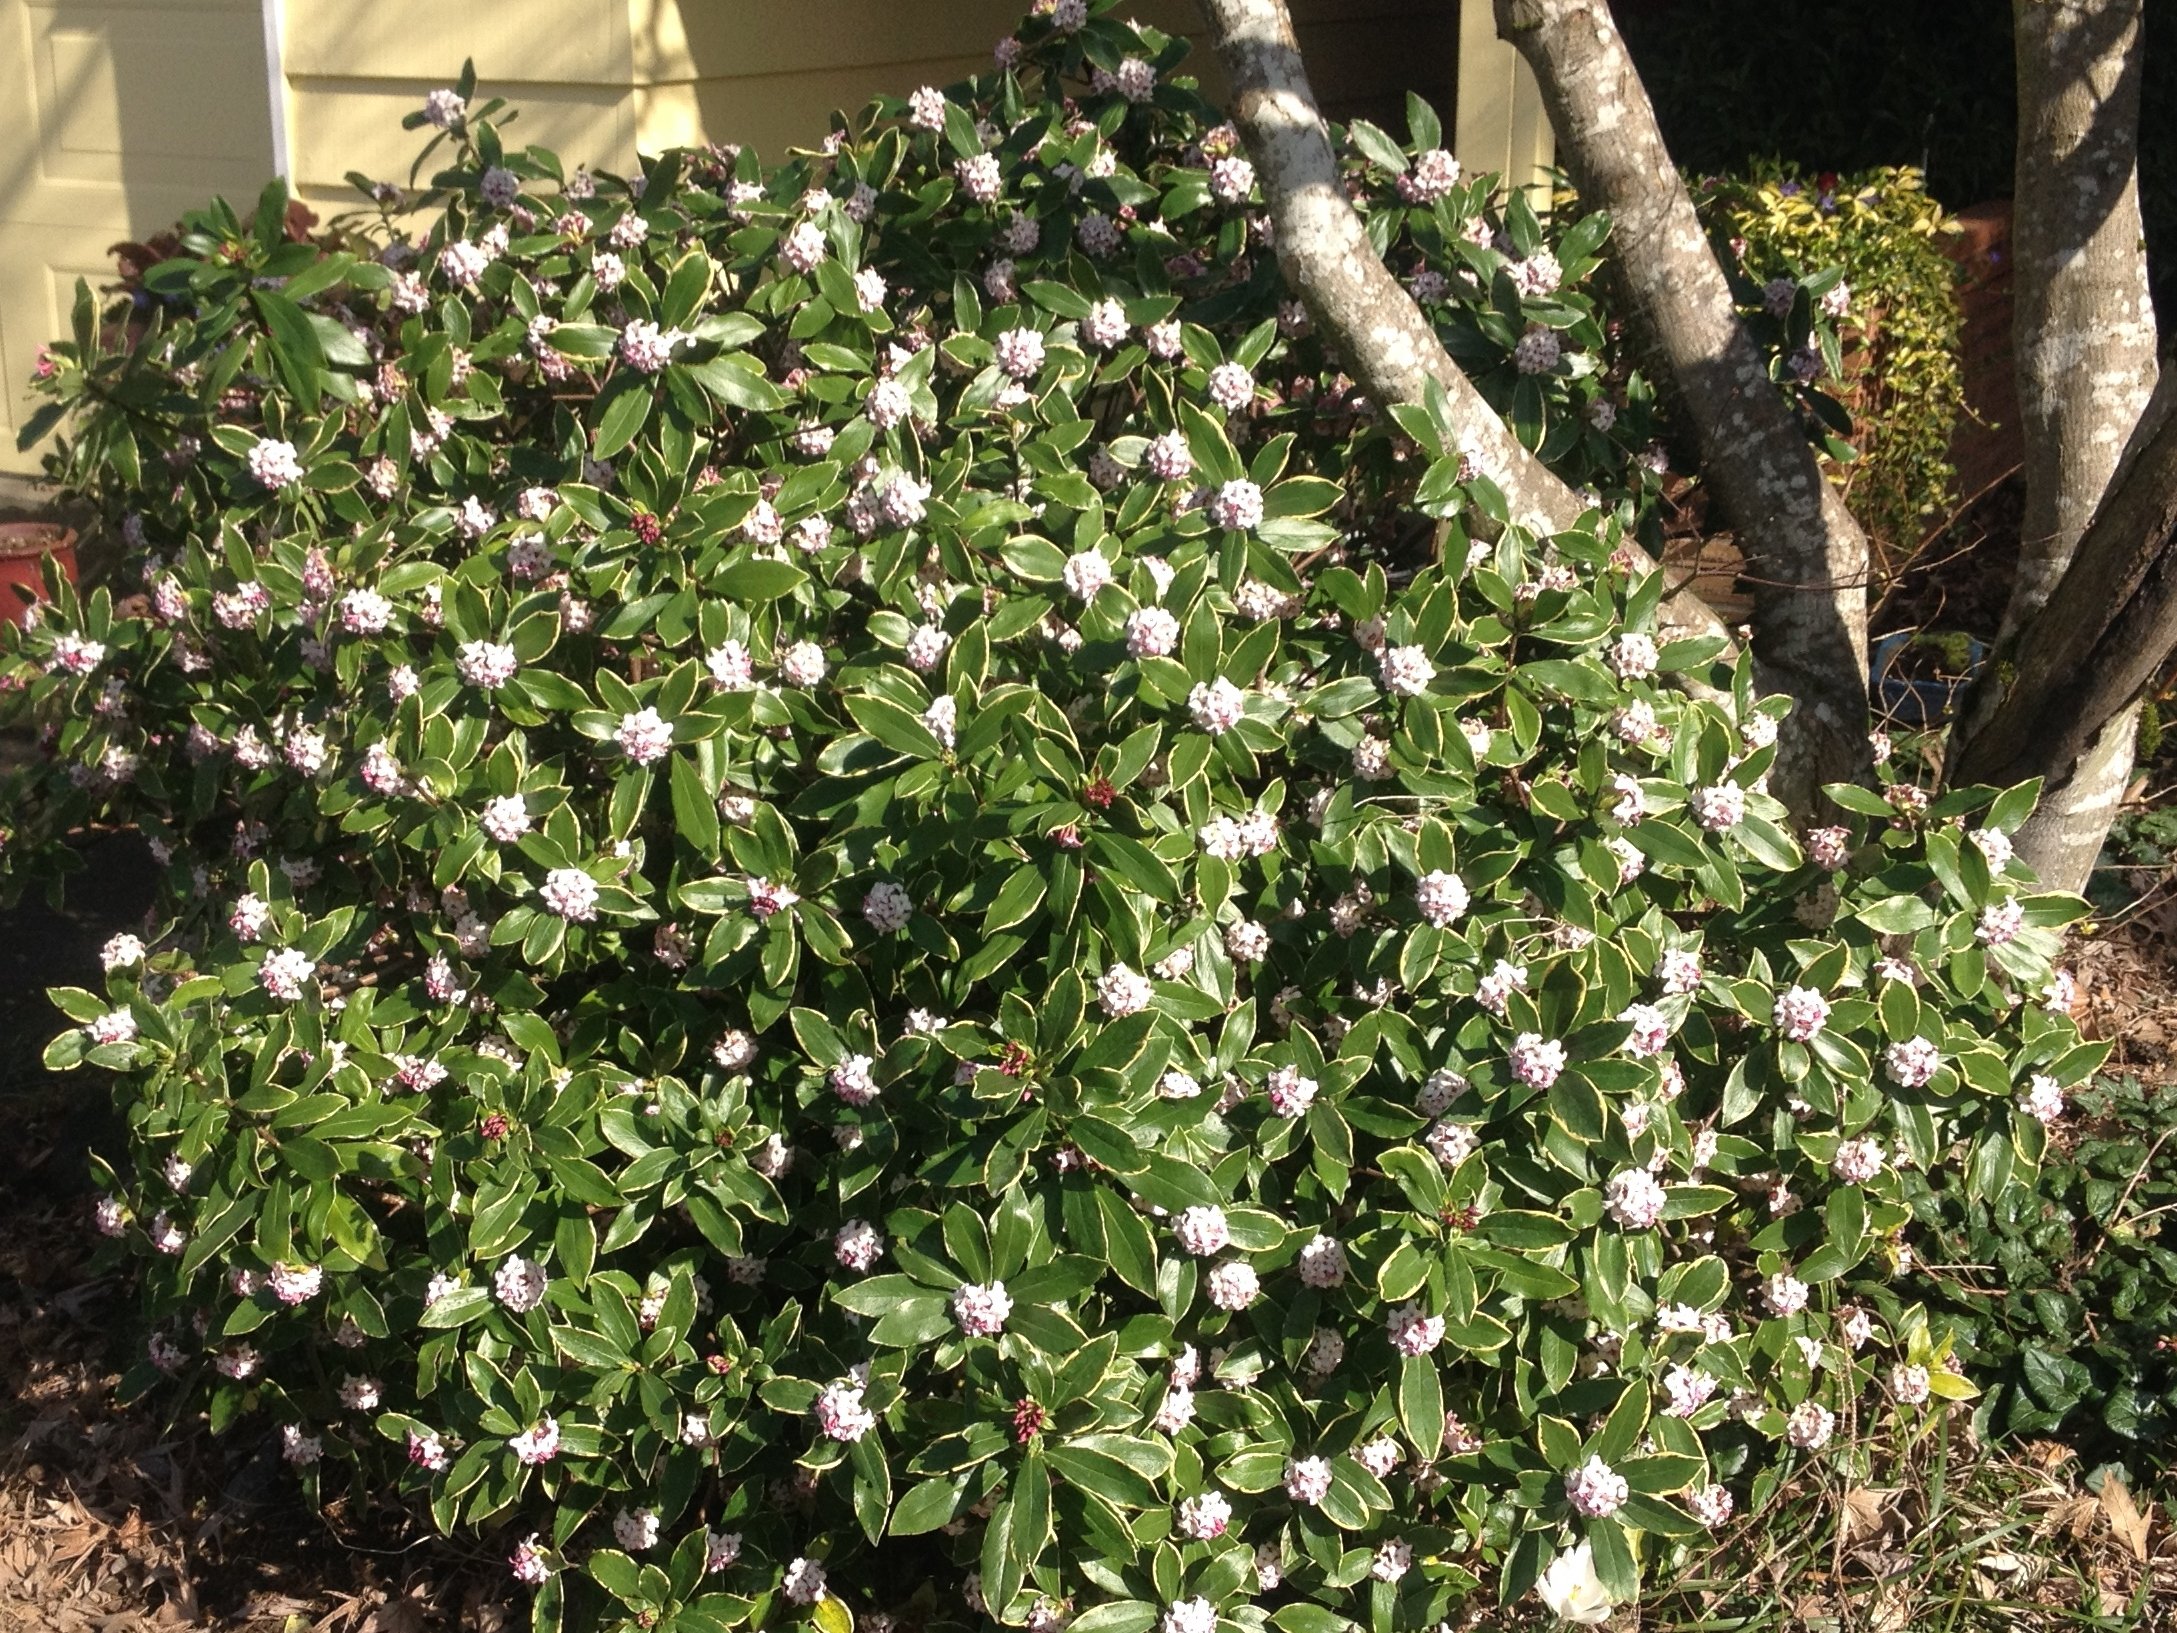
Okay, so yesterday I finally got around to pruning my Daphne bushes. They were getting a bit leggy and overgrown, so it was definitely time.
Getting Started
First things first, I made sure I had the right tools. I grabbed my trusty pruning shears – nice and sharp, of course – and my gardening gloves. You don’t want to get scratched up by those branches!
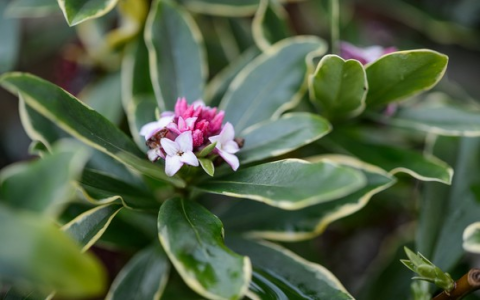
I started by just standing back and looking at the bushes. I wanted to get a good sense of their overall shape and where I needed to make cuts. It helped me visualize the pruned daphne
The Pruning Process
- I started by removing any dead, damaged, or diseased branches. Those are always the first to go. I cut them back to the base of the branch or to a healthy, outward-facing bud.
- Next, I focused on thinning out the interior of the bushes. Daphnes can get pretty dense, and you want to make sure there’s good air circulation. I selectively removed some of the older, thicker stems, cutting them back to the ground or to a strong, lower branch.
- Then came the fun part – shaping the bushes! I wanted to maintain a nice, rounded form, so I carefully trimmed back any branches that were sticking out too far or making the bushes look unbalanced. I made sure to cut just above a leaf node or a bud that was facing the direction I wanted the new growth to go.
Finishing Up
Once I was happy with the overall shape and size of the bushes, I cleaned up all the clippings. I don’t like leaving a mess! I use a big bucket when I garden.
After everything was cleaned up, I gave the bushes a good watering. Pruning can be a bit stressful for plants, so I wanted to give them a little extra * I waited and saw it turn out really good.
And that’s it! My Daphne bushes are now looking much healthier and tidier. It wasn’t a super complicated job, but it made a big difference. Now I can enjoy the nice smell of the Daphne again.


